Zendesk Chat
BotDojo can integrate your ChatBot into your Zendesk web chat widget. Follow these steps to set up the Zendesk integration:
-
Go to your Zendesk account at https://your-subdomain.zendesk.com
-
Navigate to Settings > Admin Center
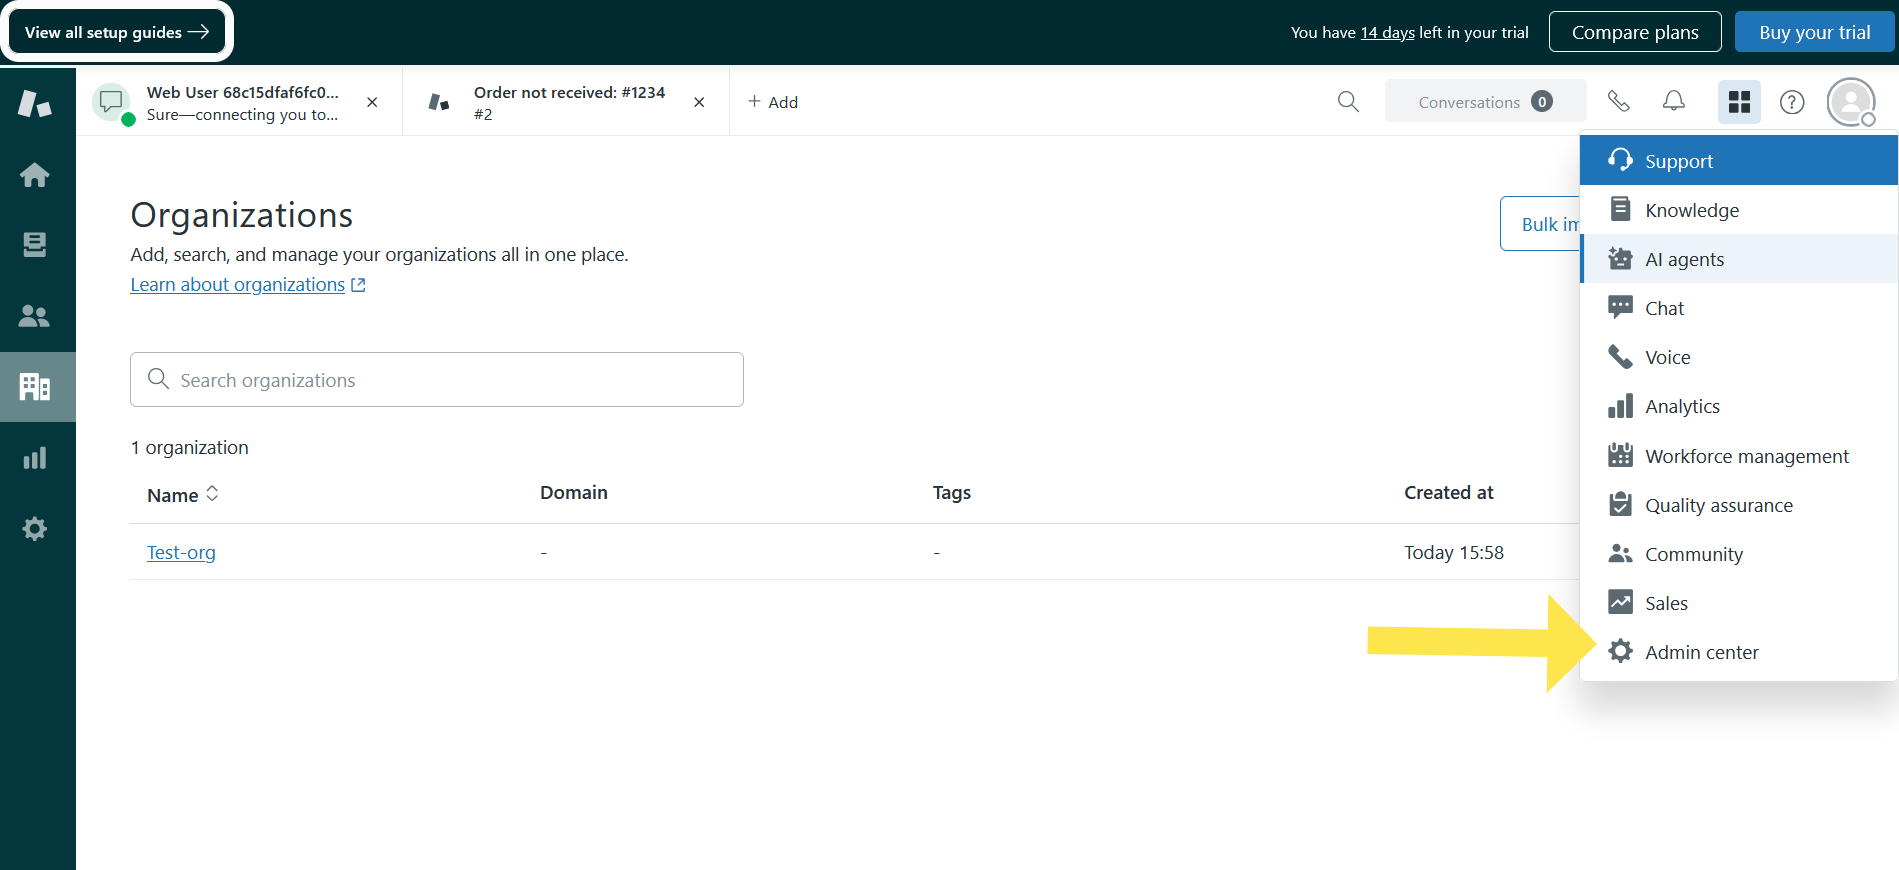
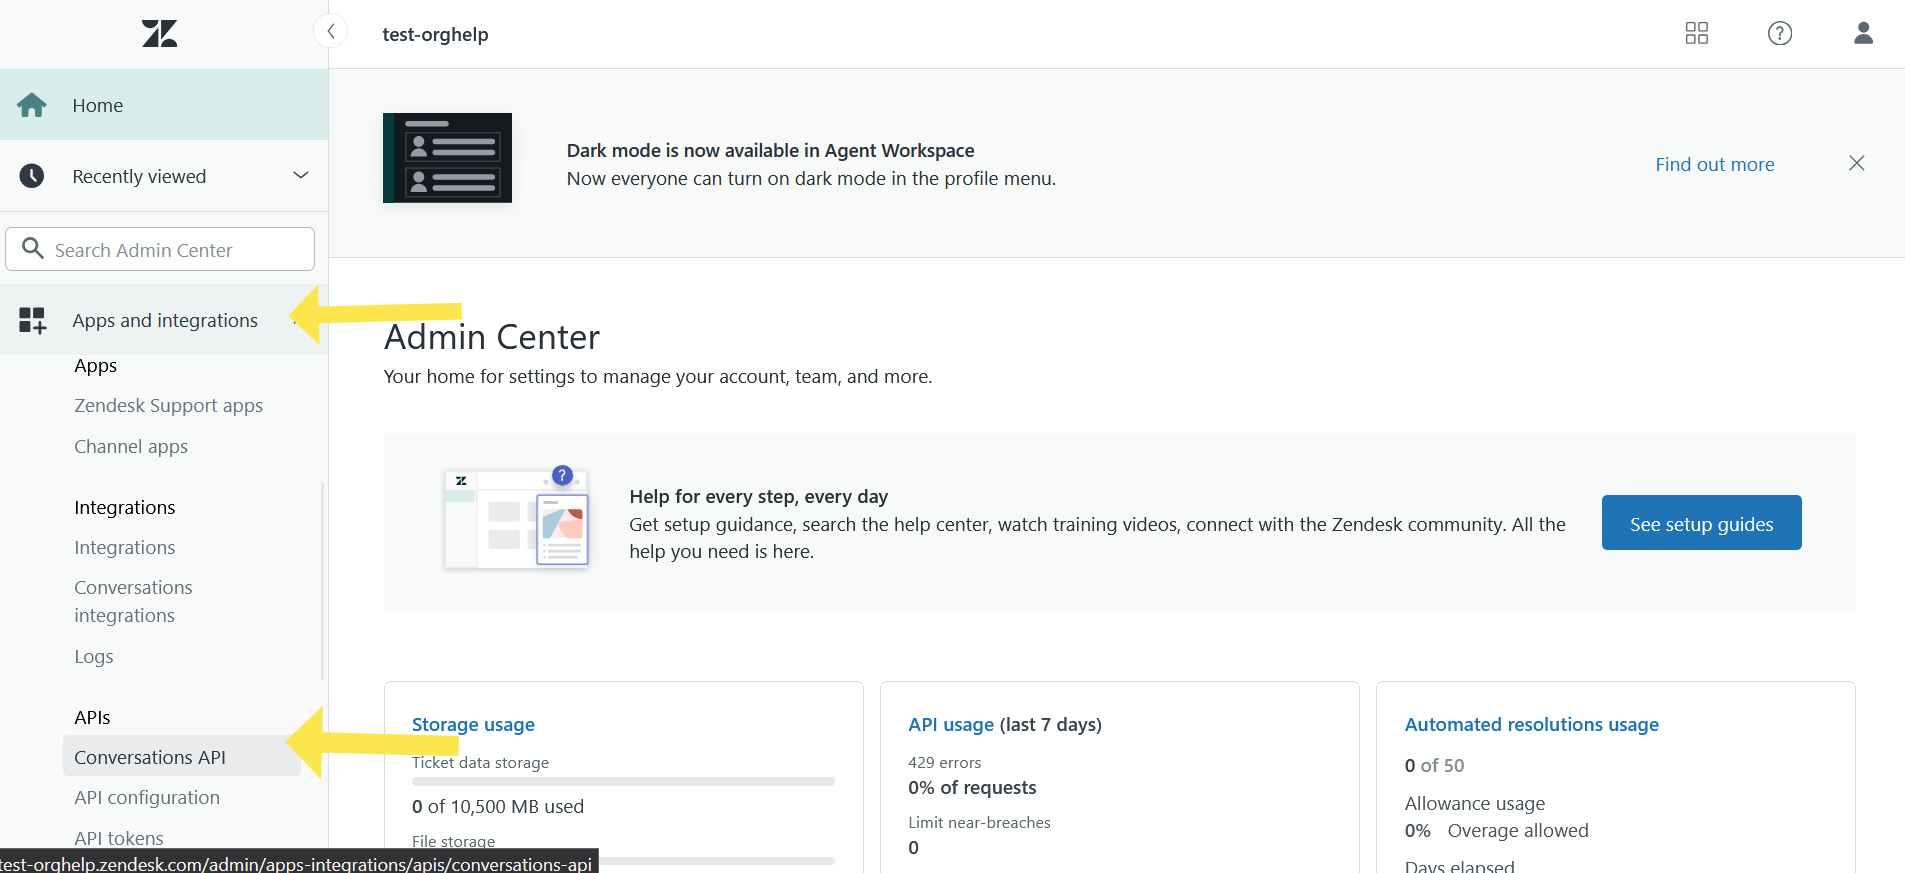
- Go to Apps and Integrations > Conversations API
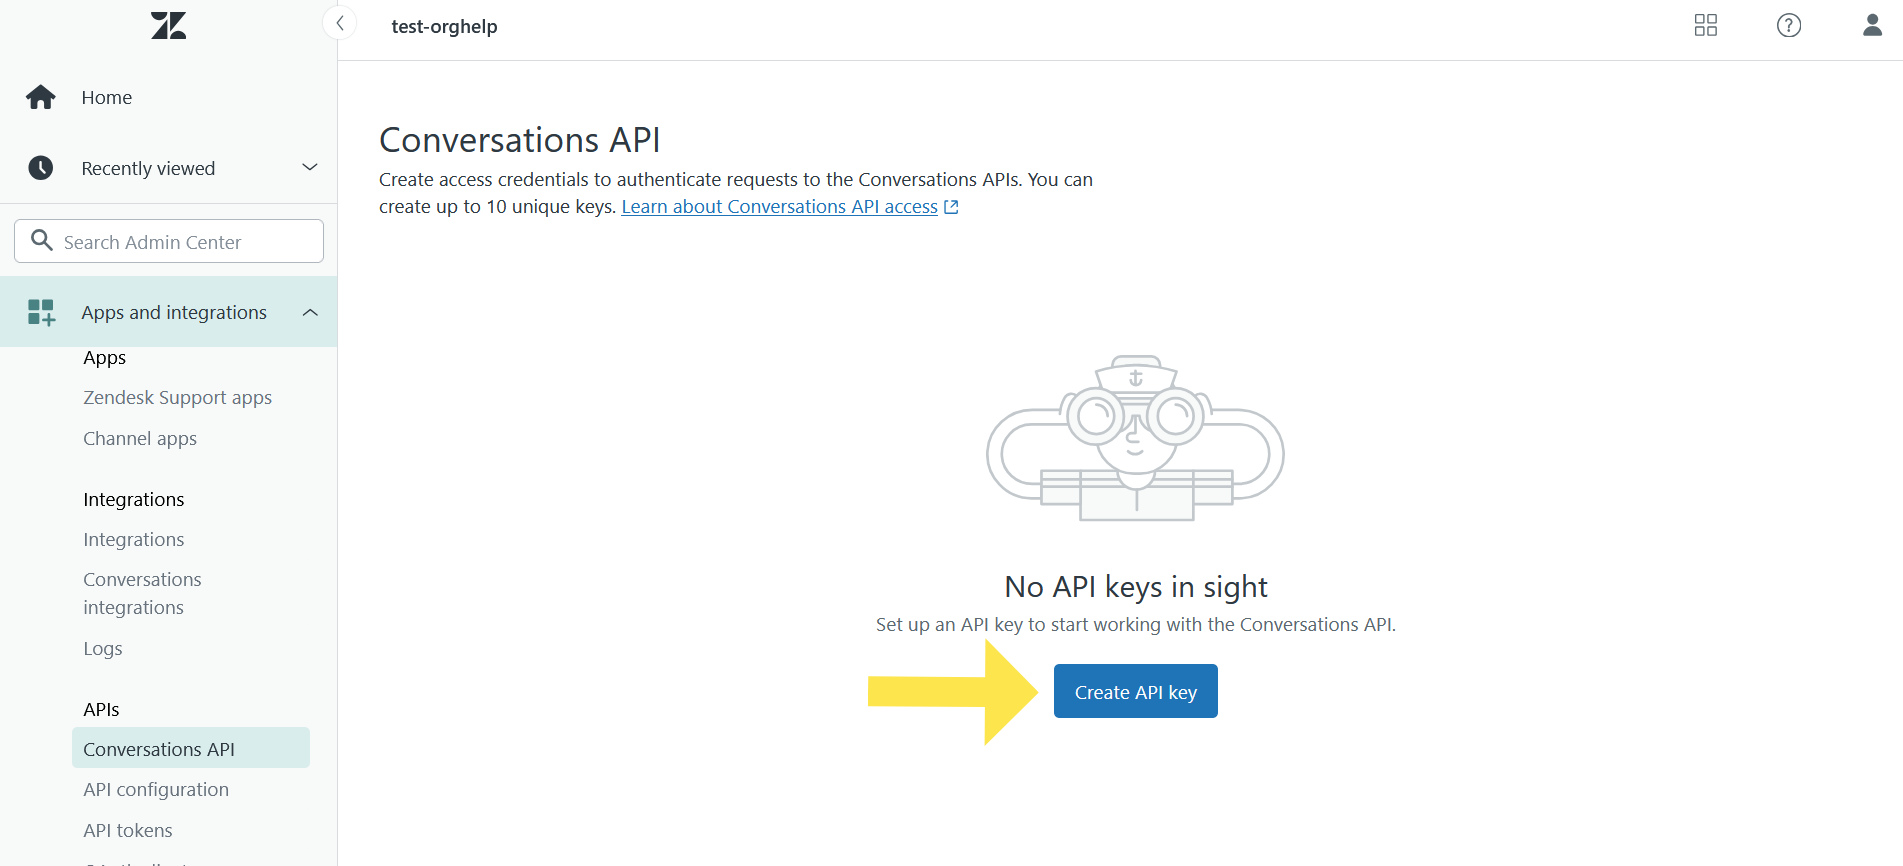
- Create a new API key
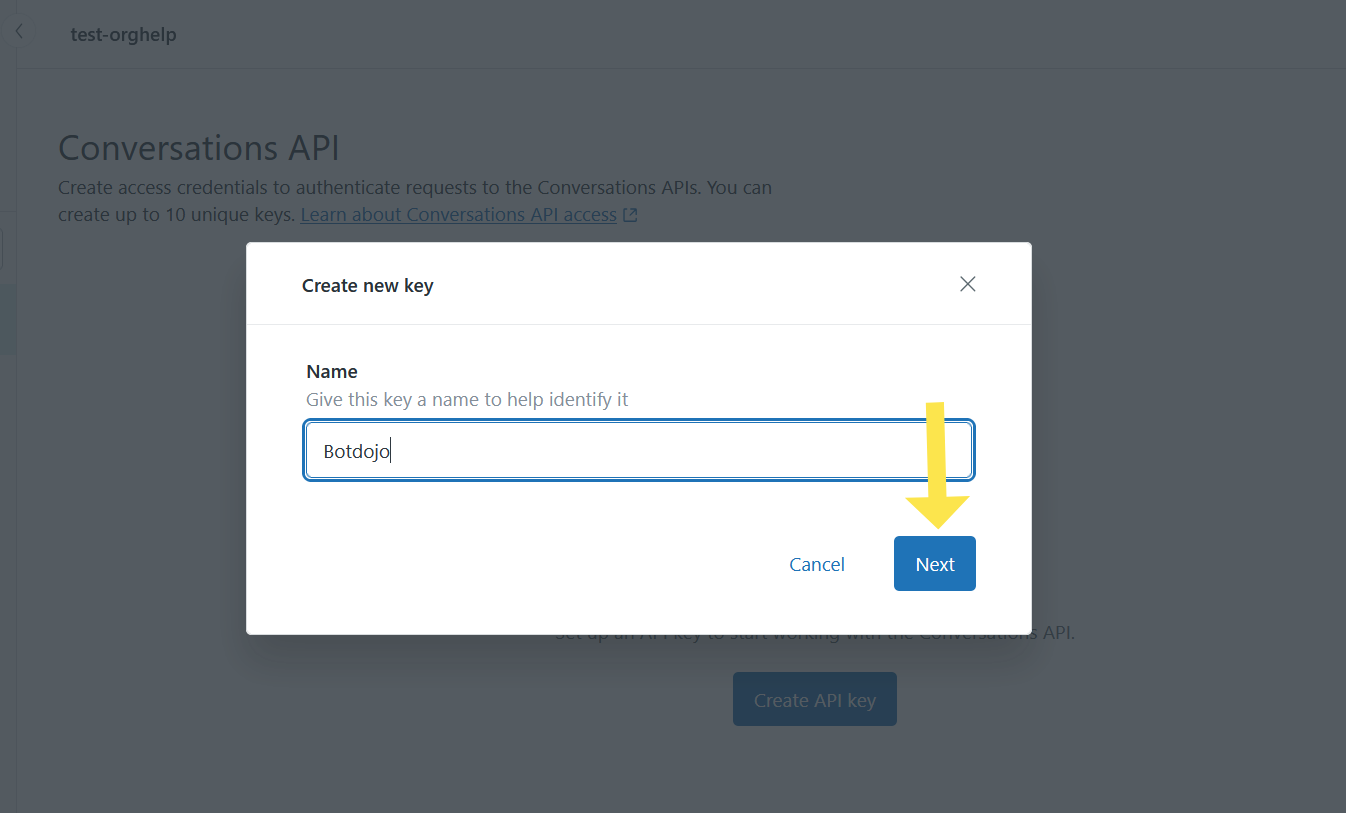
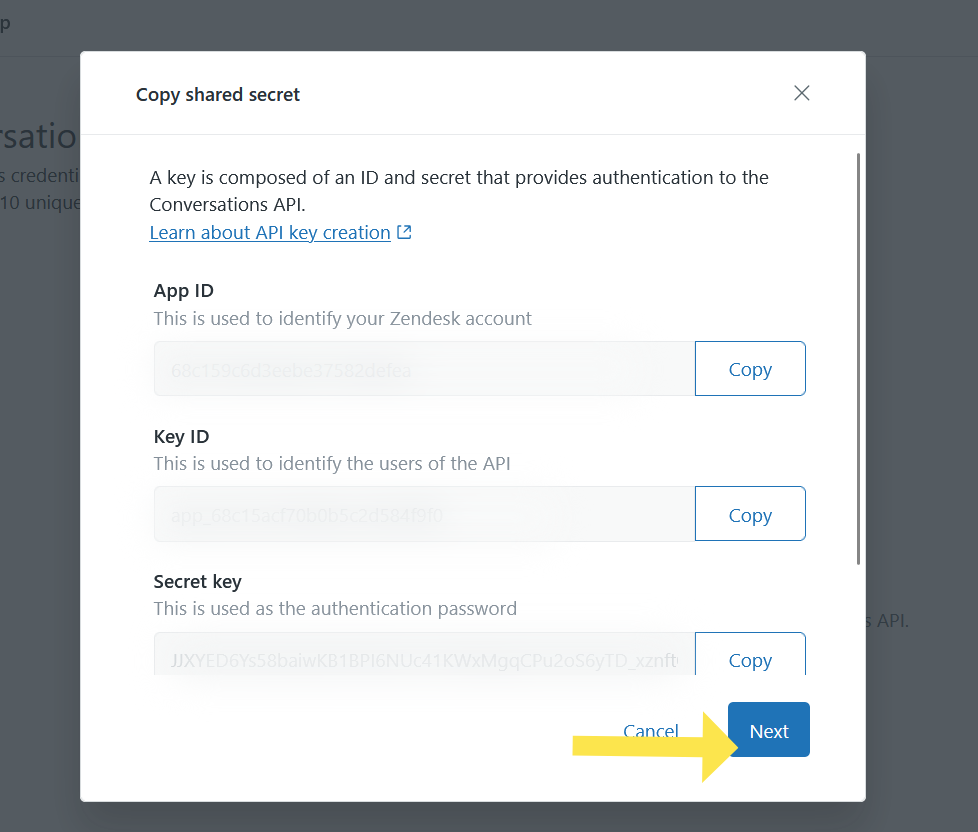
- Give a name for the API key and click Next.
- Copy all three values (App ID, Key ID, and Secret Key) and click Next
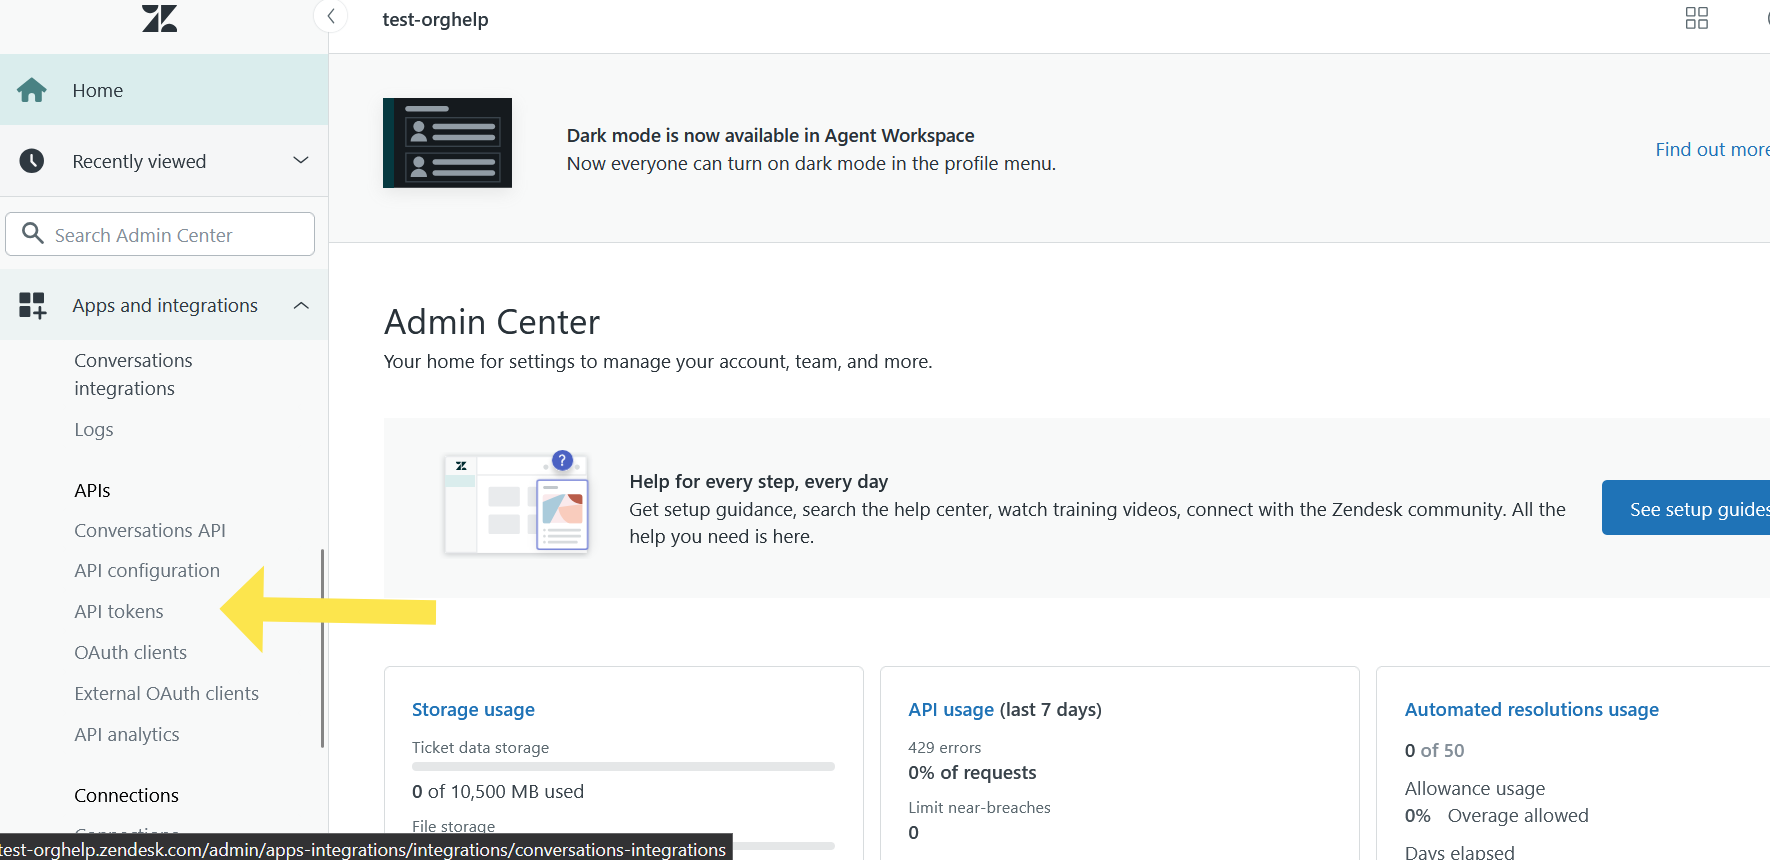
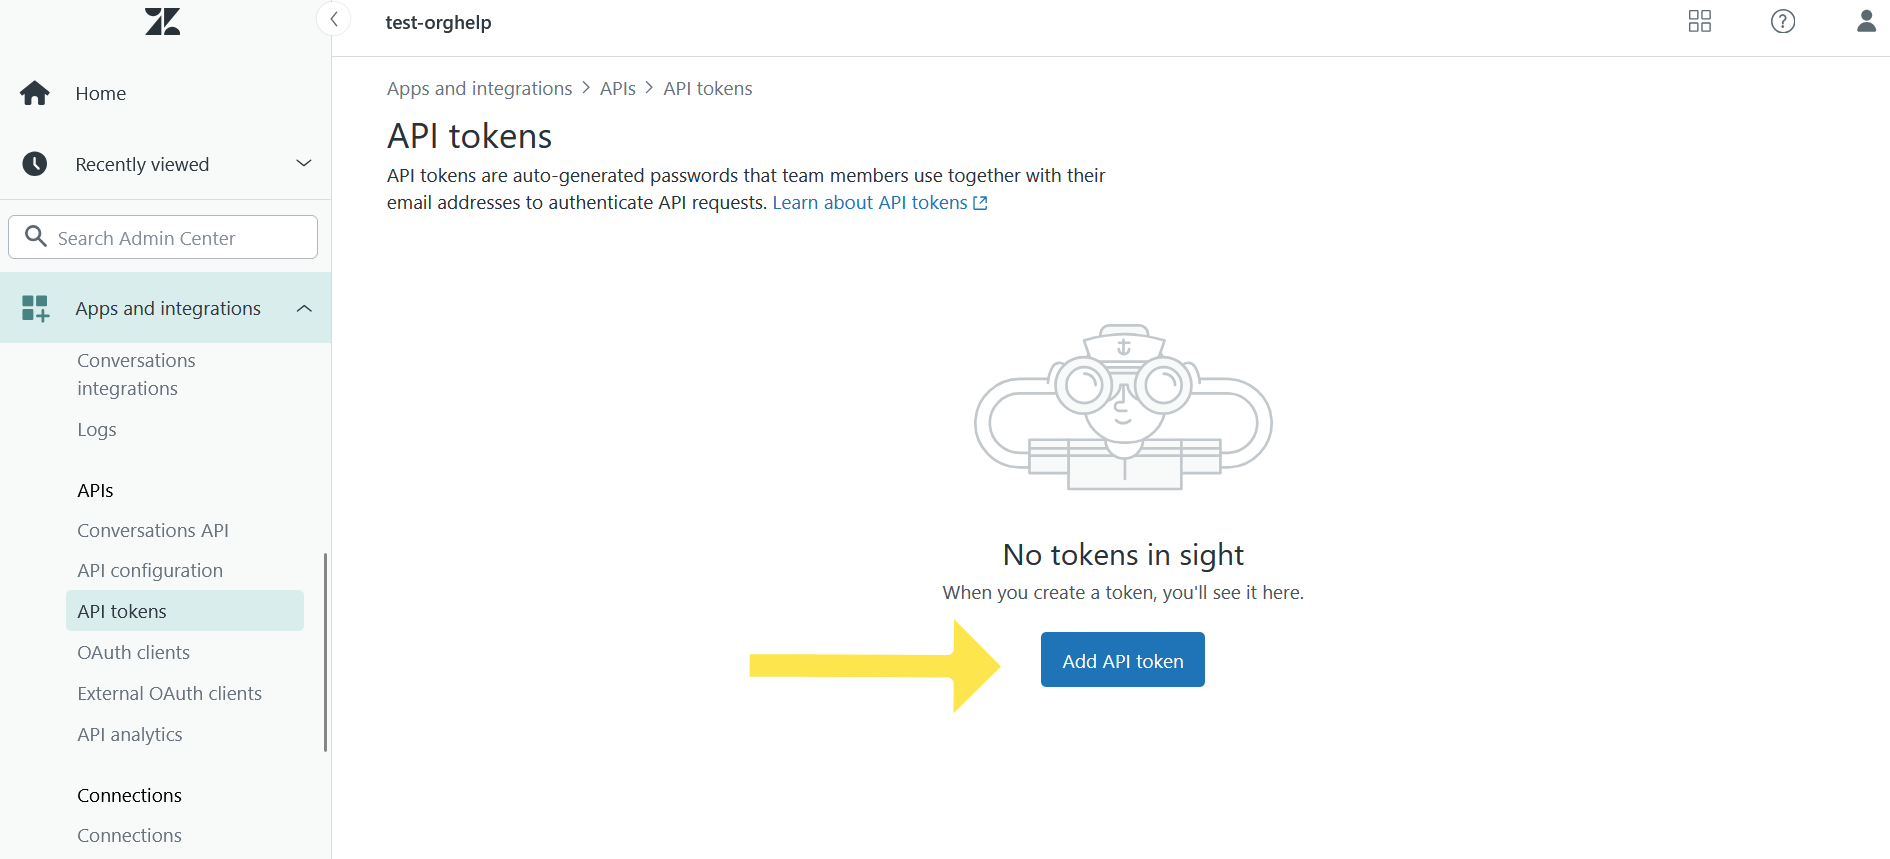
- Navigate back to your Zendesk Admin Center > Apps and Integrations > APIs > API tokens
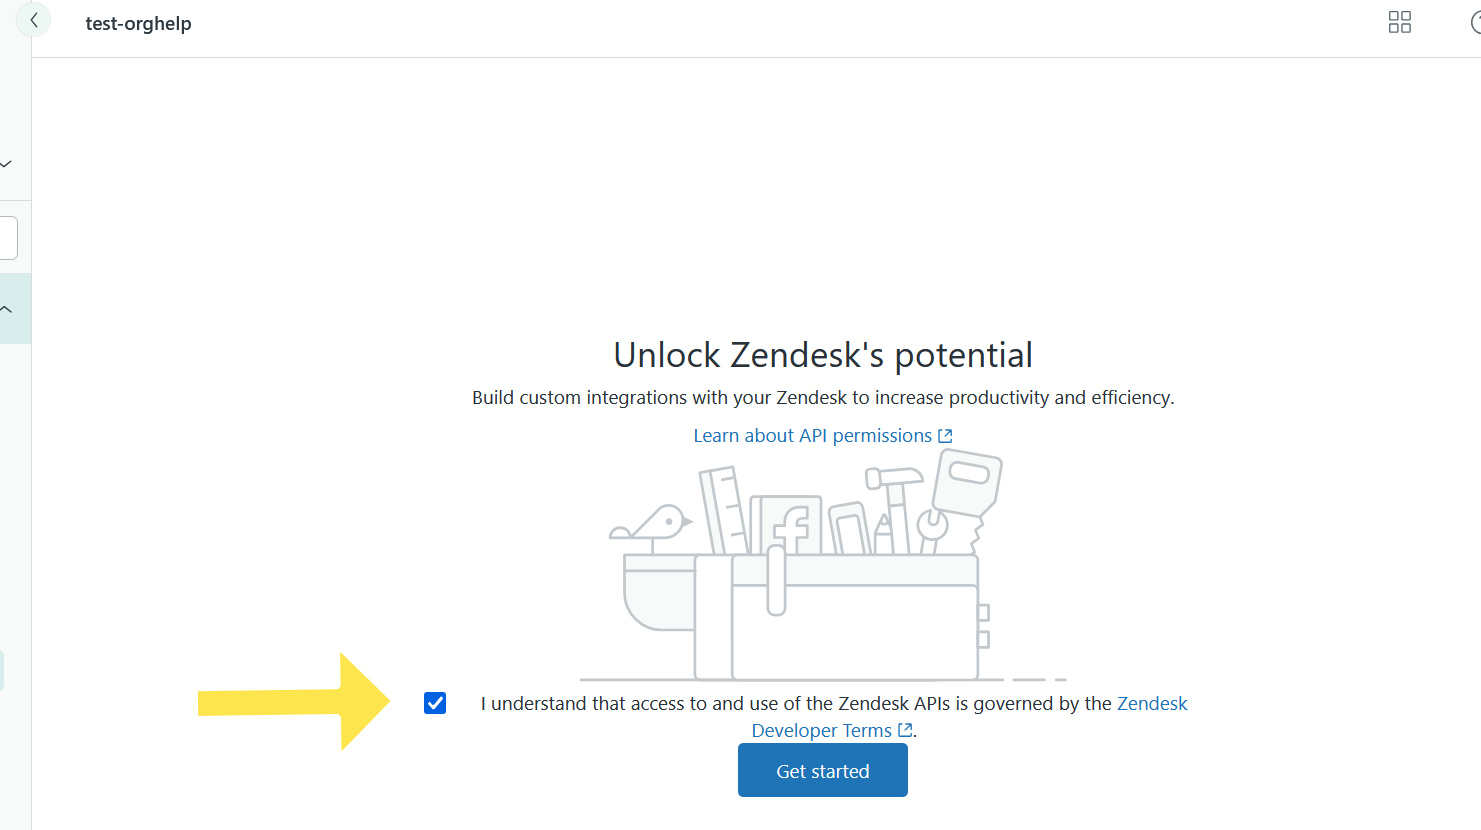
- If necessary, read the guidelines and accept the agreement, then click Get Started
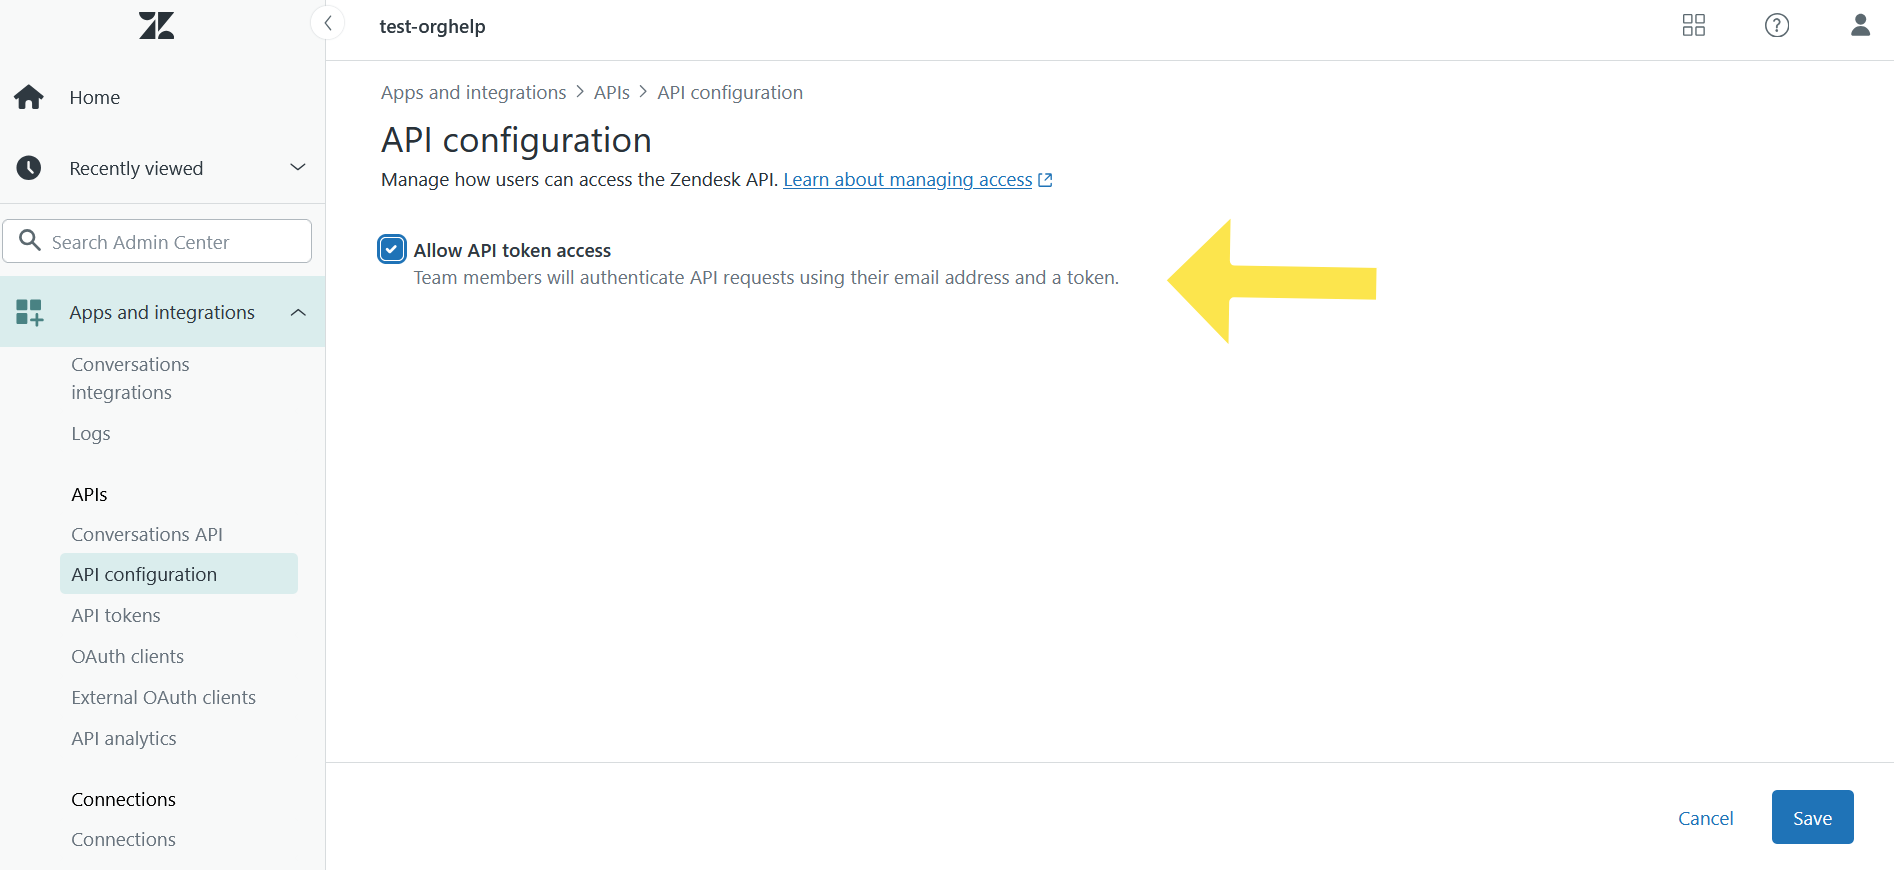
- Enable API Access Token if it's not already enabled

- Click Add API Token
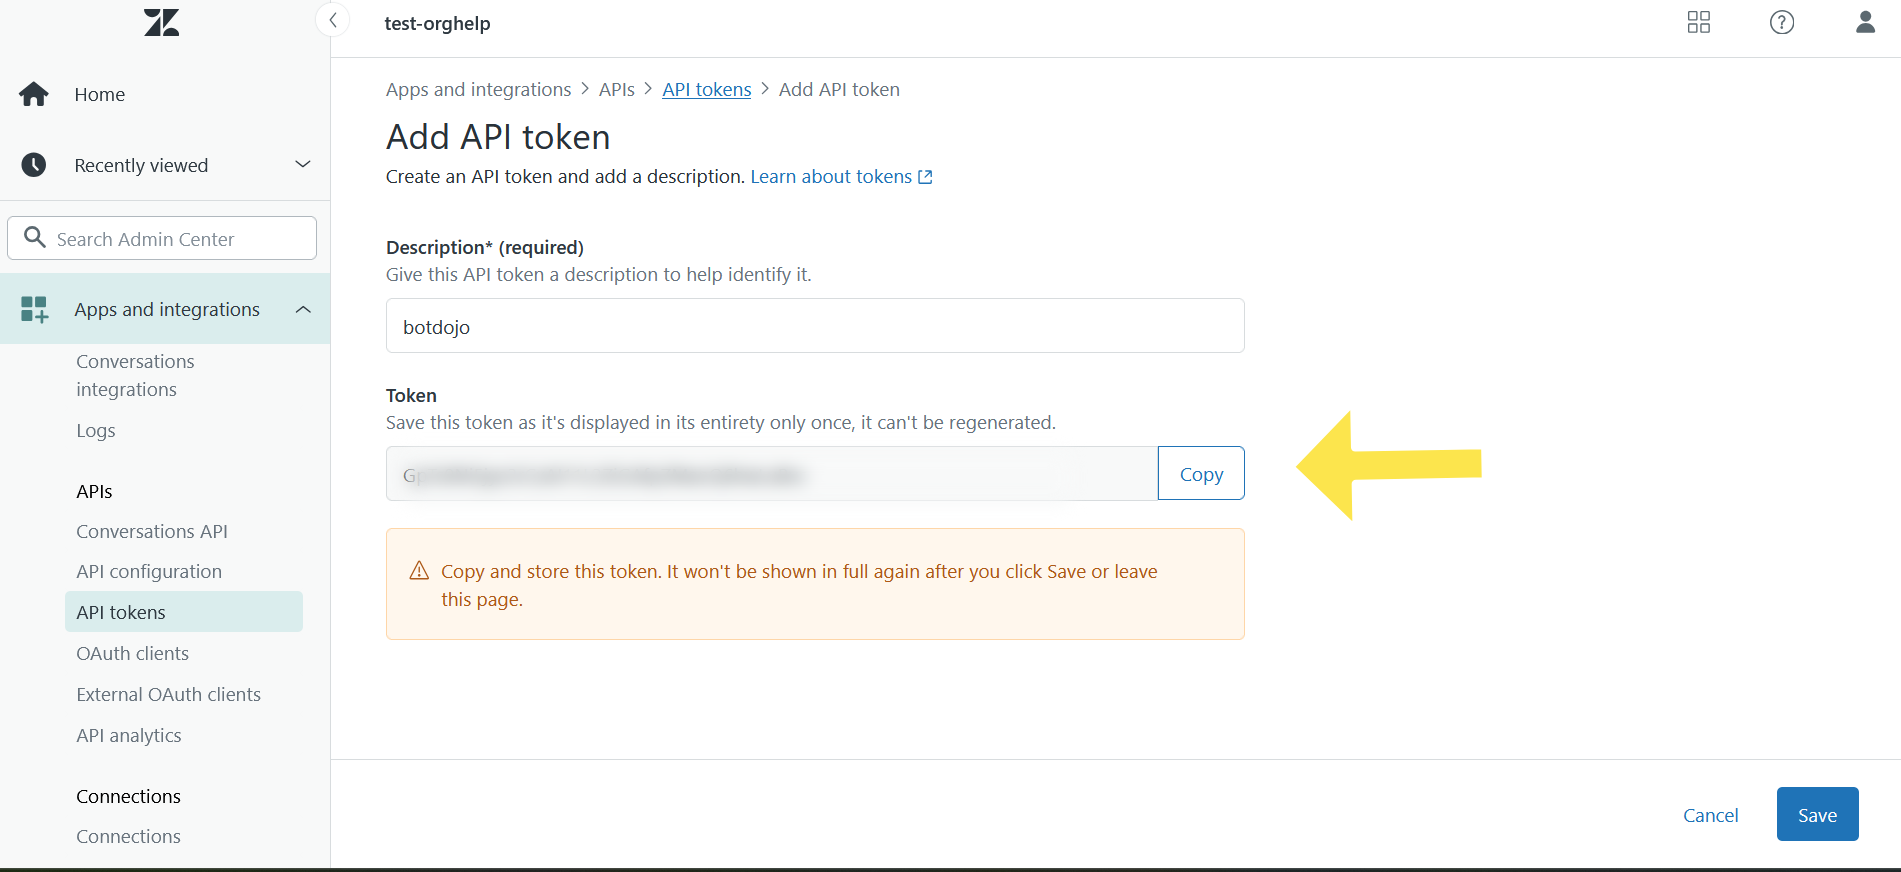
- Give a name for this token, copy the token, and click Save
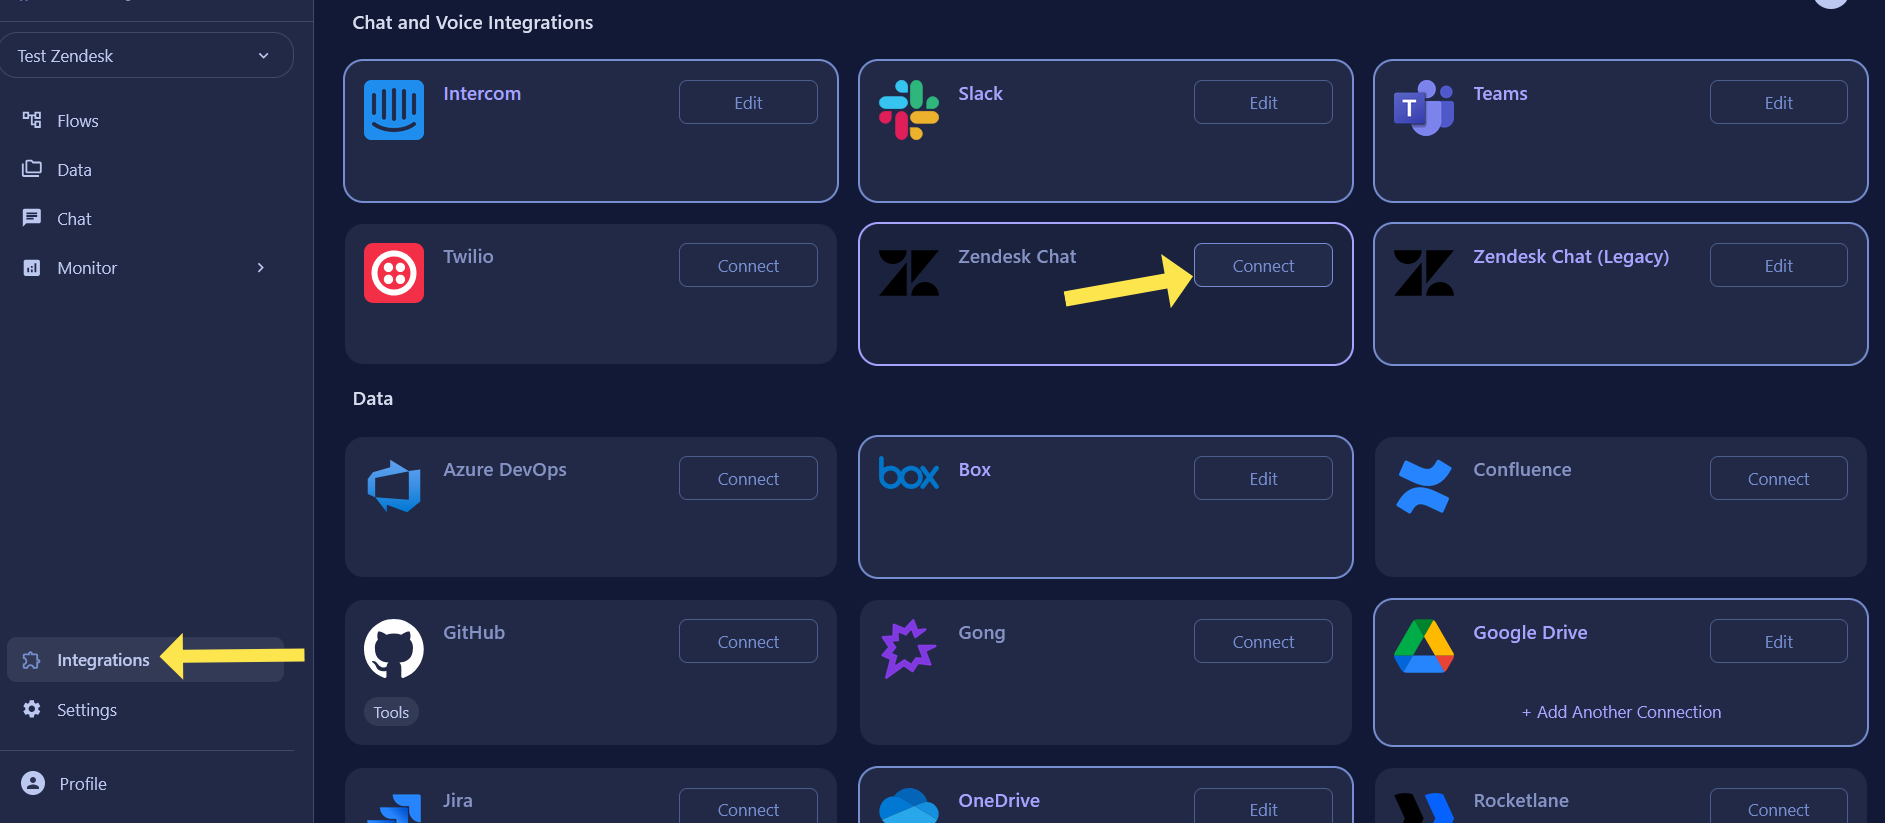
- Now navigate to your BotDojo account. From the integrations page, select the Zendesk Chat integration.
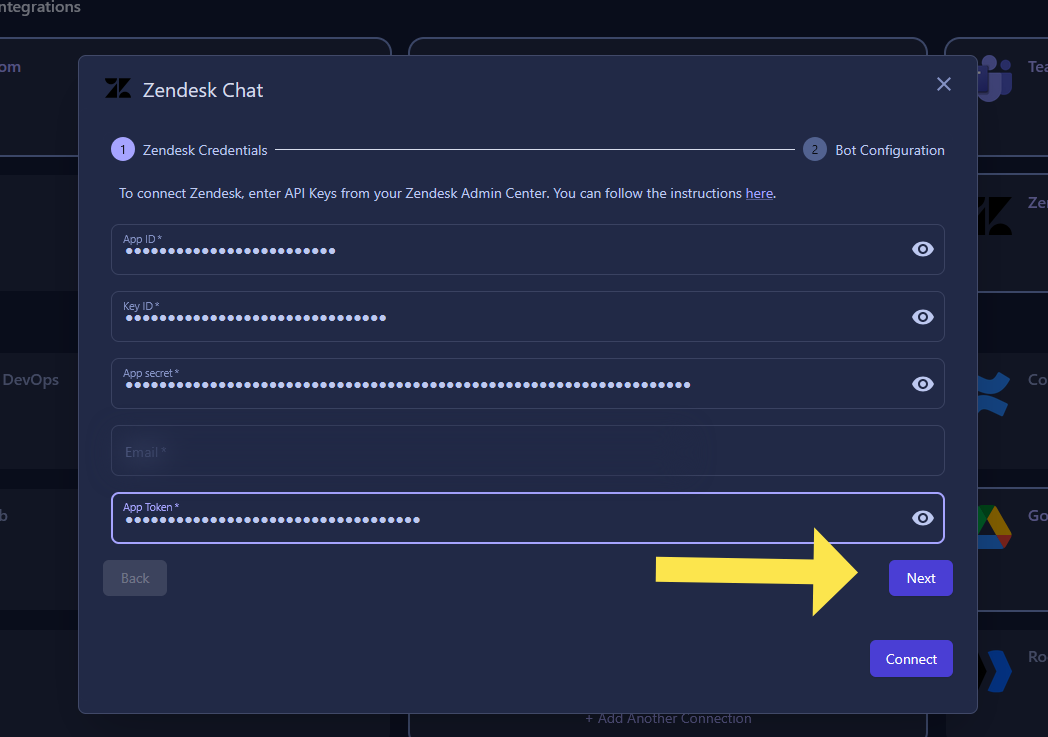
- Paste all four values (App ID, Key ID, Secret, and API Token). Also, enter the Zendesk admin email address and click Next.
- In the BotDojo Bot Configuration section, you can set a Bot Display Name and Bot Avatar URL. The avatar URL must be a publicly available image. Once you've finished customizing the chatbot, click Finish.

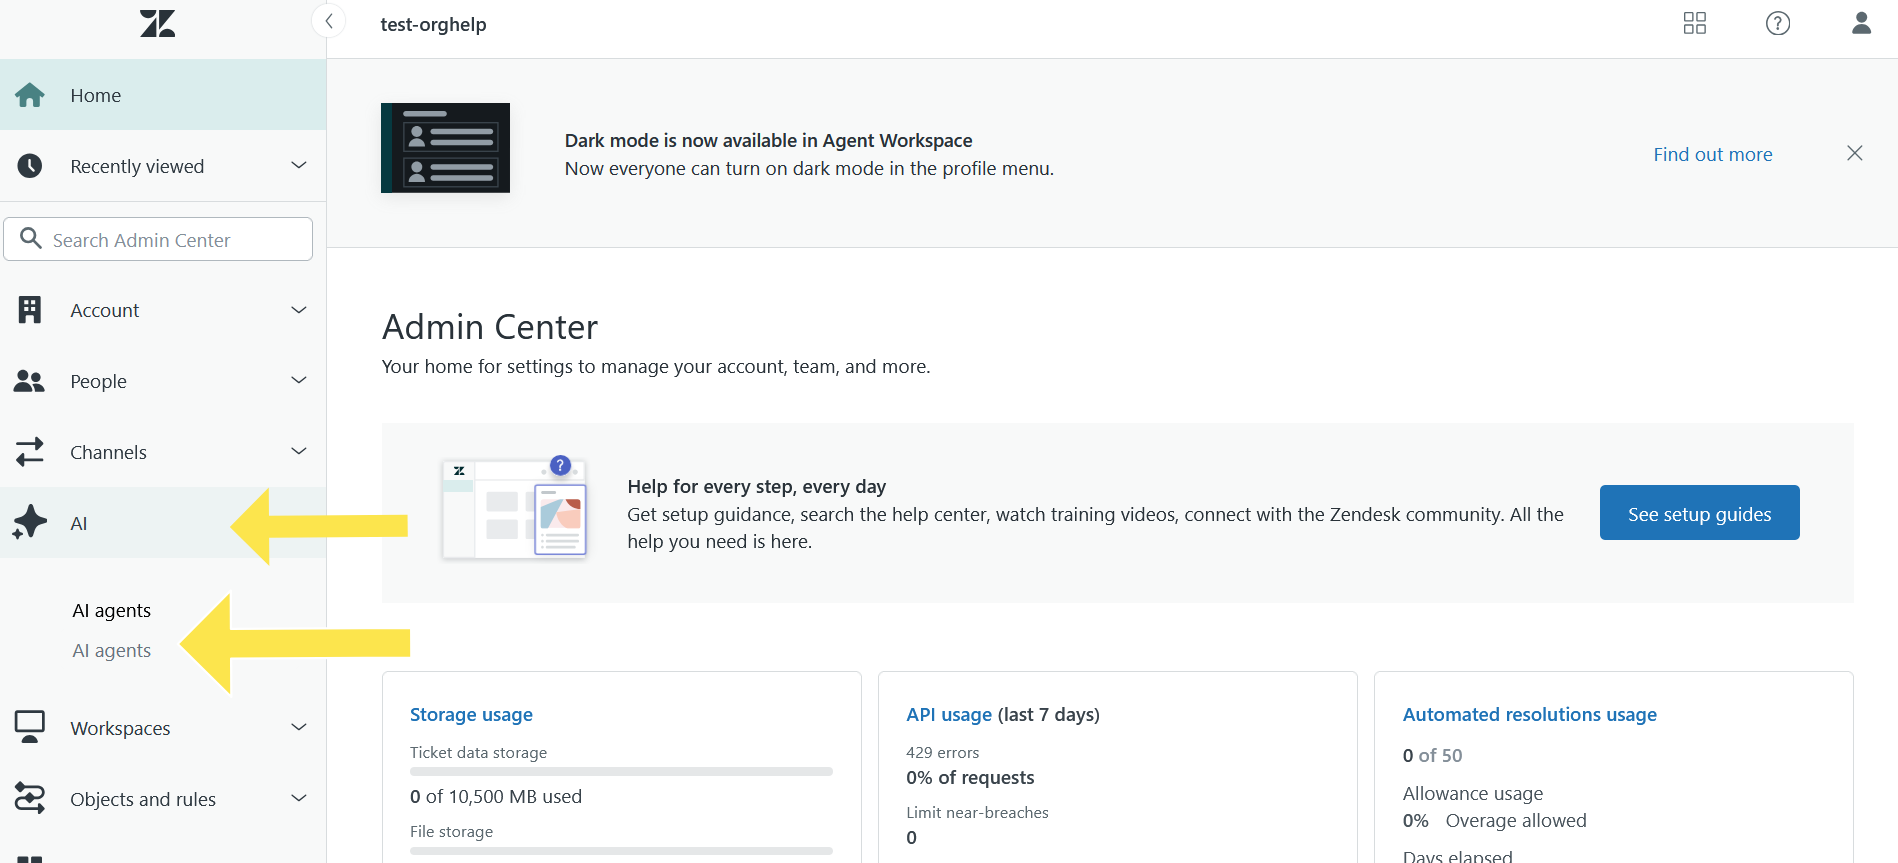
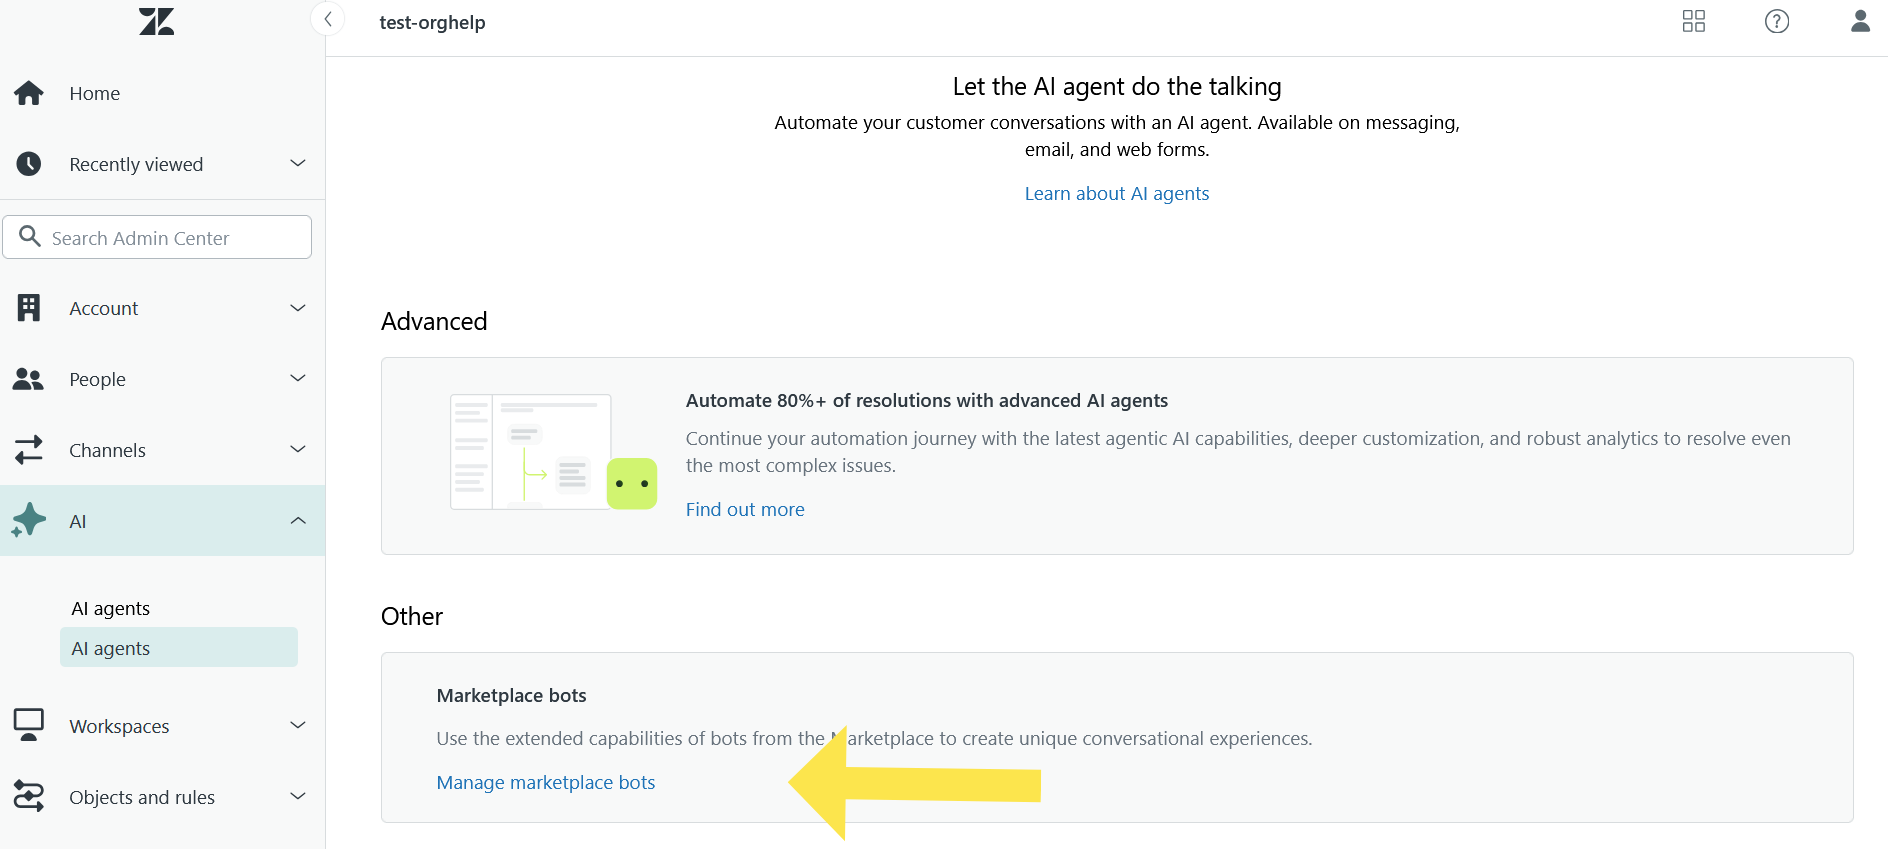
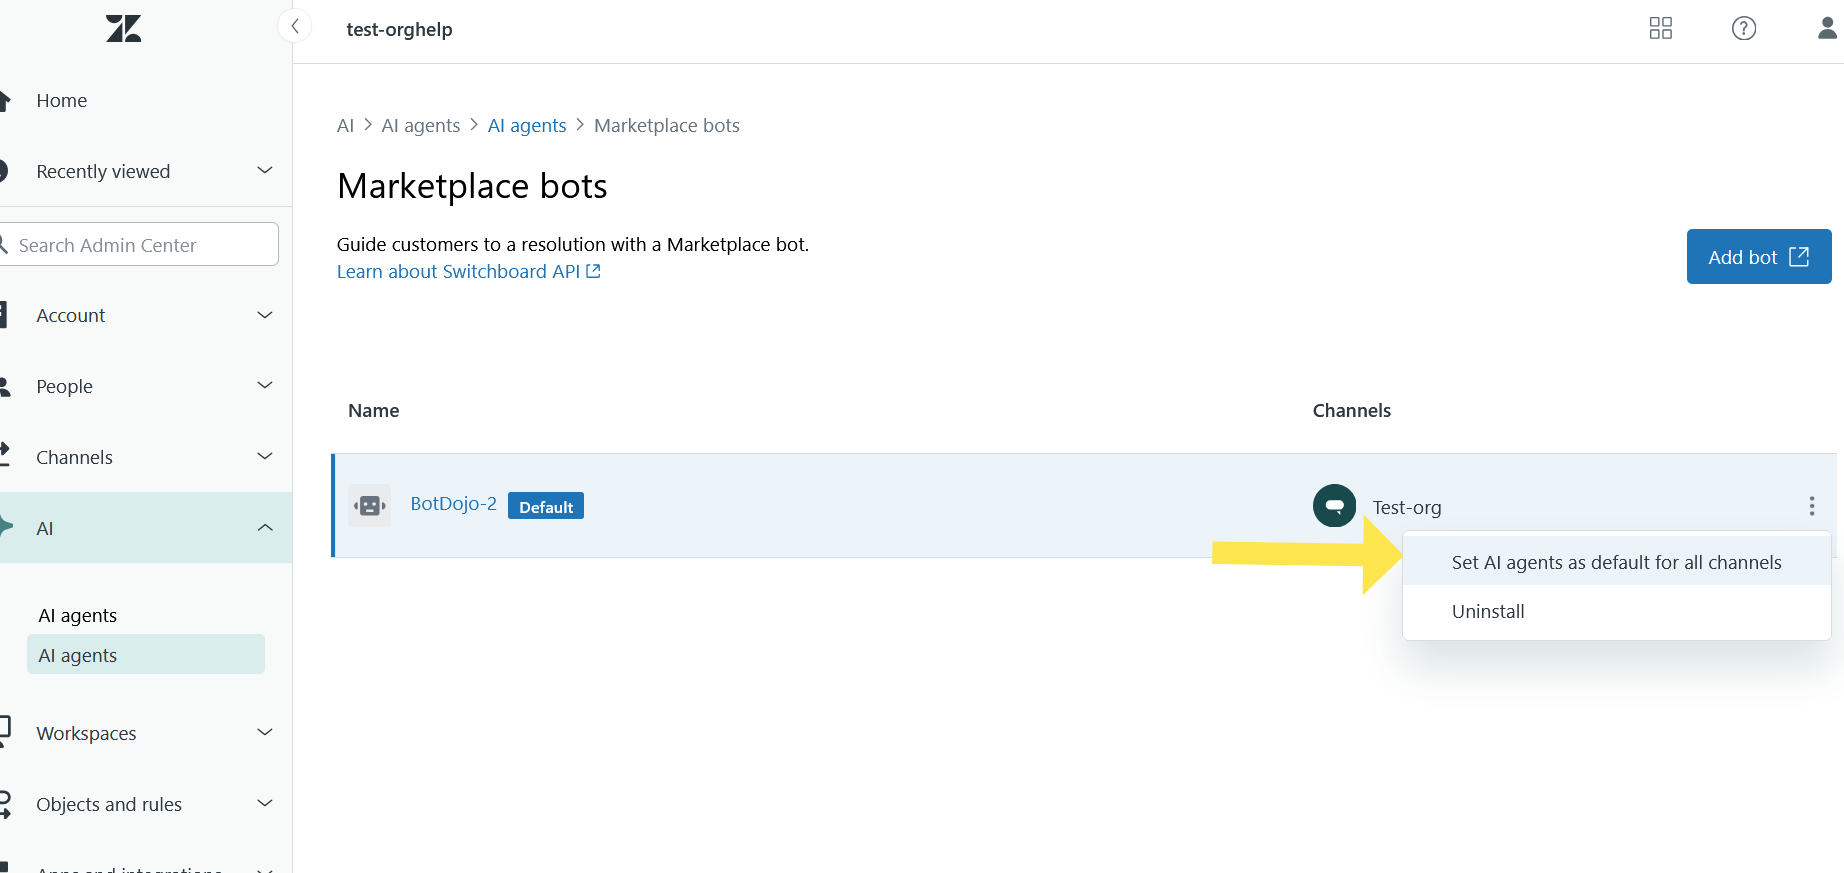
- Congratulations! You've successfully created your BotDojo integration in your Zendesk portal. You can verify the installation by navigating to the Zendesk Admin Center > AI Agents > Marketplace Bots. The newly created BotDojo integration will be listed there. To set this bot as the default responder on any channel, follow the subsequent steps.
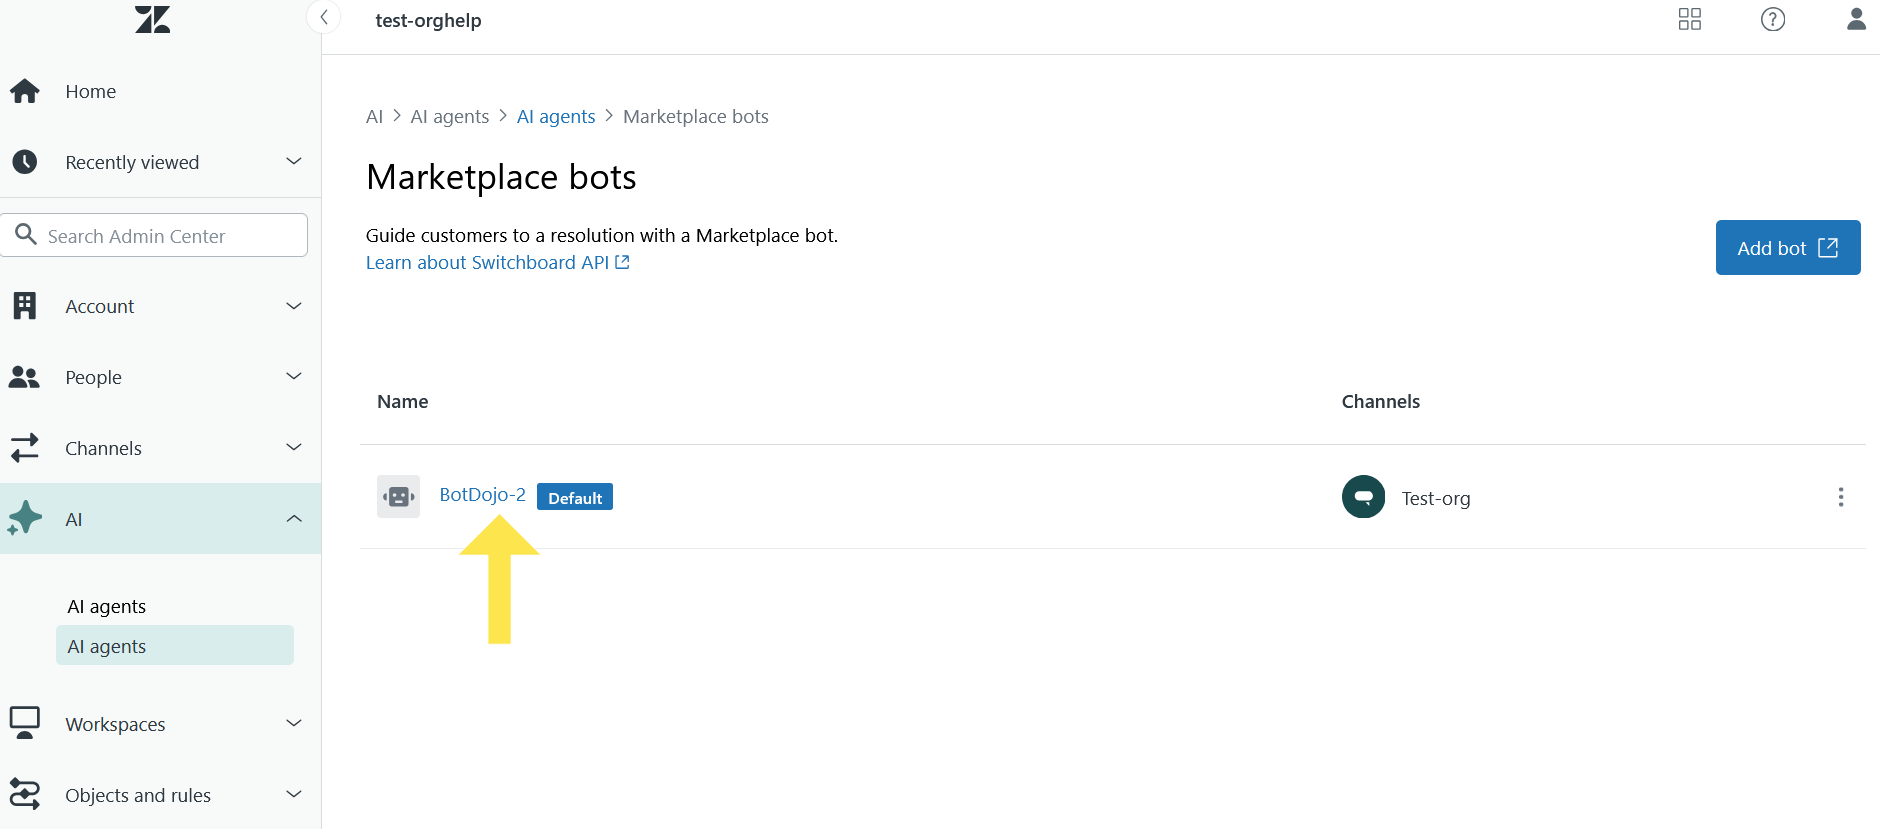
- Set this bot as the default responder.
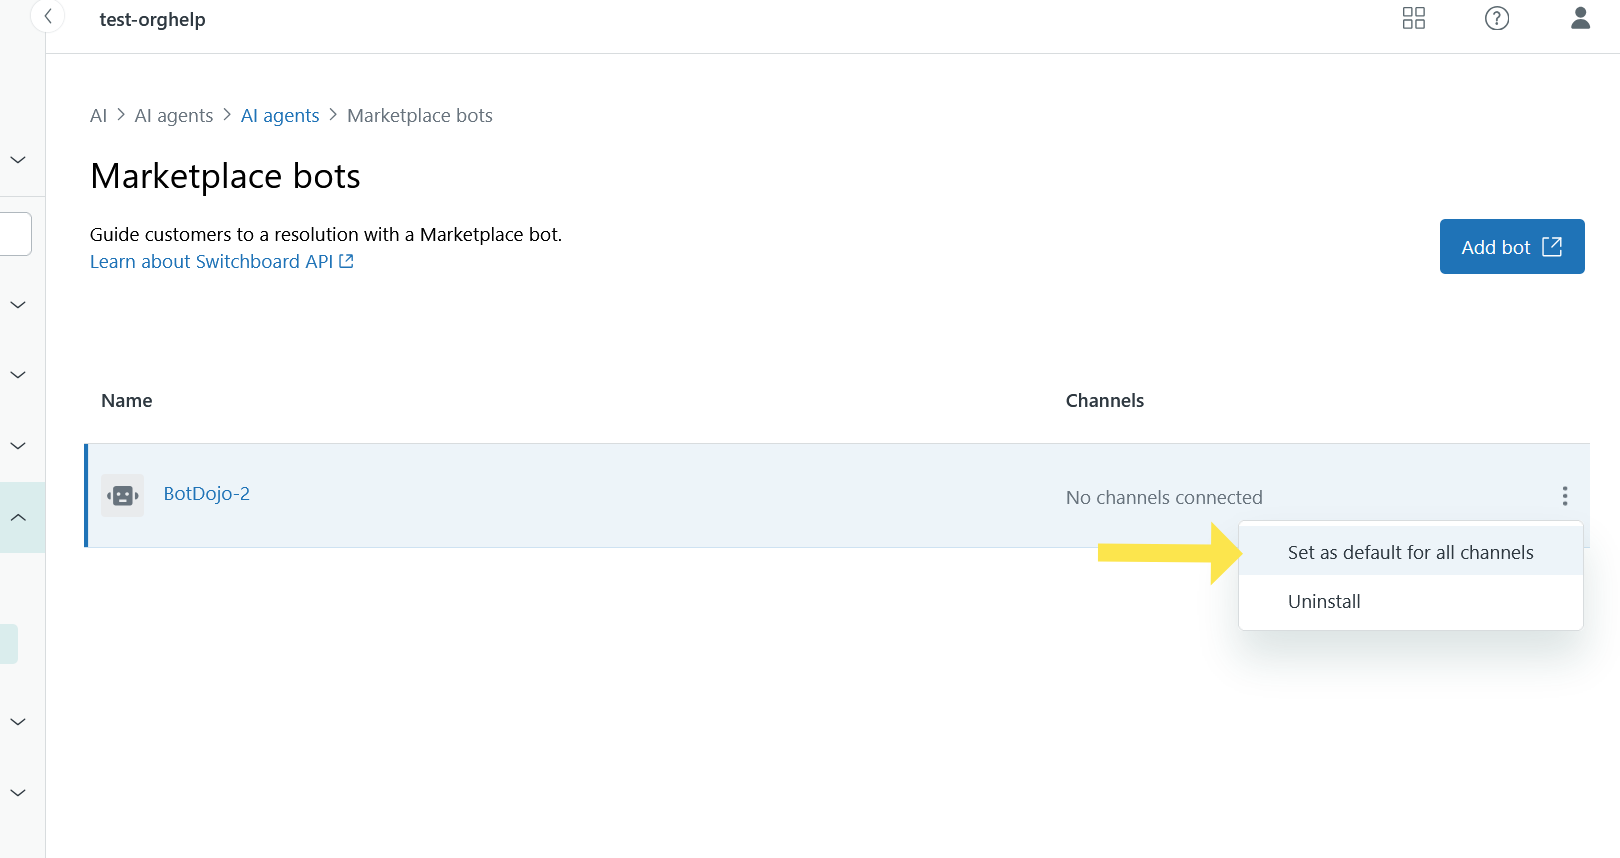
- BotDojo will now serve as the first point of contact for all your customers.
Connect to Flow
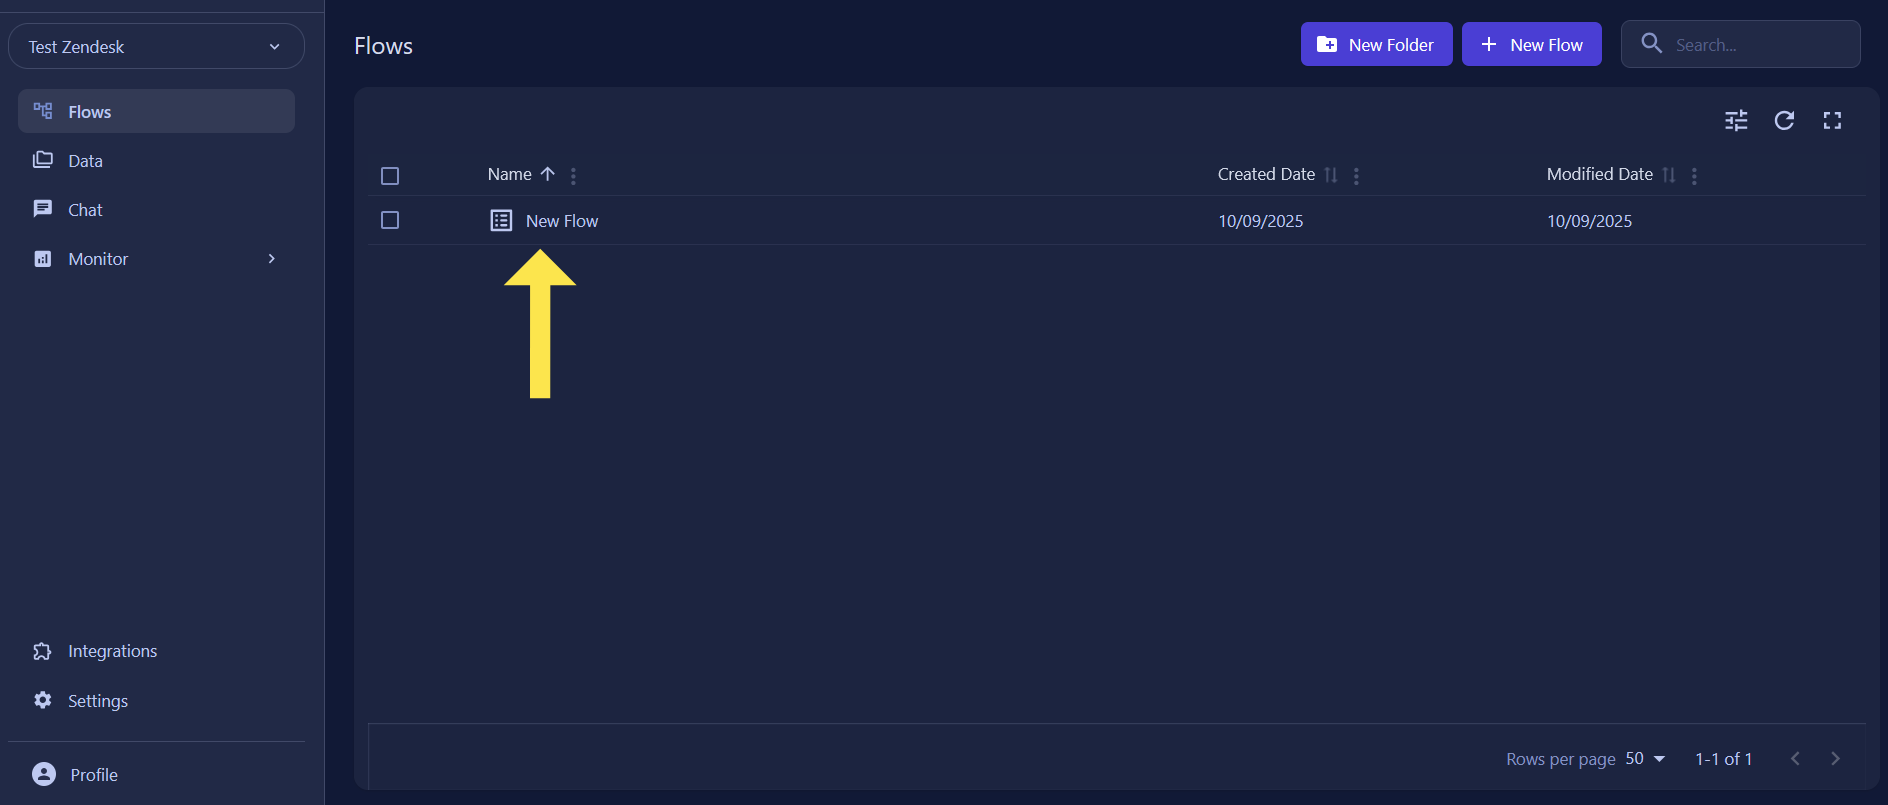
- Now that your Zendesk integration is set up, you can connect it to any BotDojo flow by creating triggers. Navigate to your BotDojo account > Flows and select the flow you want to connect.
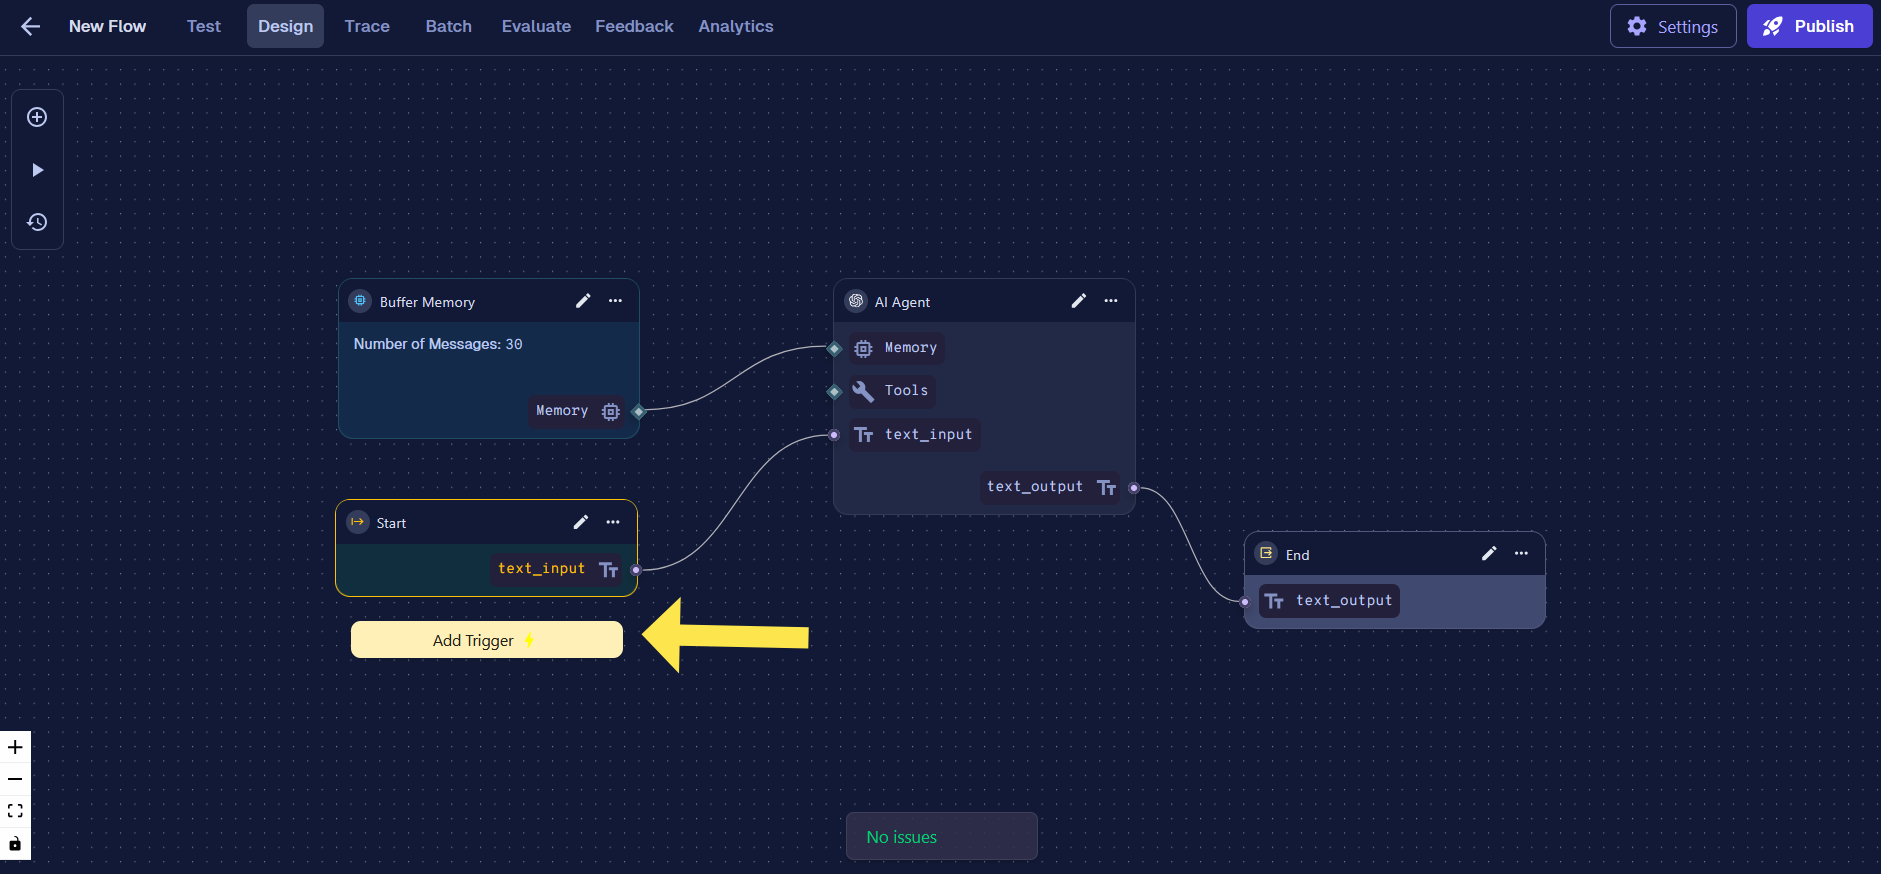
- Create a new trigger on the selected flow by clicking Add Trigger
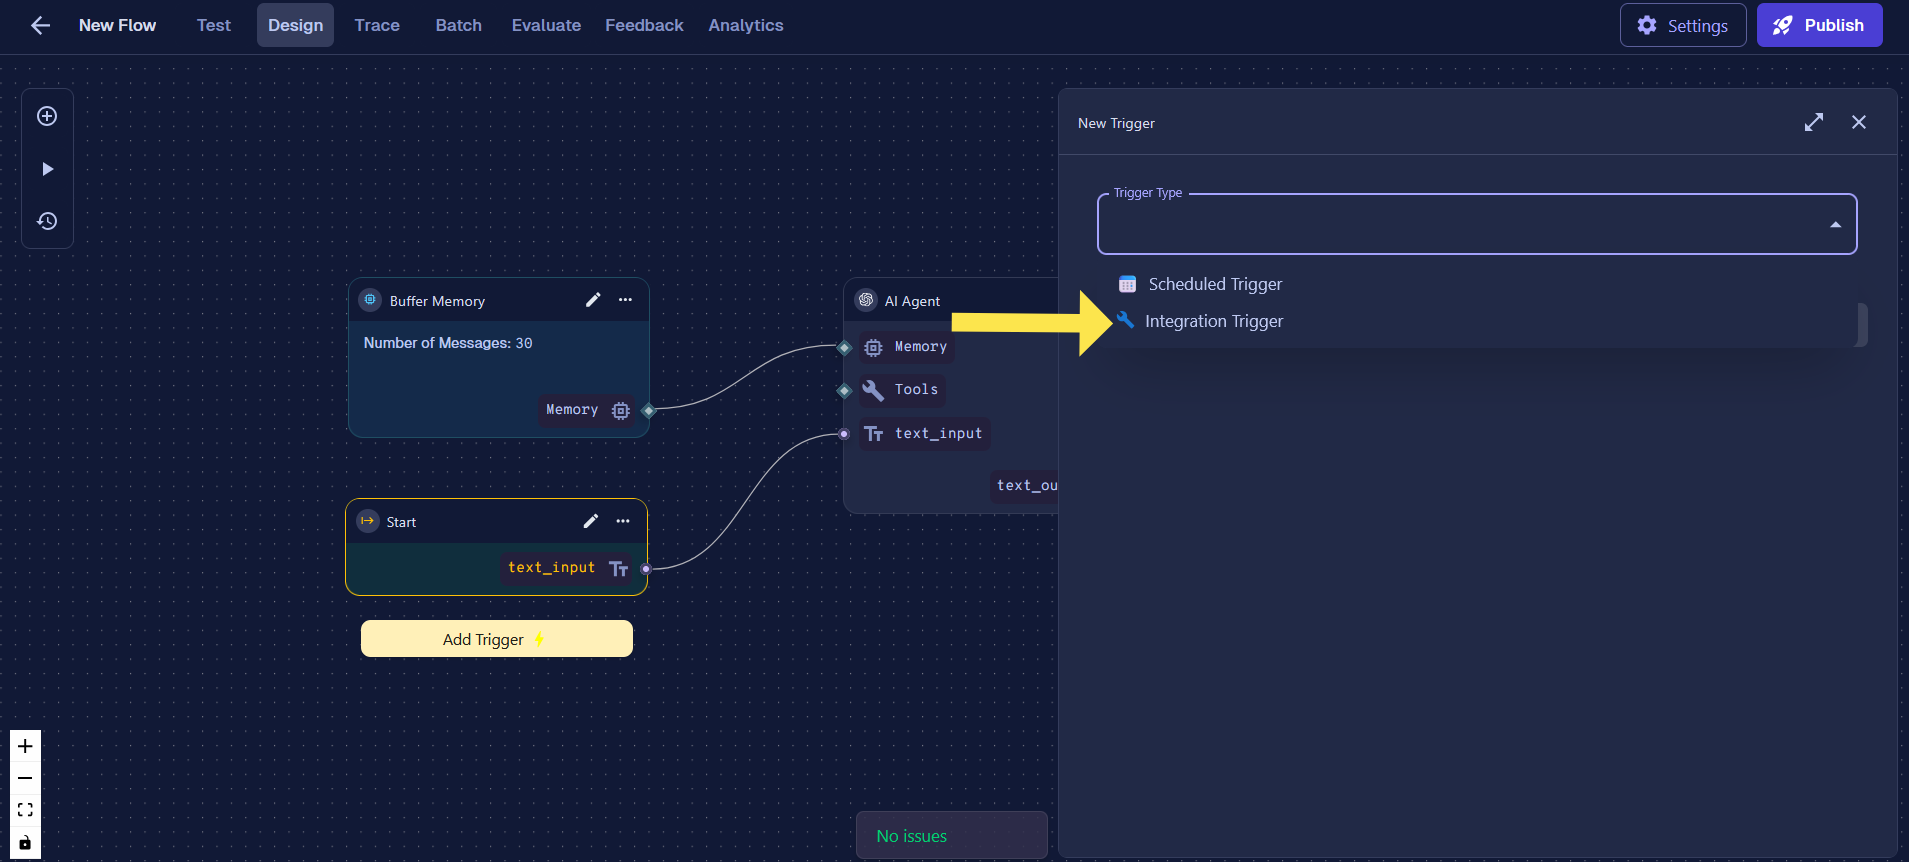
- Select Integration Trigger from the trigger types
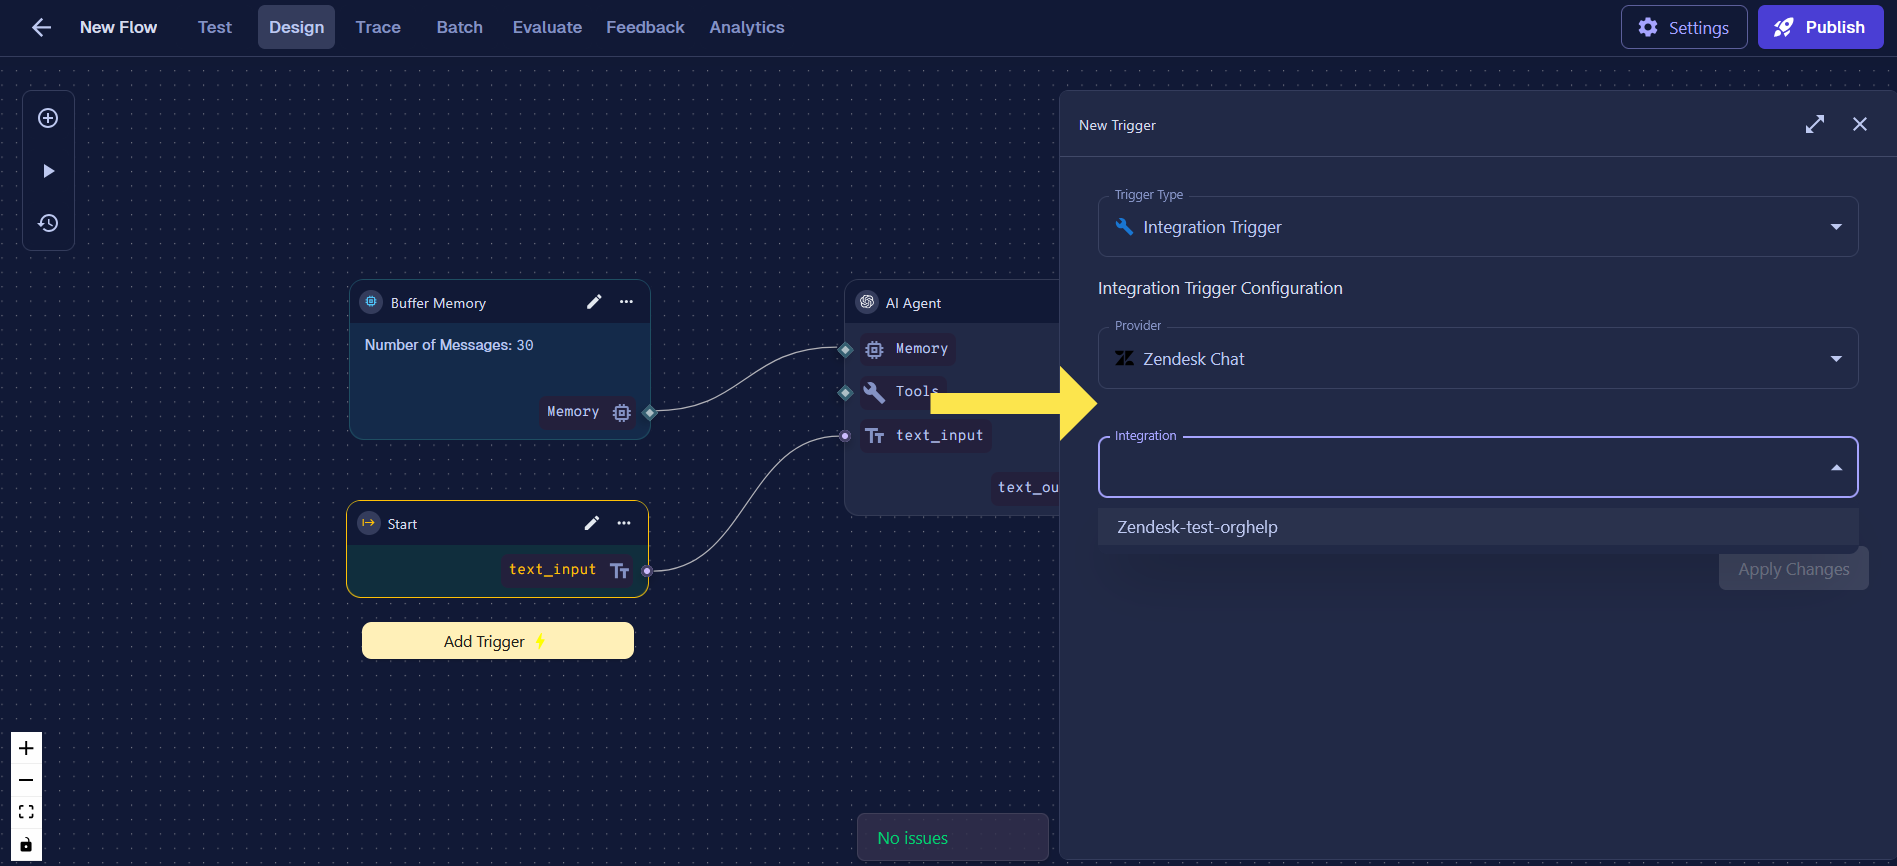
- Select Zendesk as the provider and then choose the Zendesk integration you created earlier
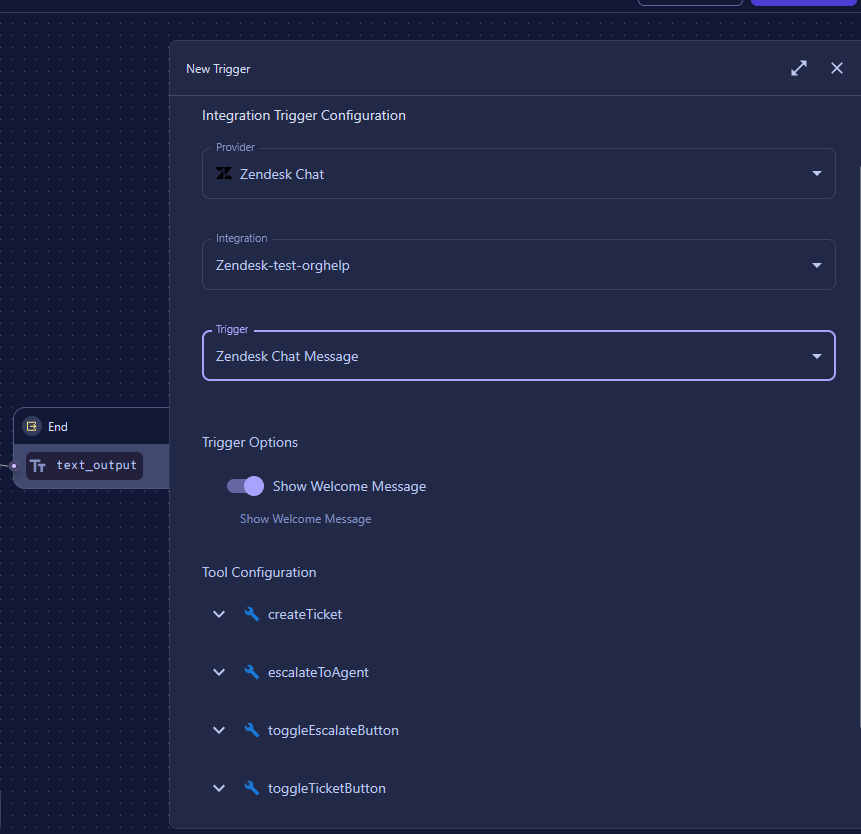
- Choose the appropriate Trigger Type based on when you want the flow to be activated
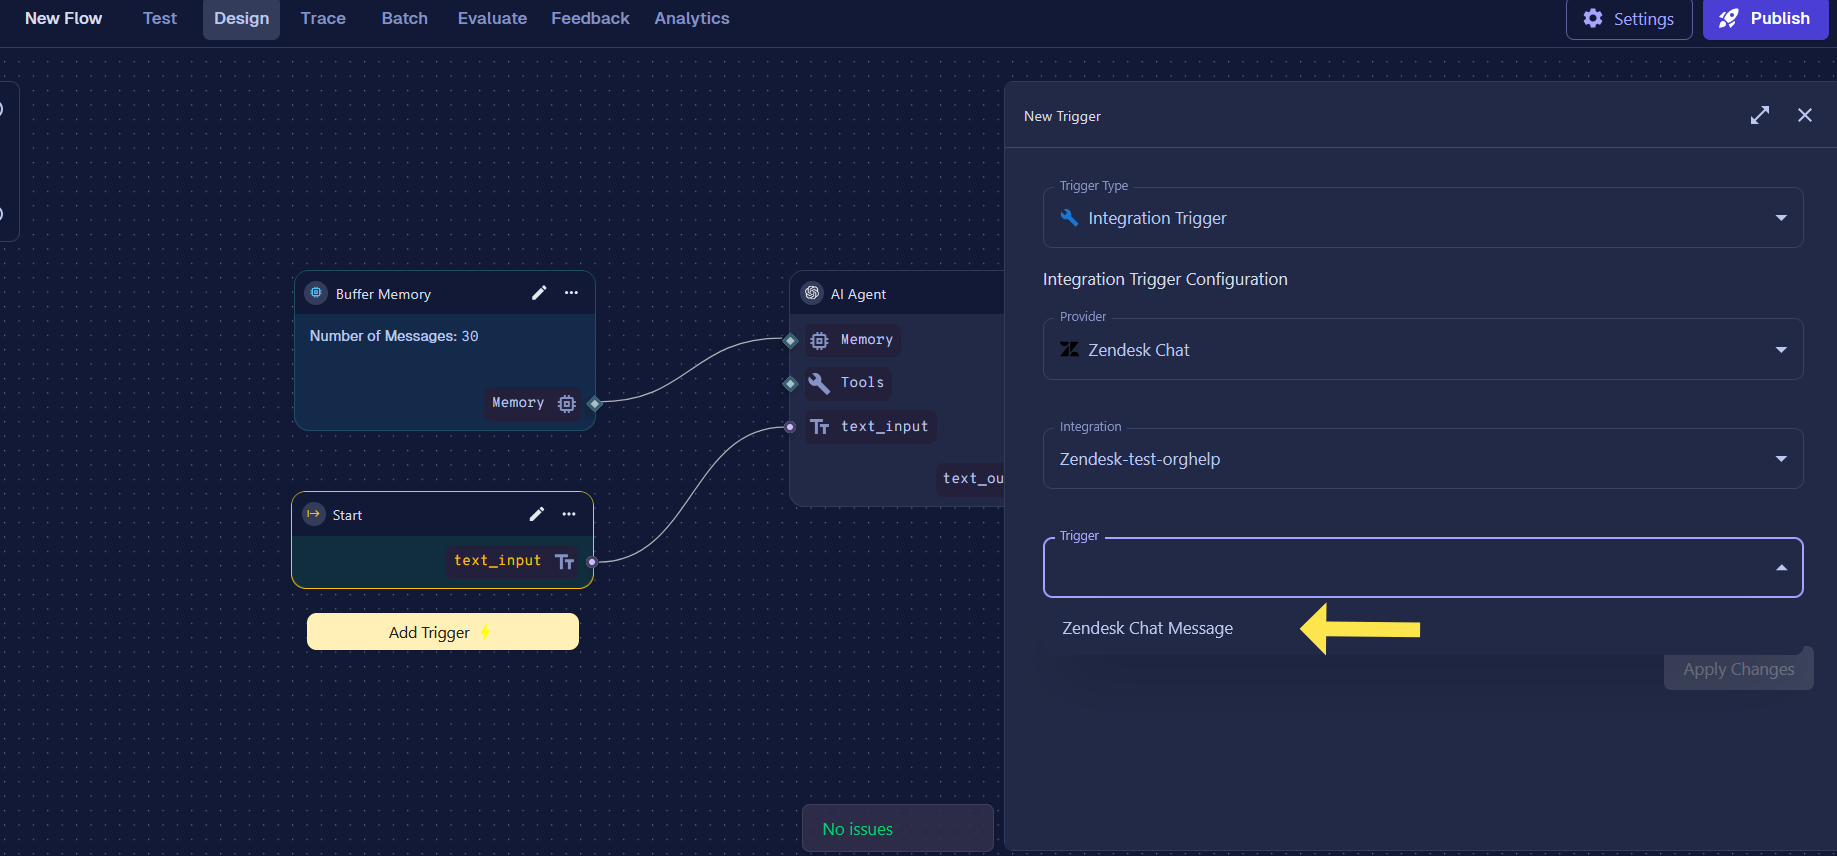
- This will load all available trigger configurations for the selected trigger type.
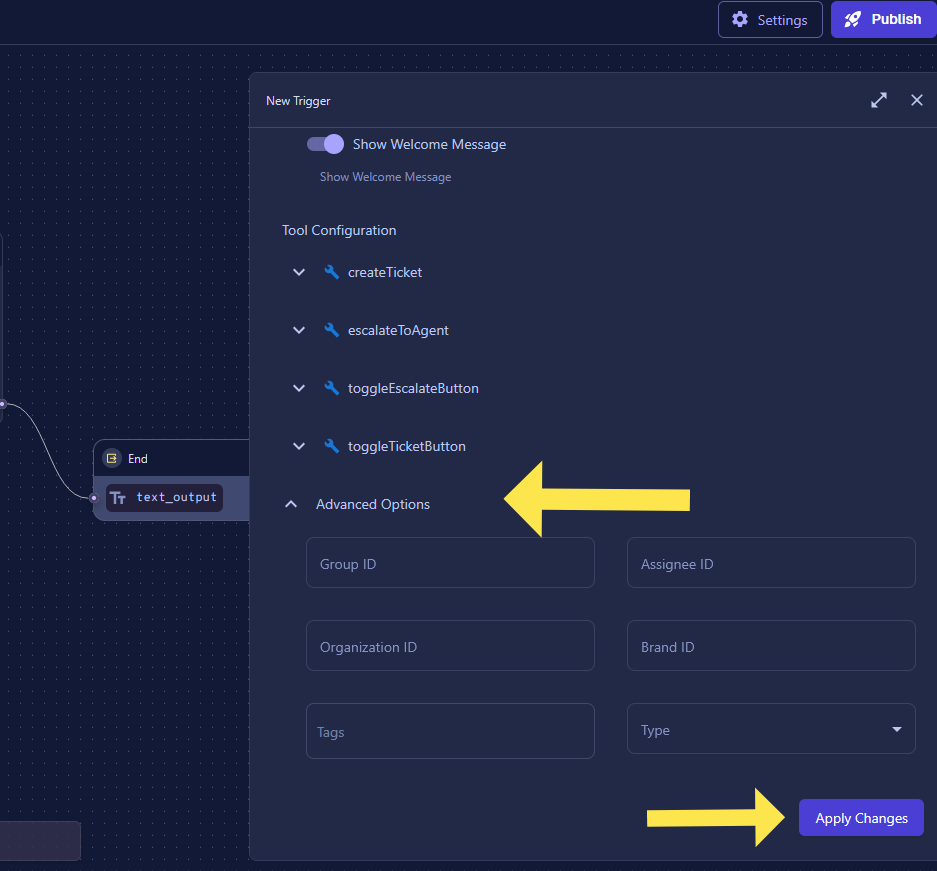
- You can customize ticket fields in the advanced options section. These fields will be used during ticket creation and agent escalation. Once configured, click Apply Changes
By default, Zendesk does not send a customer message when the connected flow fails. To avoid a silent chat, enable Send Message On Flow Error and customize the Flow Error Message. For an existing trigger, click Update Trigger Reference first so the new settings appear, then configure them and click Apply Changes. The fallback is sent when an incoming customer-message flow ends in an error. Aborted requests, including an older request intentionally canceled by a newer customer message, and synthetic follow-up runs do not send it. The BotDojo flow request remains in its original error state for monitoring and debugging.
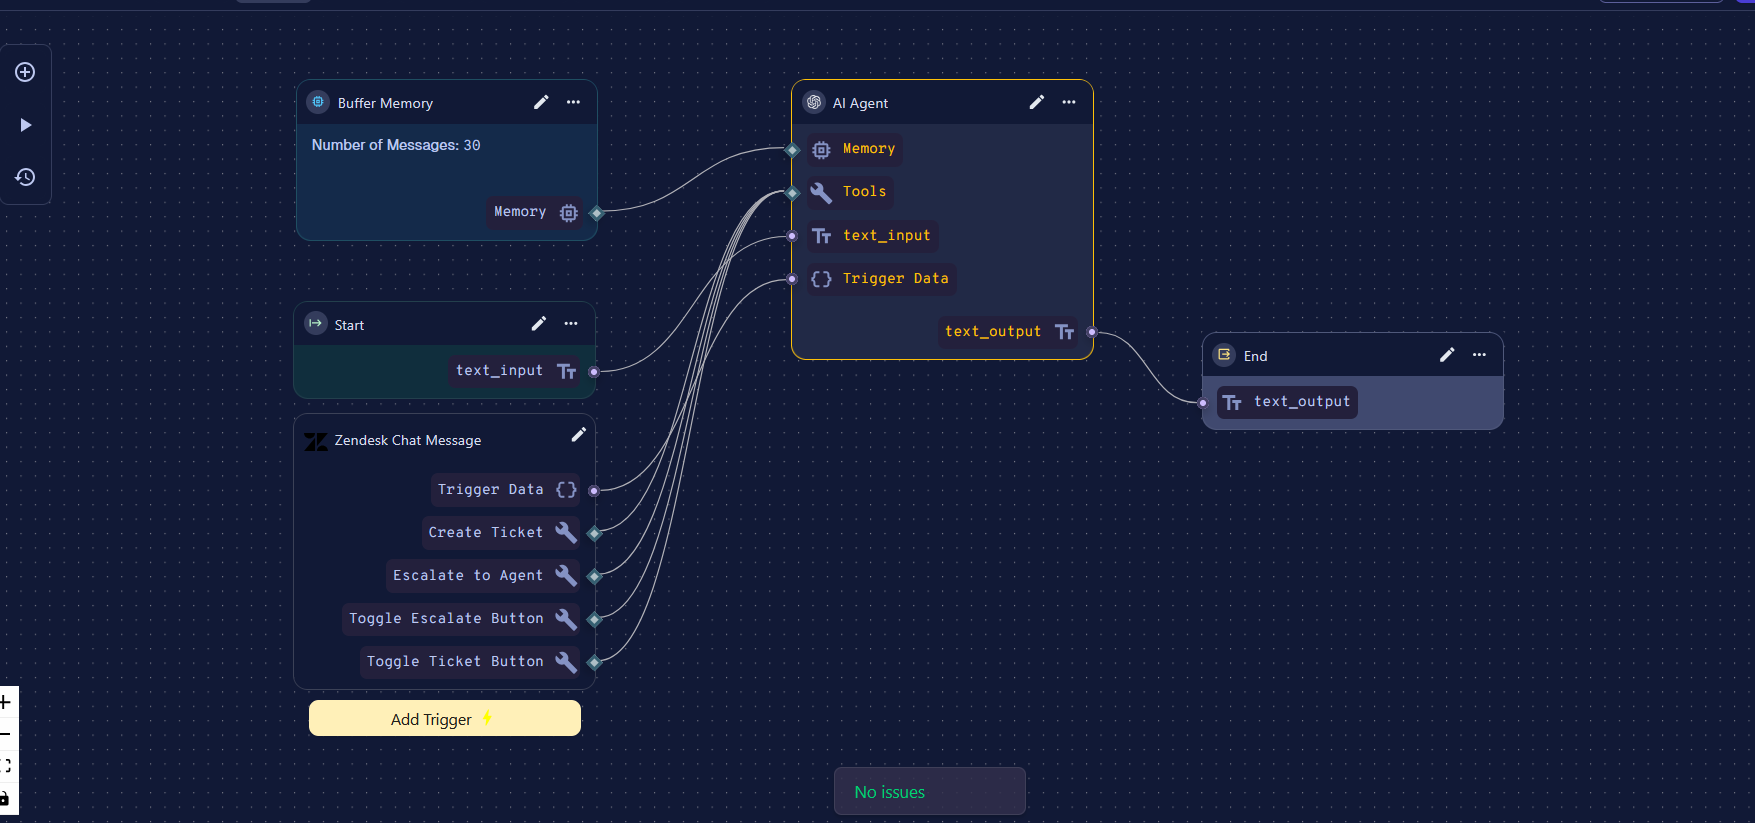
- Your Zendesk trigger is now successfully created. Configure the flow by mapping all the necessary inputs and tools to your Language Model.
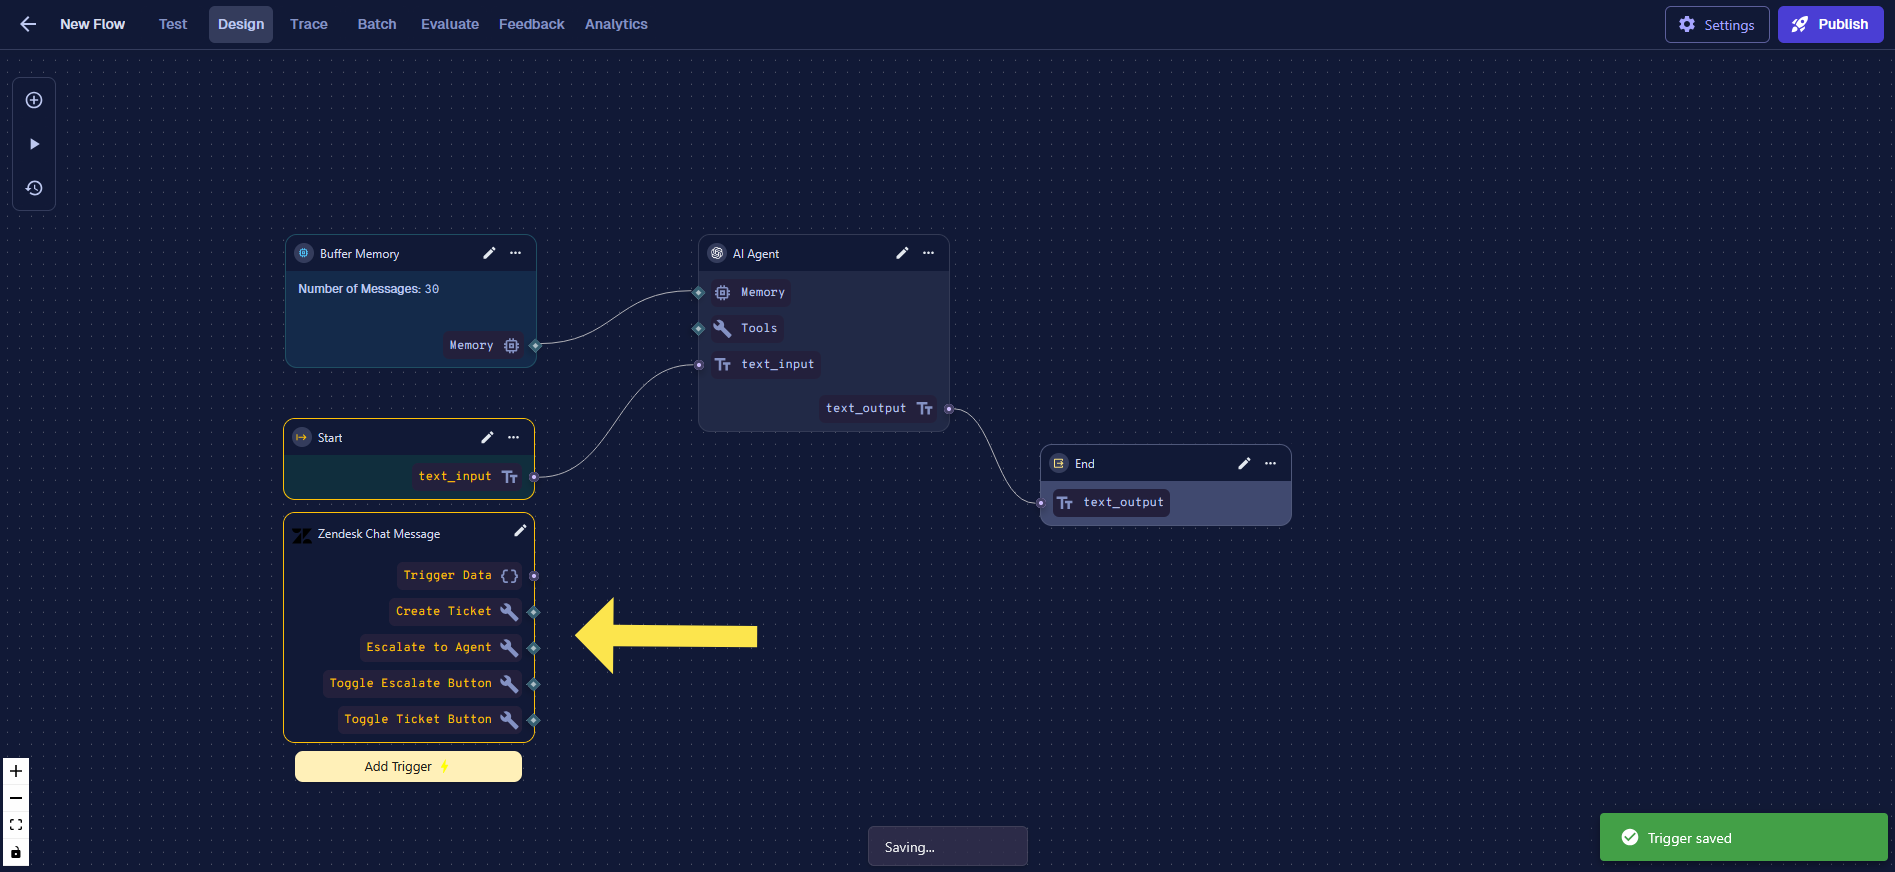
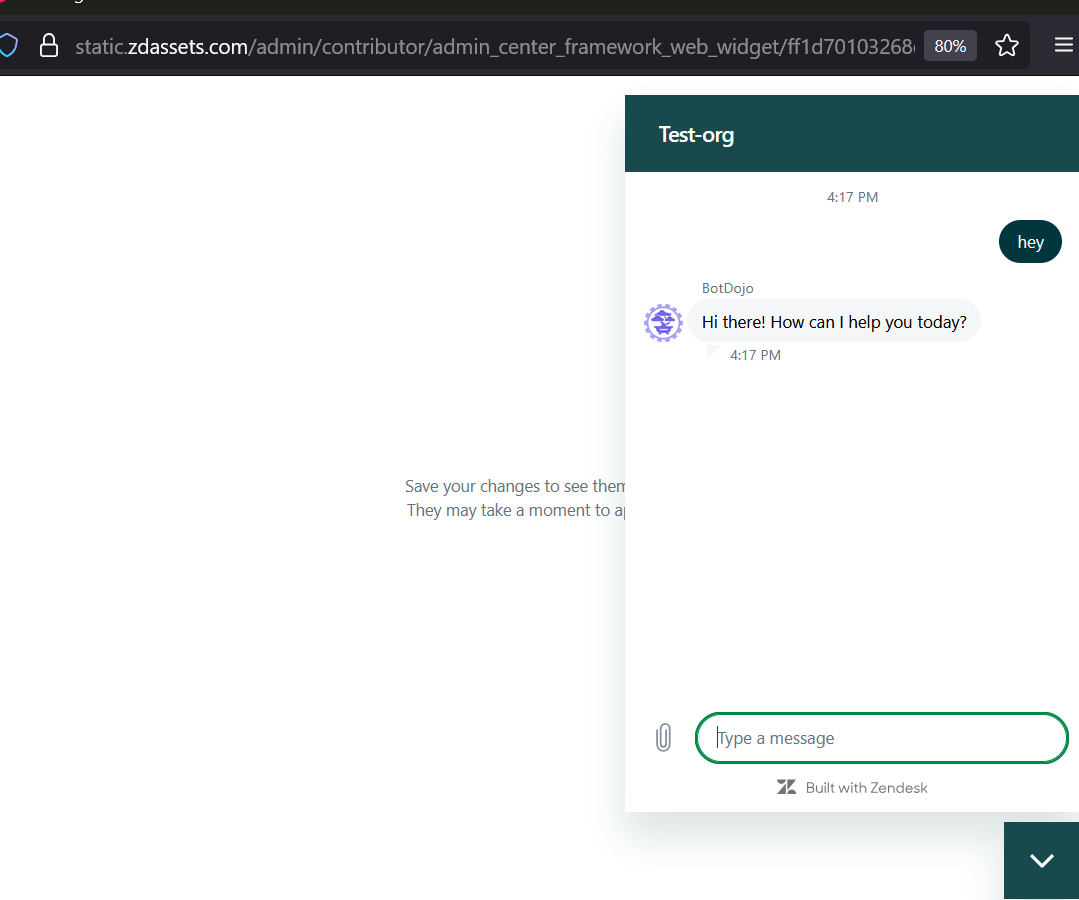
- The trigger has been successfully added to the flow. Now, whenever a new message arrives on any Zendesk channel, this flow will be triggered to handle the user query. The flow includes built-in capabilities to analyze user messages, create support tickets, and escalate conversations to human agents when needed.
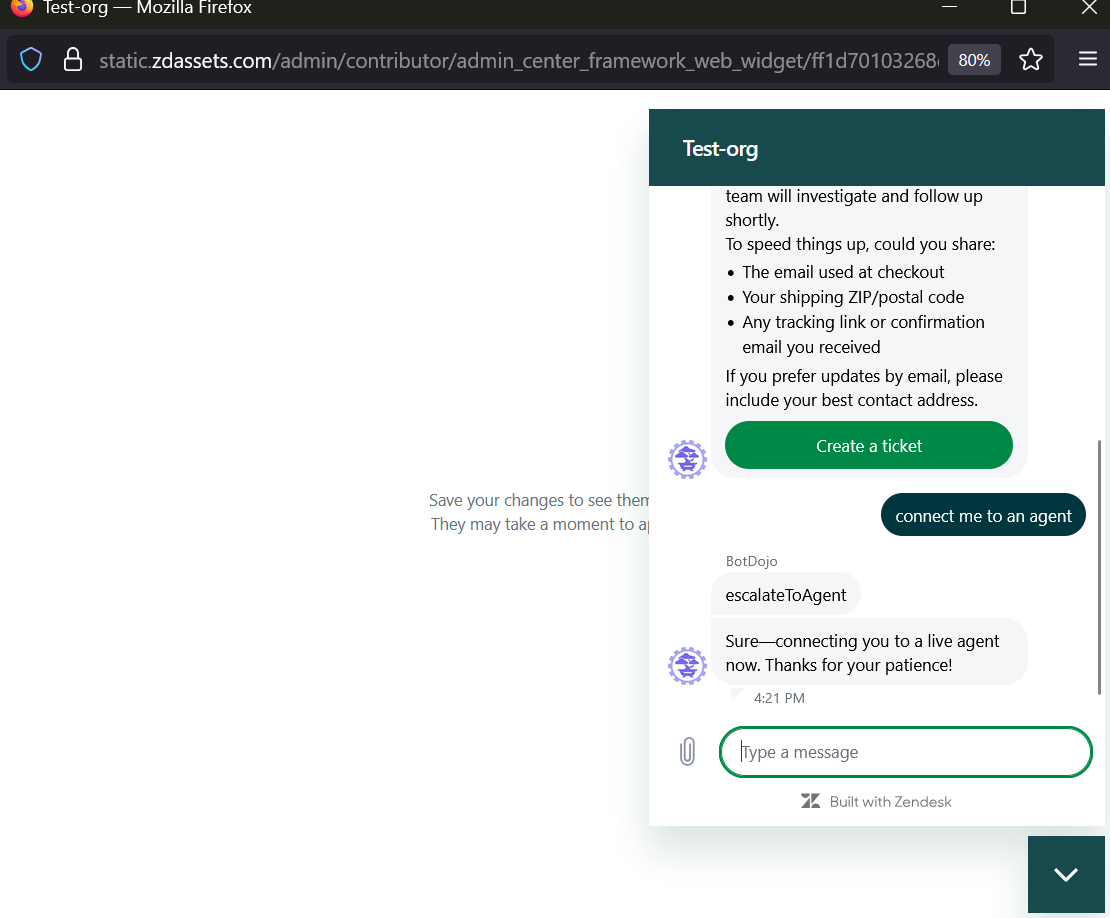
Testing the Trigger
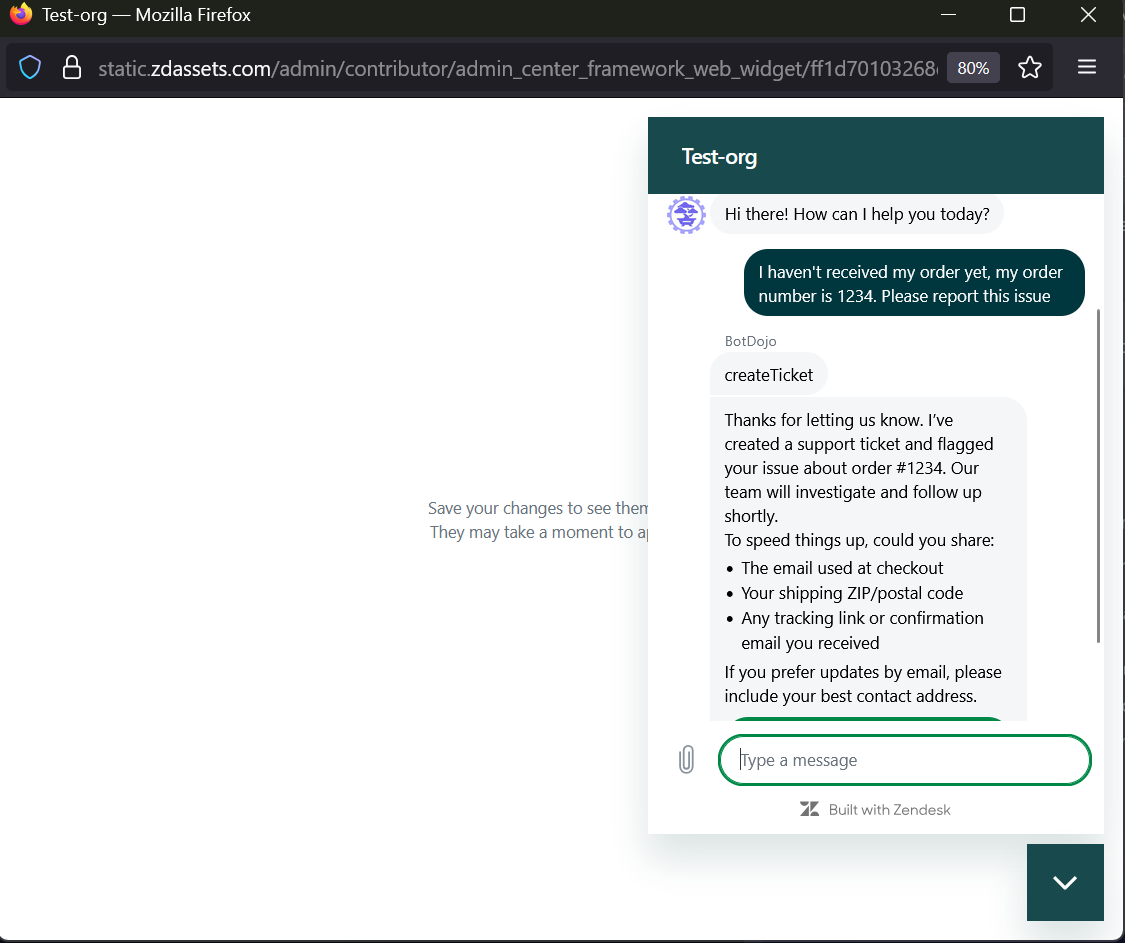
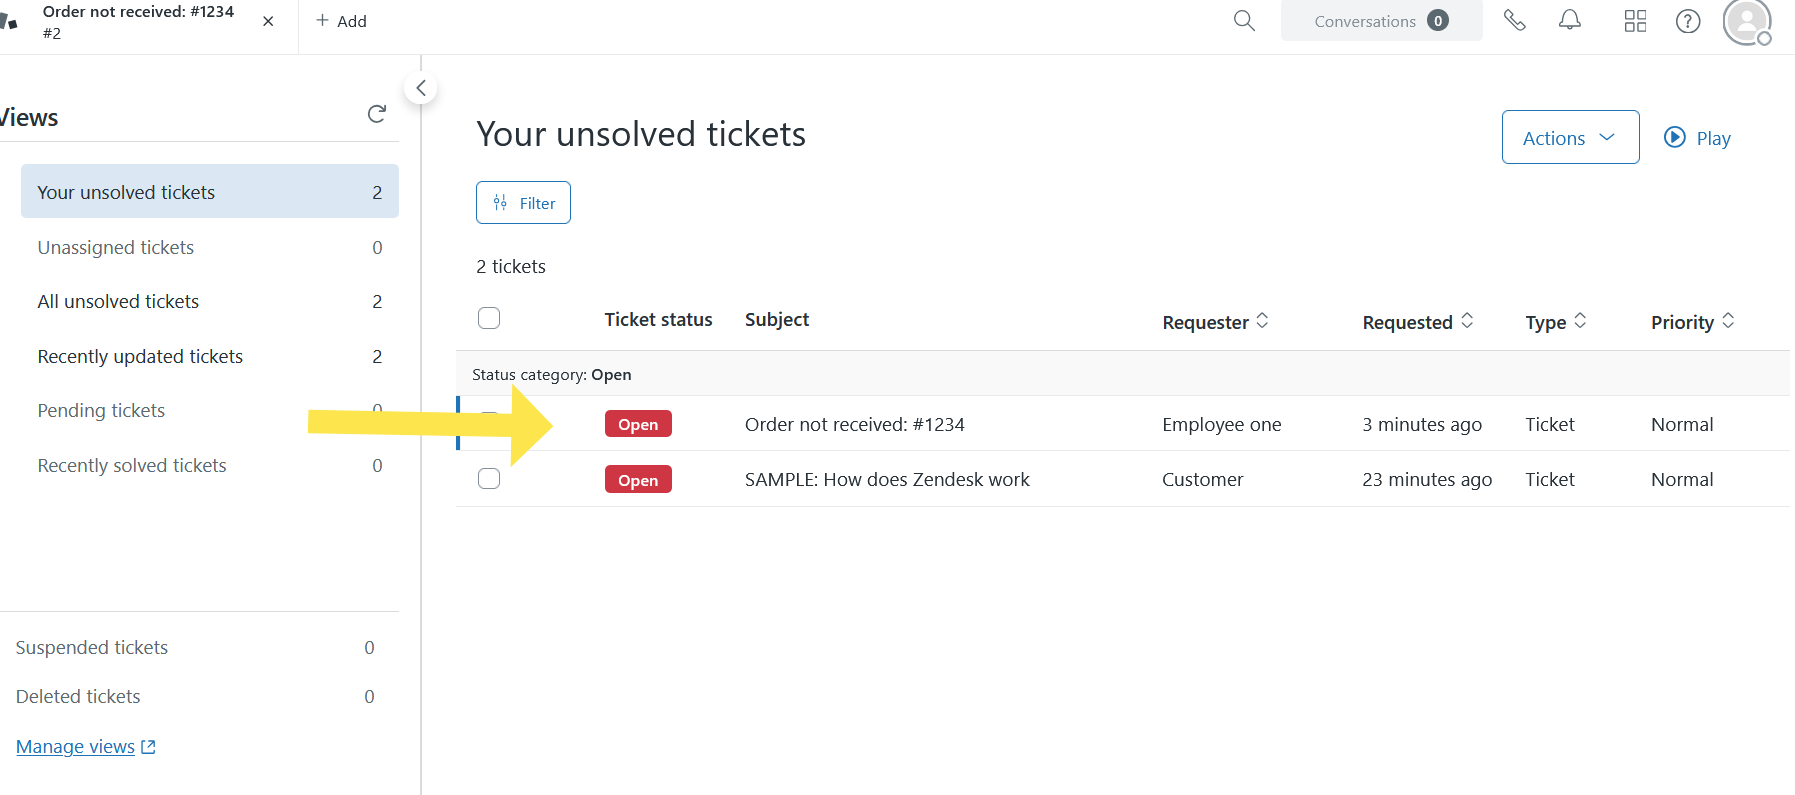
- The newly created ticket is now visible in Zendesk Support.
- It can also escalate the conversation to any human support agent as per the user's request.
Removing the Integration
To safely remove the BotDojo integration from your Zendesk account, follow these steps in order:
- First, you need to set another bot as the default responder. Navigate to Zendesk Admin Center > AI Agents > Marketplace Bots and select a different bot to be the default responder for your channels.
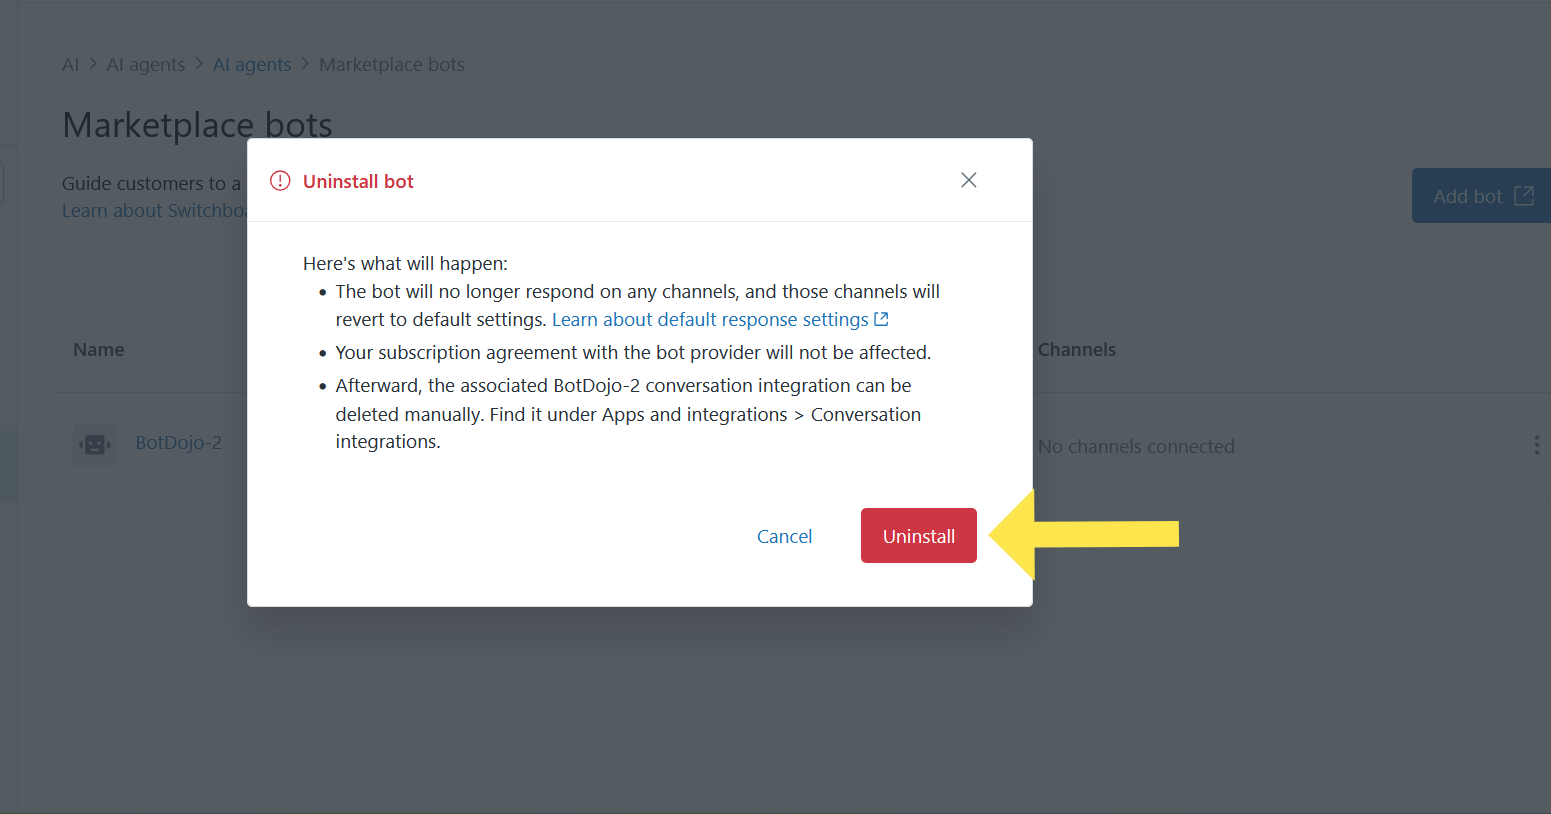
- Once another bot is set as default, you can uninstall the BotDojo bot from the switchboard.
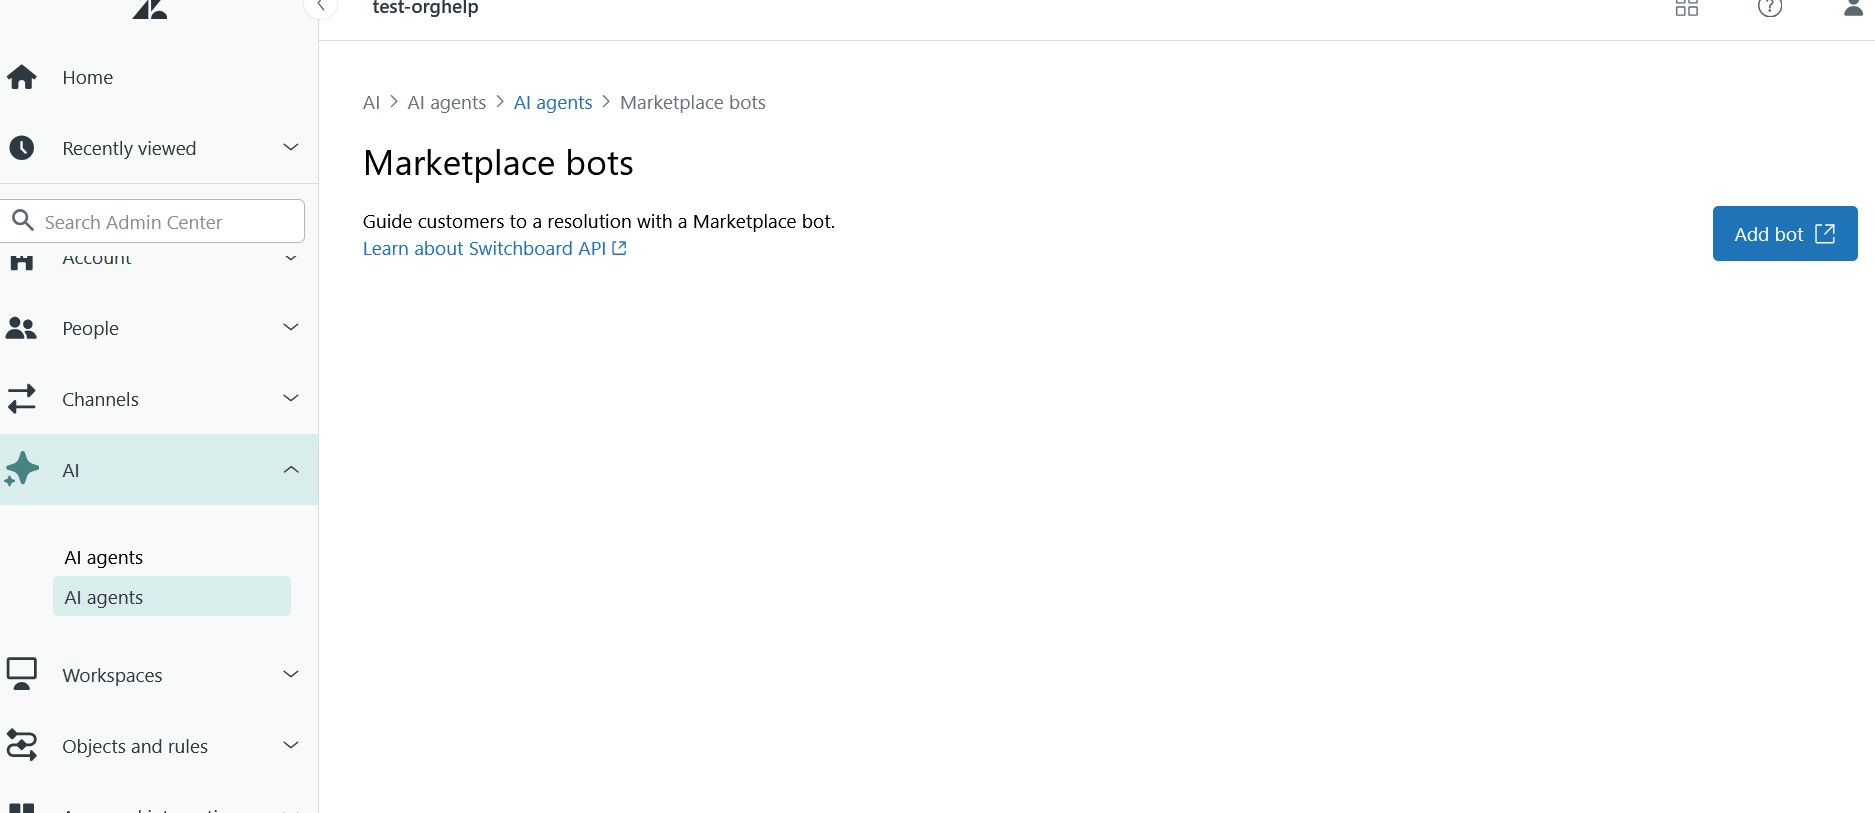
- The bot is now successfully uninstalled.
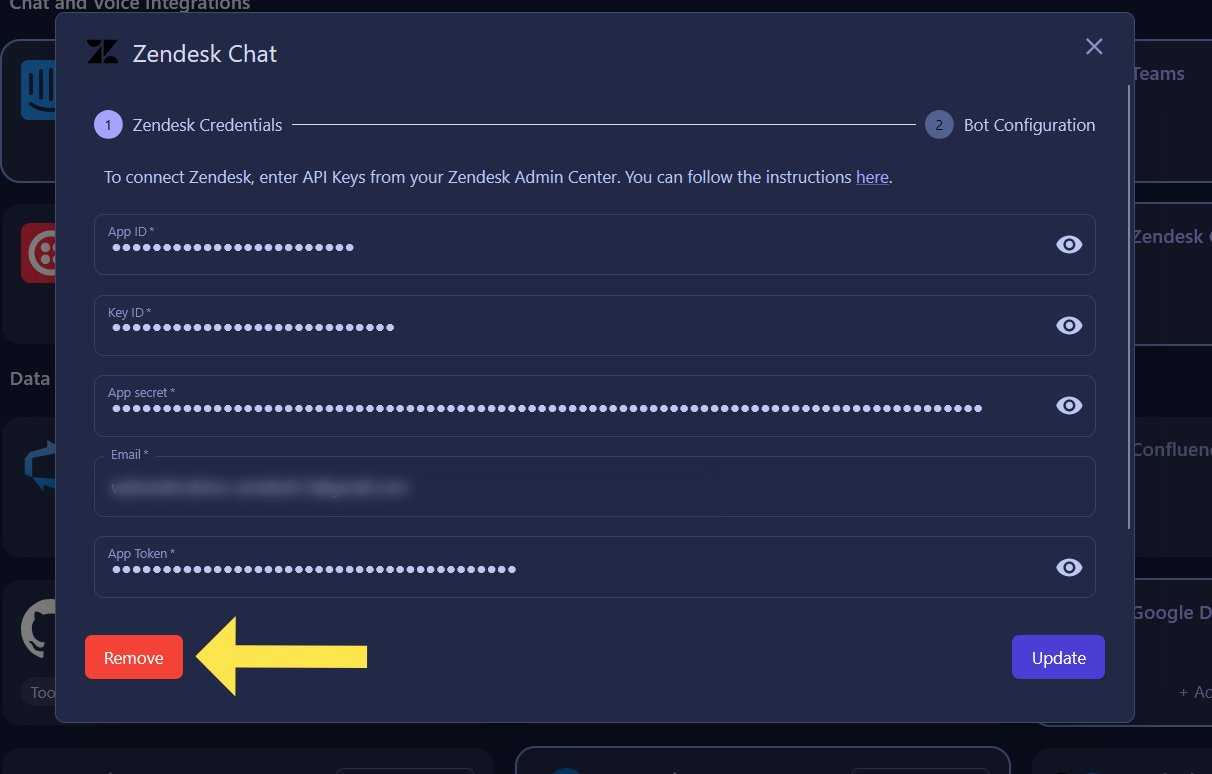
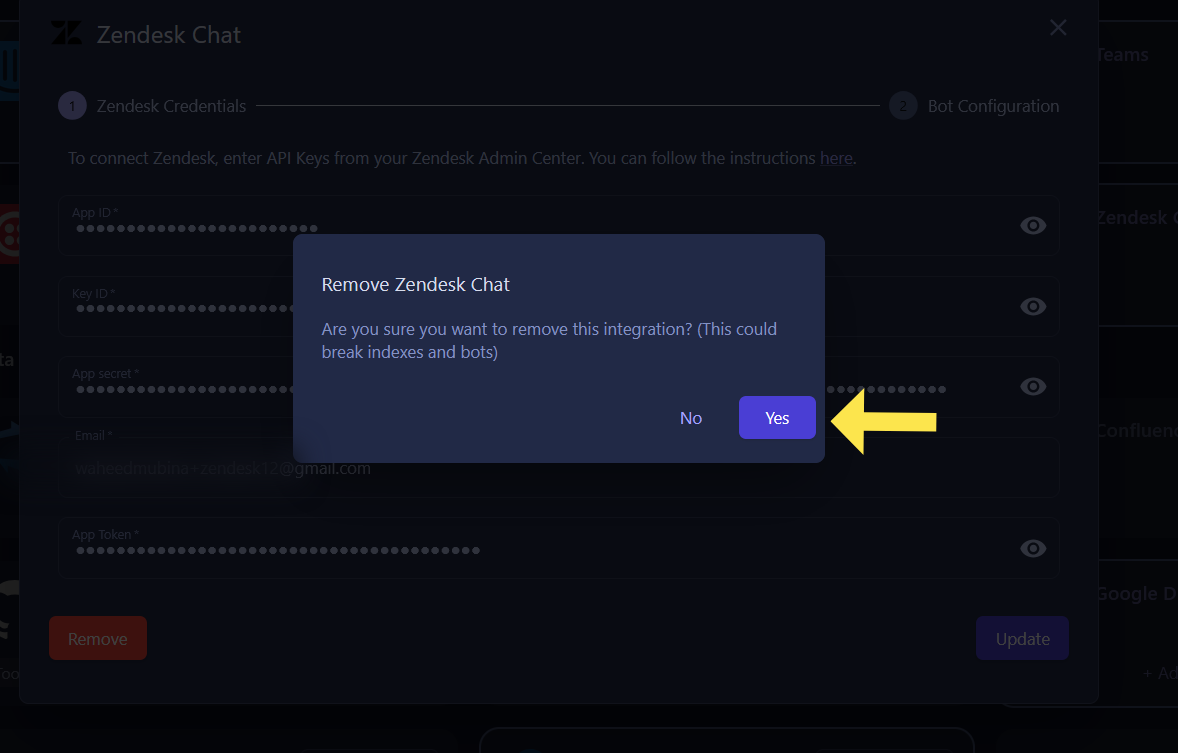
- After successfully uninstalling the bot from Zendesk Marketplace Bots, you can now safely remove the integration from your BotDojo account. Go to your BotDojo account > Integrations, find the Zendesk Chat integration, and click Remove. This integration will now be successfully removed from Zendesk Admin Center as well as from the BotDojo account.
Make sure to complete these steps in the exact order listed above. Setting another bot as default before uninstalling prevents any disruption to your customer support channels.