Salesforce
BotDojo can integrate your ChatBot into your Salesforce Einstein bot. Following are the steps to set up Salesforce Einstein Bot
Configure Einstein Bot in Salesforce
Open your Salesforce developer's portal then:
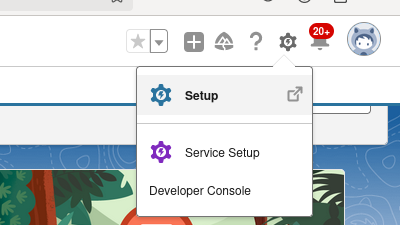
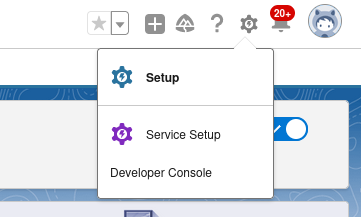
- Click on the settings icon on the top right and click on Setup.
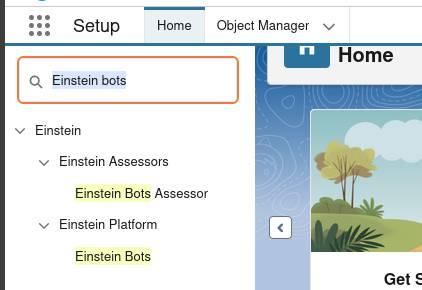
- Click on Einstein Bots by searching it on quick search.
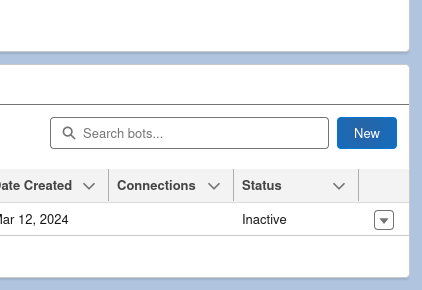
- Click on the New button to create a new bot.
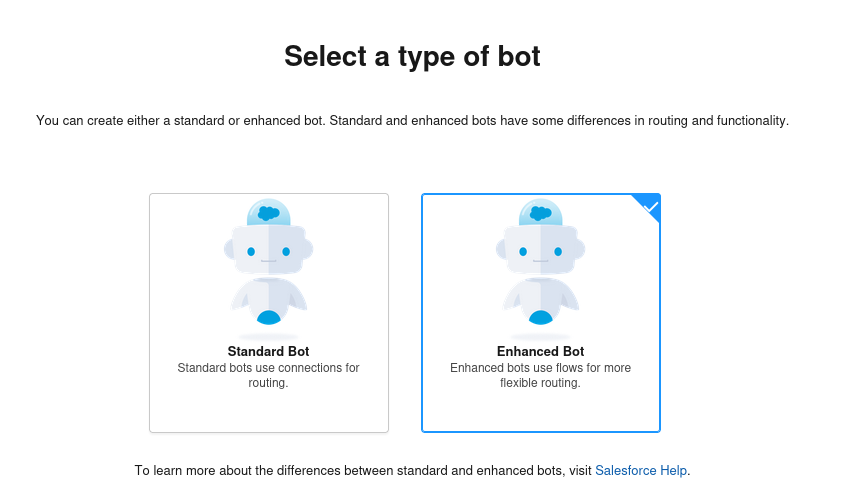
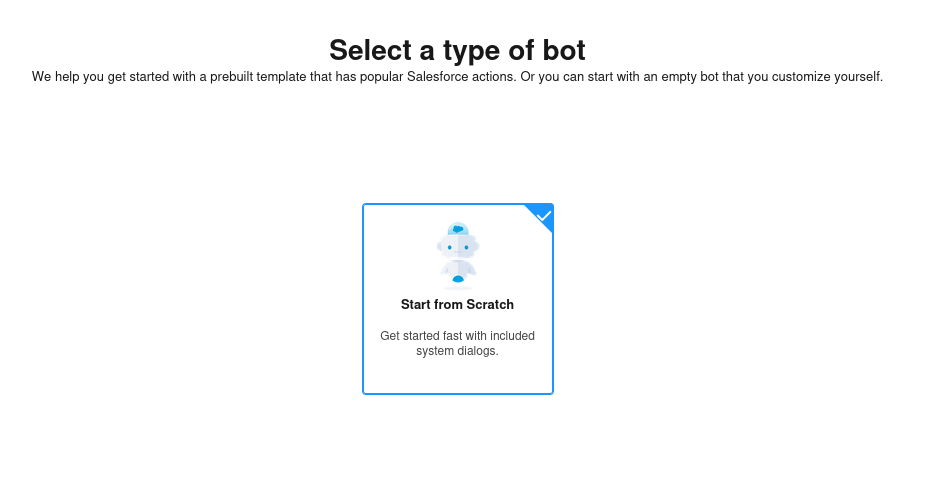
- Select Enhanced Bot from the selection.
- Click on Start from Scratch.
- Give your bot a name.
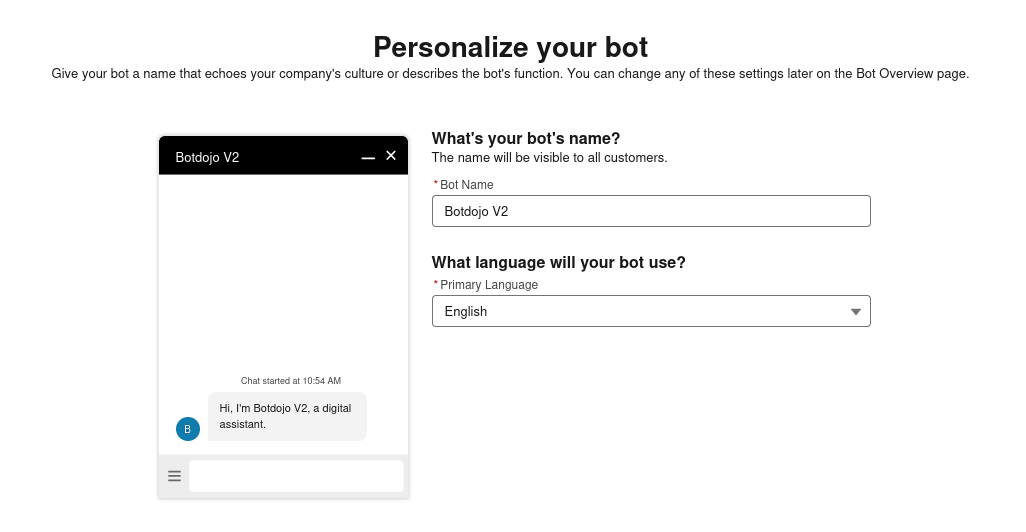
- Also give it a nice welcome message.

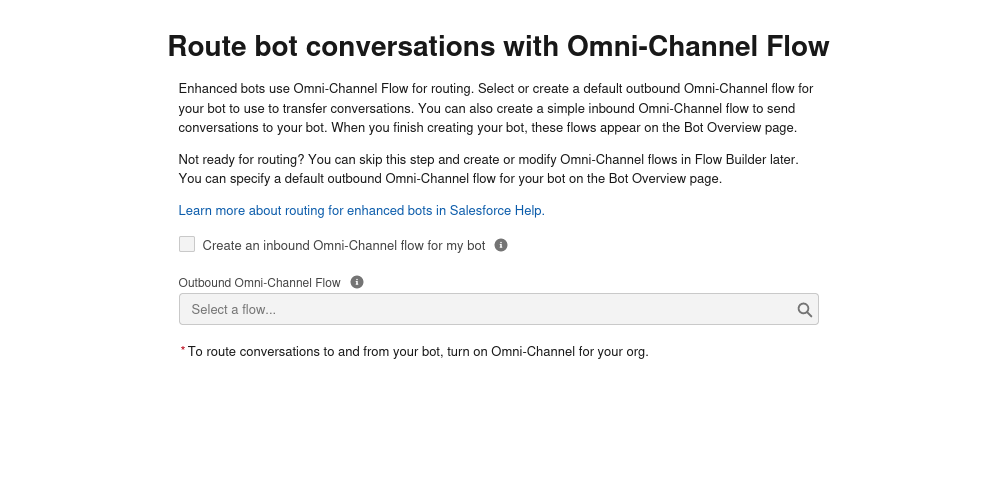
- Now you will be asked to set a route bot conversations which you can leave it as it is, we can change that later.
- Now, click on Proceed.
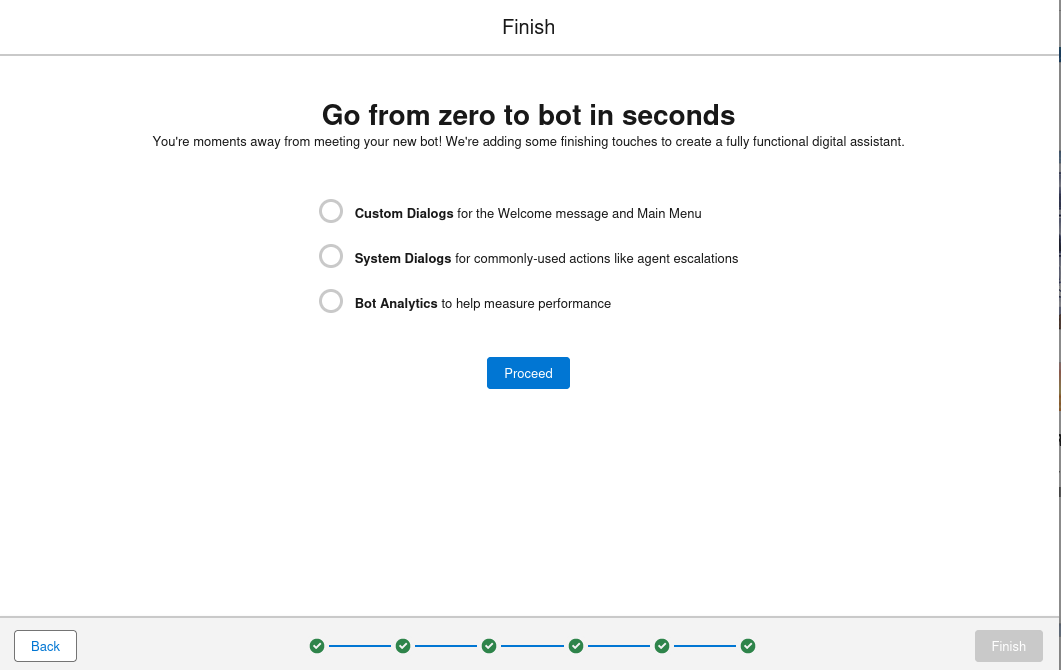
- We have successfully created the Einstein Bot.

Create New Class and use BotDojo API
- Click on the setting icon on the right top then click on Developer Console
- Click on File>New>Apex Class.
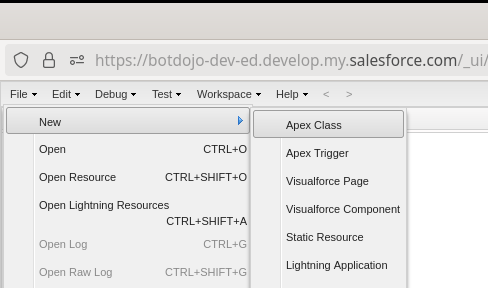
- Give your class a name e.g. BotdojoClient

- Paste the below sample code in the file and don't forget to replace the placeholders in variables (<Your Account ID>, <Your Project ID>, <Your Flow ID>, <Your API KEY>) with actual values.
To find out how to get the API key refer to the Quick Start section.
In the code given below, we have two classes an InputWrapper Class and an OutputWrapper class. The variables decorated with this InvocableVariable property will act as input/output parameters for the Einstein bot and will be visible on the UI as component property.
Here's how we can create any variable for this purpose:
@InvocableVariable public String username;
By doing so, we can get this variable to appear on the UI.
Carefully assign the "label" to your @InvocableMethod in the code as it will be displayed on UI with the label name.
public class BotDojoClient {
  public interface HttpCallout {
    HttpResponse send(HttpRequest request);
  }

  public class HttpCalloutImpl implements HttpCallout {
    public HttpResponse send(HttpRequest request) {
      Http http = new Http();
      return http.send(request);
    }
  }

  public class InputWrapper {
    @InvocableVariable
    public String custom_input1;
    @InvocableVariable
    public String custom_input2;
    @InvocableVariable
    public String custom_input3;
  }

  public class OutputWrapper {
    @InvocableVariable
    public String custom_output1;
    @InvocableVariable
    public String custom_output2;
    @InvocableVariable
    public Boolean custom_output3;
  }

  @InvocableMethod(
    label='Multiple Parameters'
    description='Ask bot through flow'
  )

  public static List<OutputWrapper> ask(List<InputWrapper> inputs) {
    return ask(inputs, new HttpCalloutImpl());
  }

  public static List<OutputWrapper> ask(
    List<InputWrapper> inputs,
    HttpCallout httpCallout
  ) {
    List<OutputWrapper> outputs = new List<OutputWrapper>();
    for (InputWrapper input : inputs) {
      OutputWrapper output = new OutputWrapper();
      try {
        String responseBody = sendRequest(input, httpCallout);
        if (responseBody != null) {
          Map<String, Object> data = (Map<String, Object>) JSON.deserializeUntyped(
            responseBody
          );
          // Here we are storing the session_id in our custom_output2 if we receive one from the flow
          if (data.containsKey('flow_session_id')) {
            output.custom_output2 = (String) data.get('flow_session_id');
          } else {
            output.custom_output2 = input.custom_input2 != null
              ? input.custom_input2
              : '';
          }
          // Fetching bot's response and storing on custom_output1 variable
          if (data.containsKey('response')) {
            Map<String, Object> response = (Map<String, Object>) data.get(
              'response'
            );
            if (response.containsKey('text_output')) {
              output.custom_output1 = (String) response.get('text_output');
              output.custom_output3 = true;
            } else {
              output.custom_output1 = 'The bot failed to answer. Please try again';
              output.custom_output3 = false;
            }
          } else {
            output.custom_output1 = 'The bot failed to answer. Please try again';
            output.custom_output3 = false;
            // Check for error message
            if (data.containsKey('error')) {
              Map<String, Object> error = (Map<String, Object>) data.get(
                'error'
              );
              System.Debug(error);
              if (error.containsKey('validationResults')) {
                List<Object> validationResults = (List<Object>) error.get(
                  'validationResults'
                );
                if (!validationResults.isEmpty()) {
                  Map<String, Object> validationResult = (Map<String, Object>) validationResults.get(
                    0
                  );
                  if (validationResult.containsKey('message')) {
                    output.custom_output1 = (String) validationResult.get(
                      'message'
                    );
                  }
                }
              }
            }
          }
        } else {
          output.custom_output1 = 'The bot failed to answer. Please try again';
          output.custom_output3 = false;
          output.custom_output2 = input.custom_input2 != null
            ? input.custom_input2
            : '';
        }
      } catch (CalloutException ex) {
        output.custom_output1 = ex.getMessage();
        output.custom_output3 = false;
        output.custom_output2 = input.custom_input2 != null
          ? input.custom_input2
          : '';
      } catch (Exception ex) {
        output.custom_output1 = ex.getMessage();
        output.custom_output3 = false;
        output.custom_output2 = input.custom_input2 != null
          ? input.custom_input2
          : '';
      }
      outputs.add(output);
    }
    return outputs;
  }

  @TestVisible
  private static String sendRequest(
    InputWrapper input,
    HttpCallout httpCallout
  ) {
    HttpRequest req = new HttpRequest();
    String ACCOUNT_ID = '<Your Account ID>';
    String PROJECT_ID = '<Your Project ID>';
    String FLOW_ID = '<Your Flow ID>';
    String API_KEY = '<Your API KEY>';
    req.setEndpoint(
      'https://api.botdojo.com/api/v1/accounts/' +
        ACCOUNT_ID +
        '/projects/' +
        PROJECT_ID +
        '/flows/' +
        FLOW_ID +
        '/run'
    );
    req.setMethod('POST');
    req.setHeader('Authorization', API_KEY);
    req.setHeader('Content-Type', 'application/json');
    req.setTimeout(30000);
    Map<String, Object> body = new Map<String, Object>{
      'body' => new Map<String, Object>{
        'custom_input1' => input.custom_input1,
        'custom_input2' => input.custom_input2,
        'custom_input3' => input.custom_input3 != null
          ? input.custom_input3
          : ''
      }
    };
    String requestBody = JSON.serialize(body);
    req.setBody(requestBody);
    HttpResponse res = httpCallout.send(req);
    if (res.getStatusCode() == 200) {
      return res.getBody();
    } else {
      throw new CalloutException('Failed to get response: \n' + res.getBody());
    }
  }
}
Understanding the Code (Click to expand)
The purpose of the above code is to send the question, bot language, and session_id to the BotDojo bot and then output the bot's response, did_answer (i.e. if the bot answered or not) and the session_id which we are storing in custom_output1, custom_output2, custom_output3 respectively.
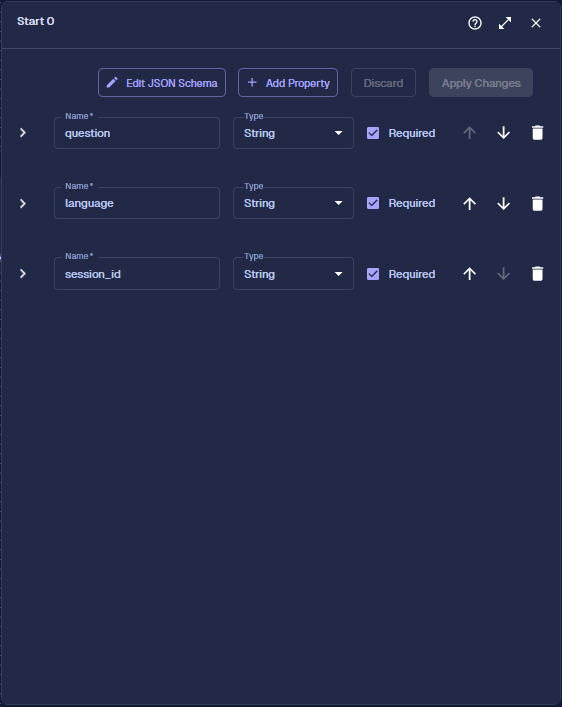
We assign the inputs in our Einstein bot (We will learn how to assign variables below in the documentation) and send it to our BotDojo bot. our custom_input1, custom_input2, custom_input3 variables hold the question, language and session_id respectively.
The InputWrapper and OutputWrapper classes can be modified based on your specific use cases. The number of input and output parameters can be adjusted as needed. Similarly, the names of the input and output variables can be customized according to your requirements, instead of using generic names like custom_input1 or custom_output1.
You will also need to modify the mapping according to your use case. For example, if your BotDojo bot uses input parameters named question, language, and session_id instead of 'custom_input1', 'custom_input2', 'custom_input3' you would map them as follows:
'body' => new Map<String, Object>{
    'question' => input.custom_input1,
    'language' => input.custom_input2,
    'session_id' => input.custom_input3 != null ? input.custom_input3 : ''
     }
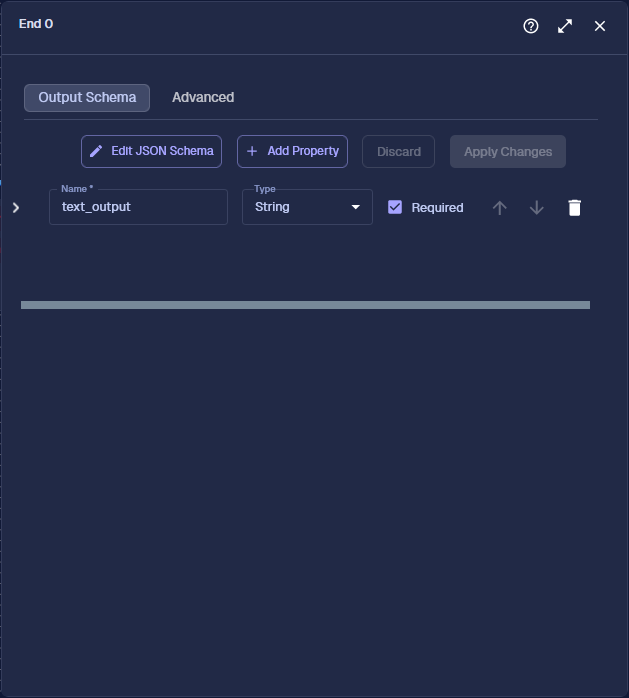
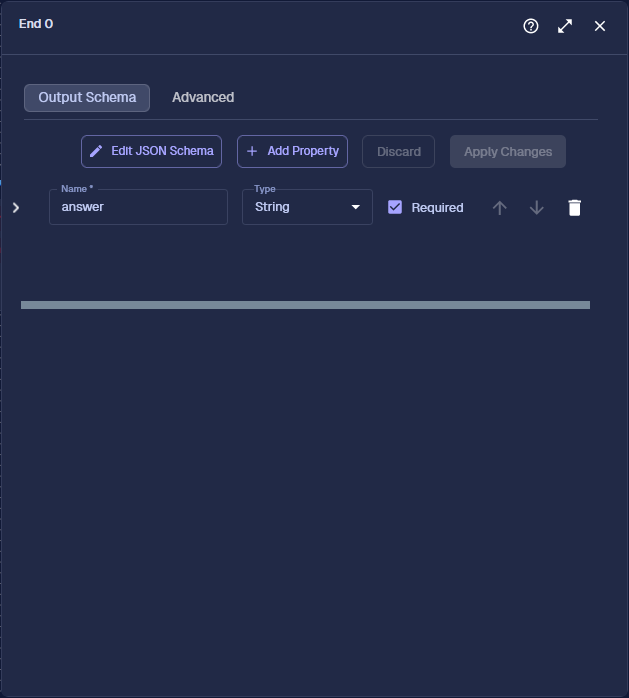
In our case, the BotDojo bot has only "text_output" as its output parameter in the End Node. Therefore, we fetch this output and assign it to our relevant variable ('custom_output1') in the following part of the code:
 if (response.containsKey('text_output')) {
     output.custom_output1 = (String) response.get('text_output');
     output.custom_output3 = true;
    }
If you have other output parameters, such as answer, you would similarly fetch and assign them to your relevant variable. For example:
 if (response.containsKey('answer')) {
     output.custom_output1 = (String) response.get('answer');
     }
Steps to enable New Class
Now we have to enable our Apex Class from Permission Sets to use in your Einstein bot.
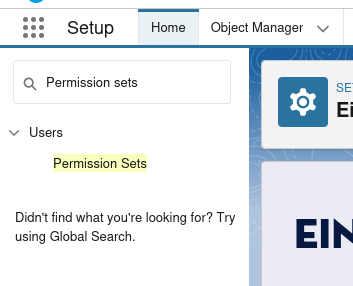
- Click on Permission Sets by searching it on quick search.
- Click on the Chatbot

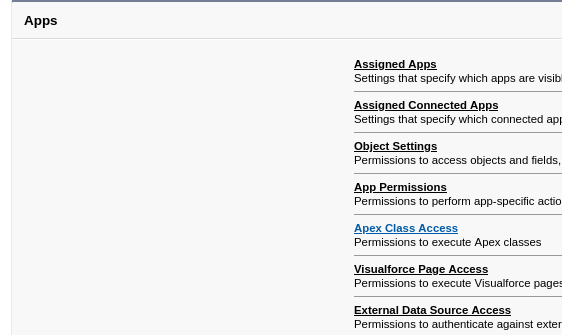
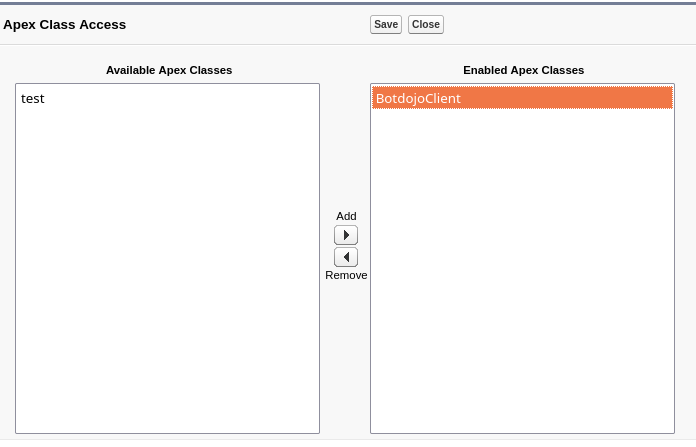
- Click on Apex Class Access
- Click on Edit

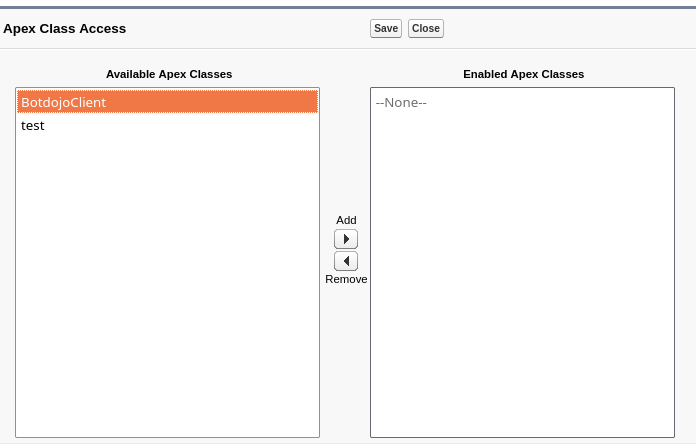
- Move your newly created class (which in this case is: BotDojoClient) to the right by clicking Add. Your class will be then enabled. Click Save.
Adding a Remote Site
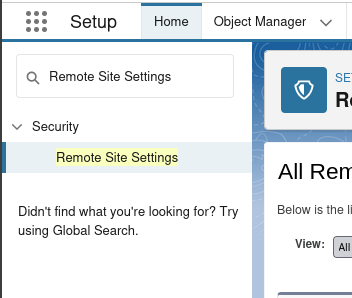
Now we have to add Botdojo URL in Remote Site Setting to make the call authorized.
- Click on Remote Site Settings by searching it on quick search
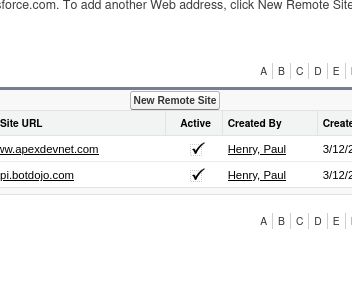
- Click on New Remote Site
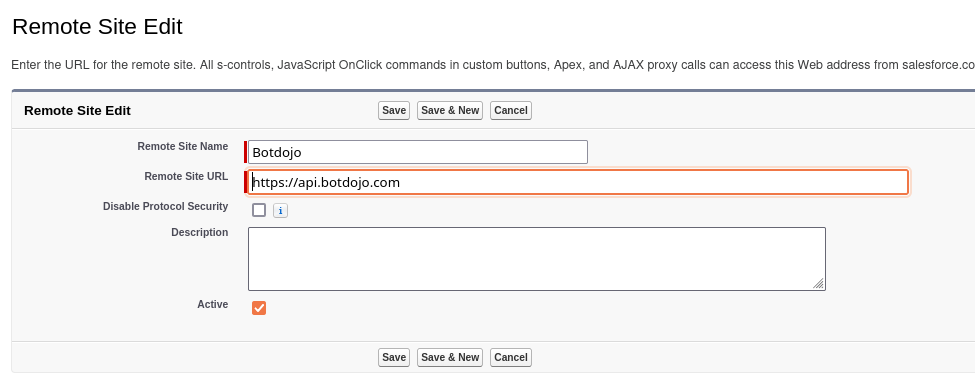
- Fill the values as below, and hit Save.
- Remote Site Name: Botdojo
- Remote Site URL: https://api.botdojo.com
Connecting your BotDojo API class with the Einstein Bot
Now all we have to do is connect everything together.
- Go to your Einstein Bot
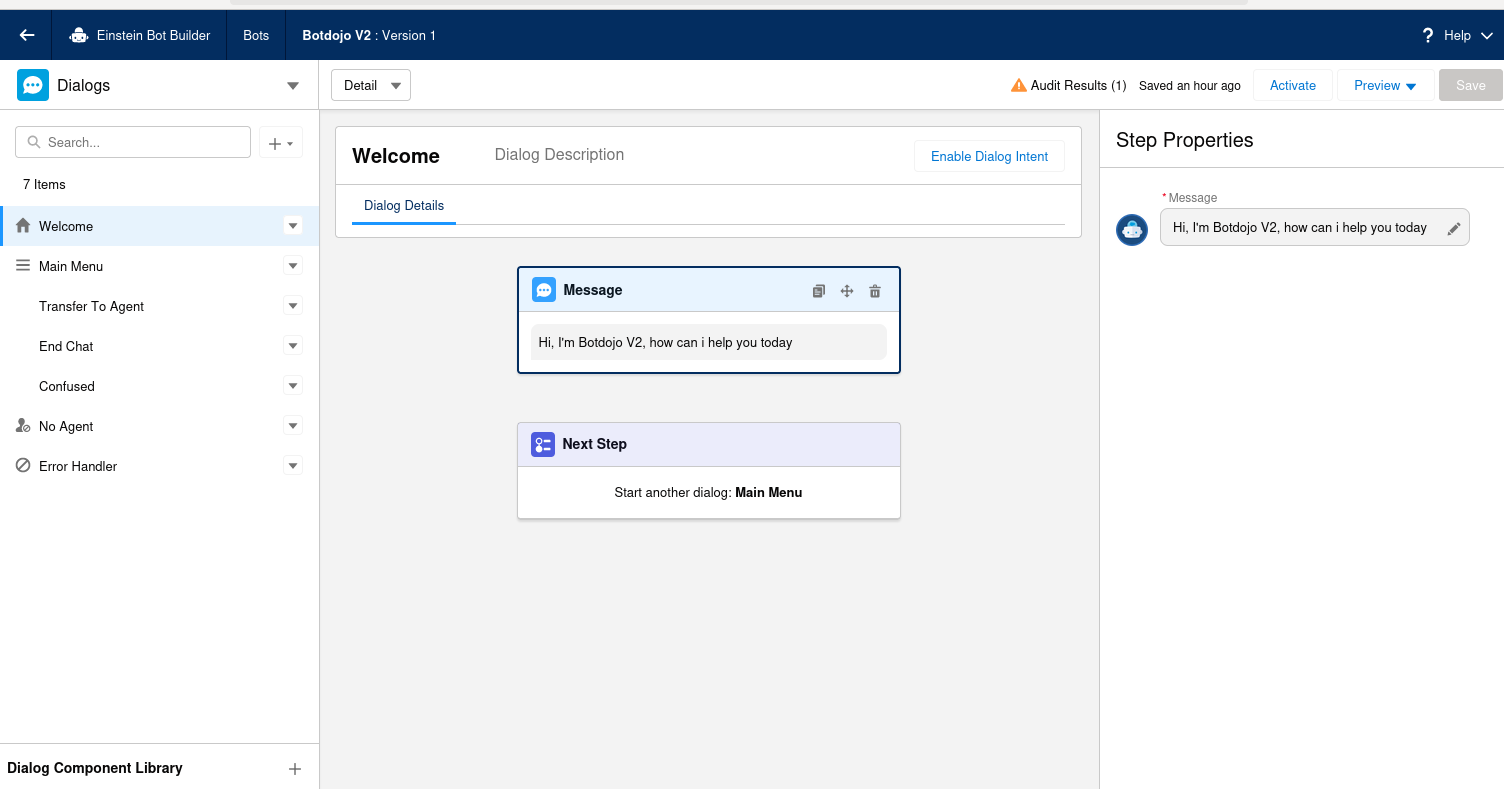
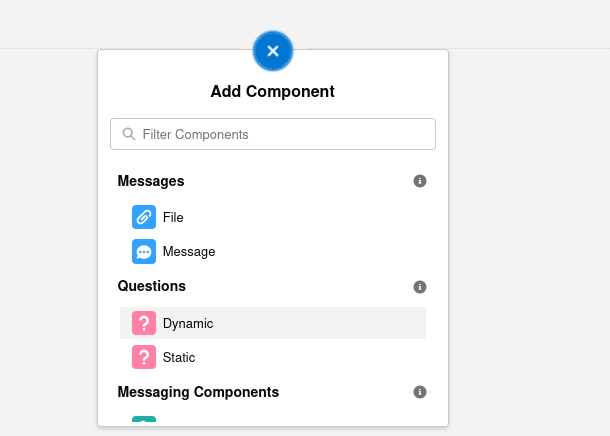
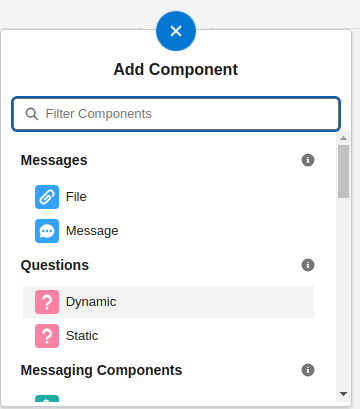
- Replace the Message component with Dynamic component.

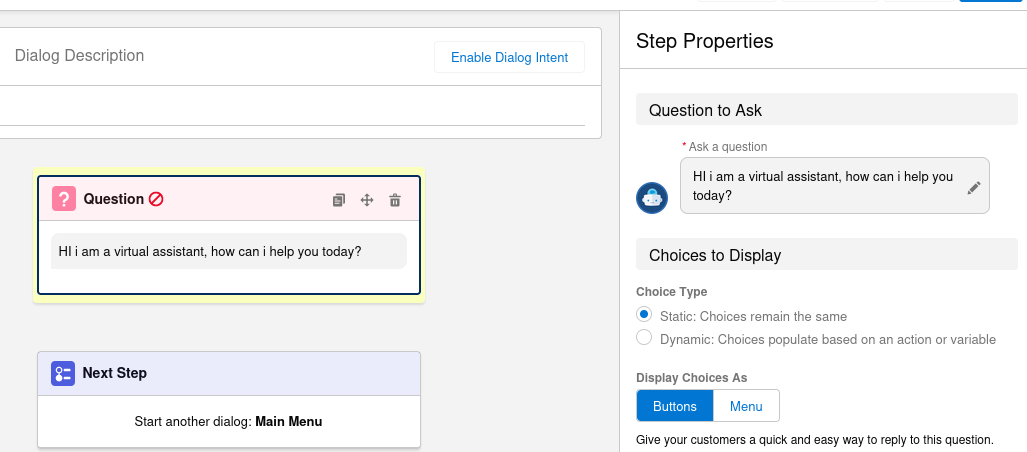
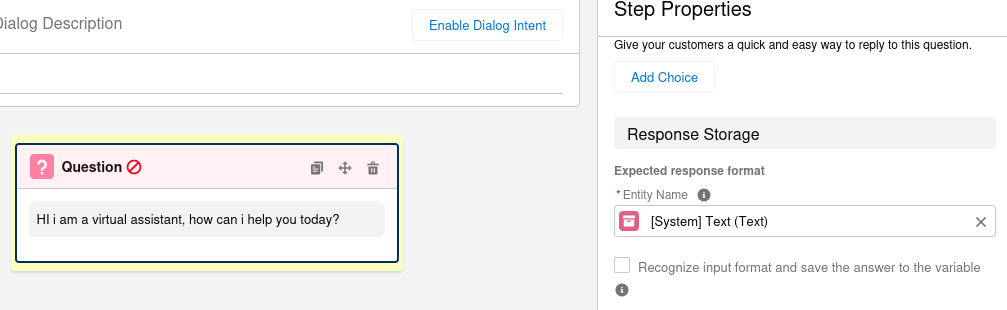
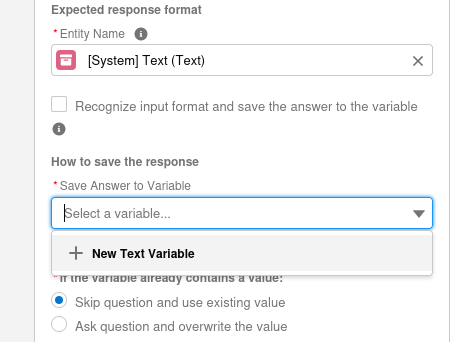
- Configure the properties of this component as below:
- Choice Type -> Static
- Entity Name -> [System] Text (Text)
- Ask a question -> Any Welcome Message for your bot
- In the Save answer to variable property, click on New Text Variable
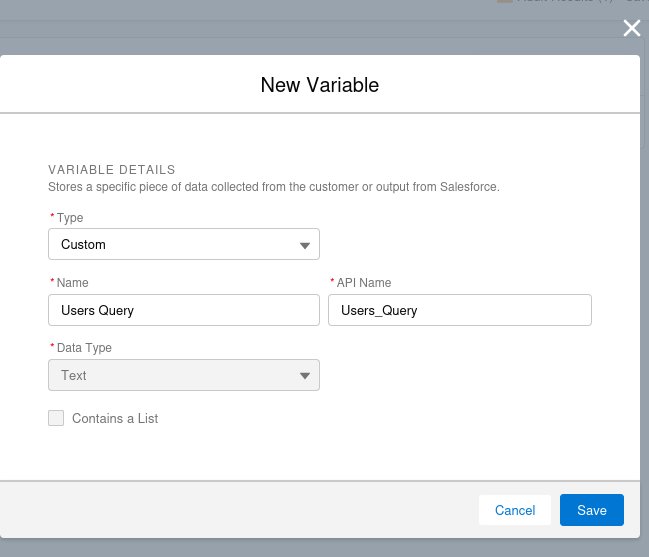
- Fill the values as below, and hit Save.
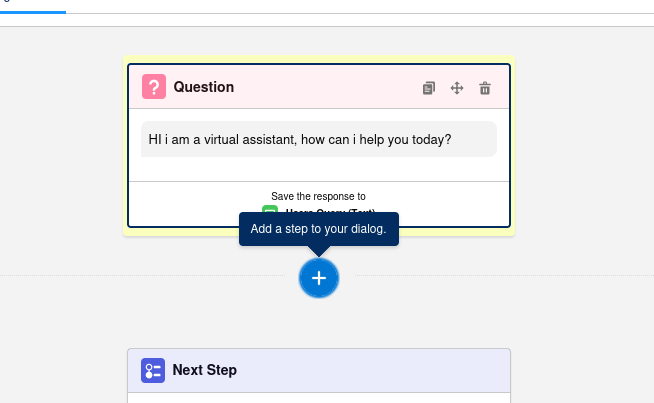
- Now add a new Apex component from the component window between these two components.
- In the properties of that Apex component, Select your Apex (which in our case is Multiple Parameters).
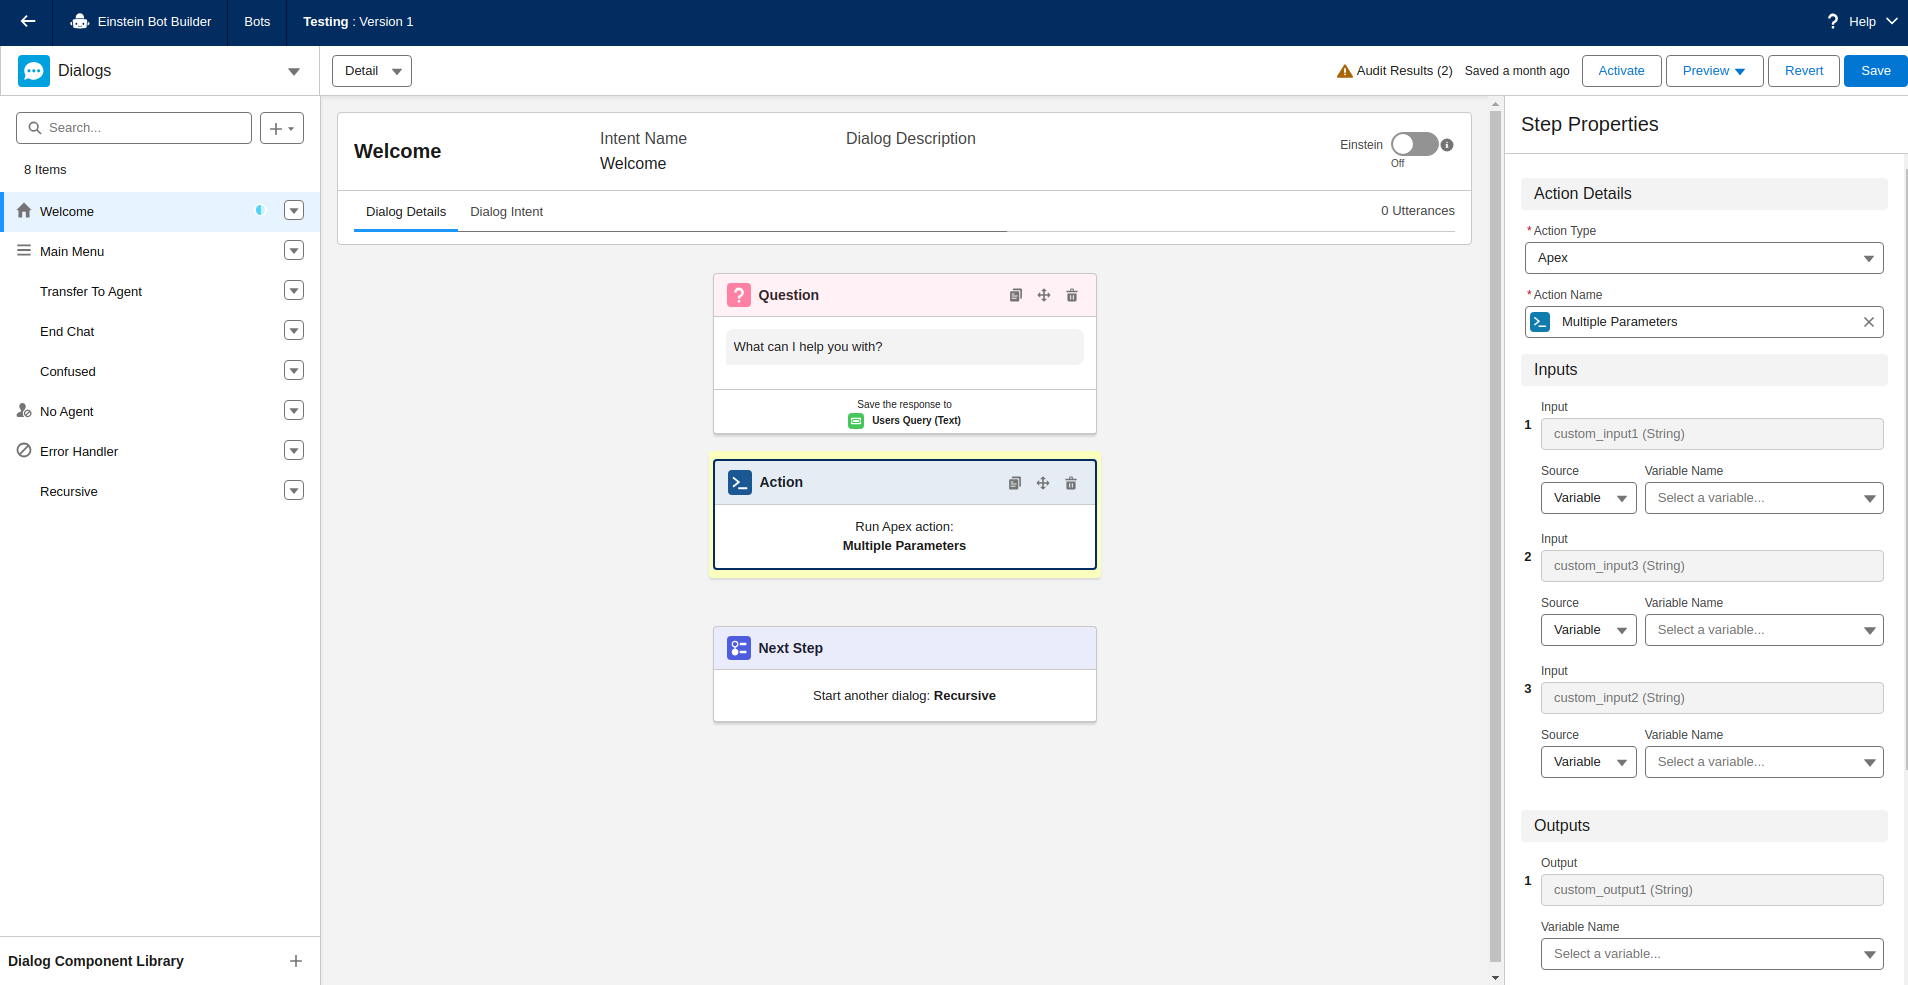
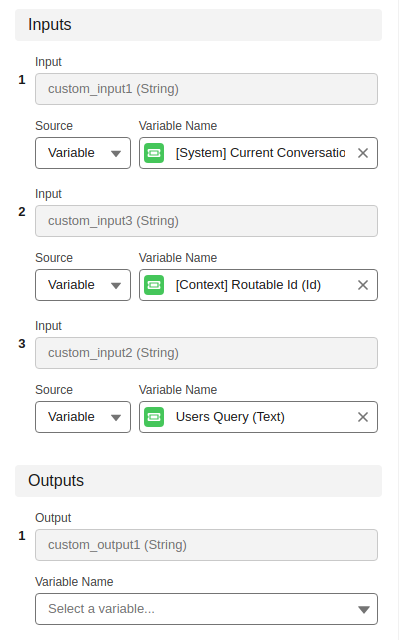
When you are done with that you will be able to see that you have options to assign multiple variables to your multiple inputs and outputs.
-
To assign the variable to your input, each input has a dropdown to select the variable. Click on the dropdown, we will be able to see all the available variables and an option to create a new variable (We will assign the variables according to our use).
-
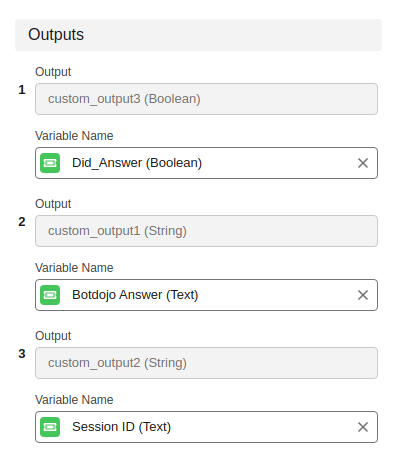
Create variables for your input and output (just like we did in step 4) from Apex component and fill the values as below. Hit Save.
Variables tagged as [System] or [Context] are provided by the Salesforce Einstein bot. If you need to use these values, you can do so; otherwise, you can create new variables according to your requirements.
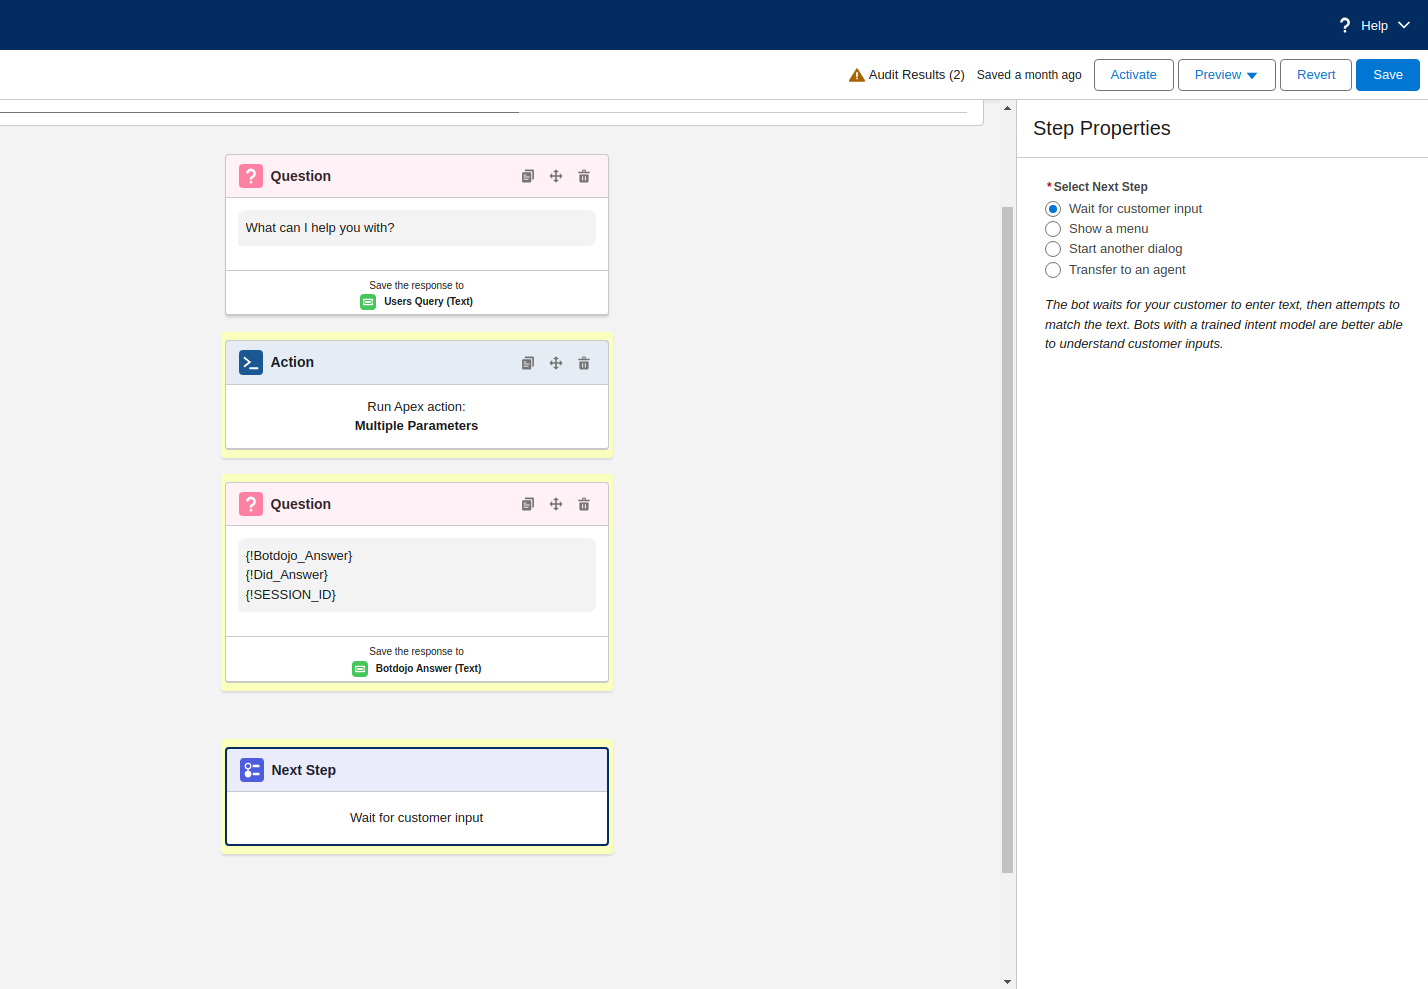
- Now, Select the Dynamic component from the component window to display your BotDojo's response.
- Type your response variable like this in message properties and assign the component same properties as below.
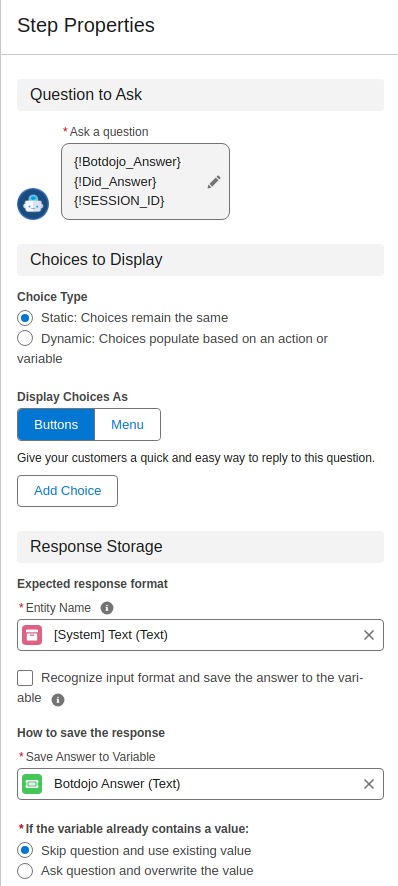
Make sure that you replace the names in it with your variable API_name like we used Botdojo_Answer, Did_Answer,SESSION_ID because these were the variables we used to store our values.
- Change the Select Next Step radio button to Wait for customer input, and hit the save button at the top to save all the bot configurations.
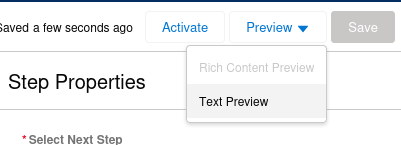
- Now after saving the configurations, go to Preview>Text Preview (on the top right) to test this bot
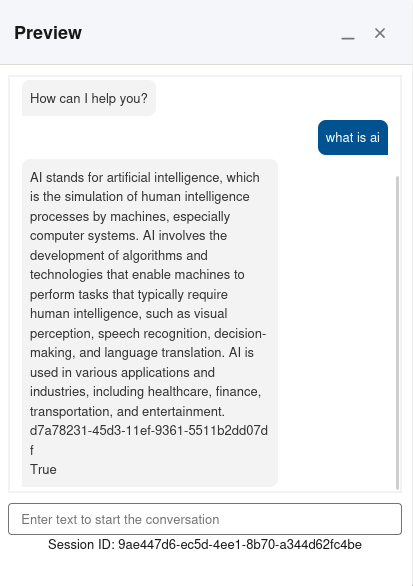
- Our bot will now be functional and calling the Botdojo API to get the answer of the user's query.
Steps to make the flow recursive
In order to make the flow recursive so that the conversation can be continued, following steps must be taken:
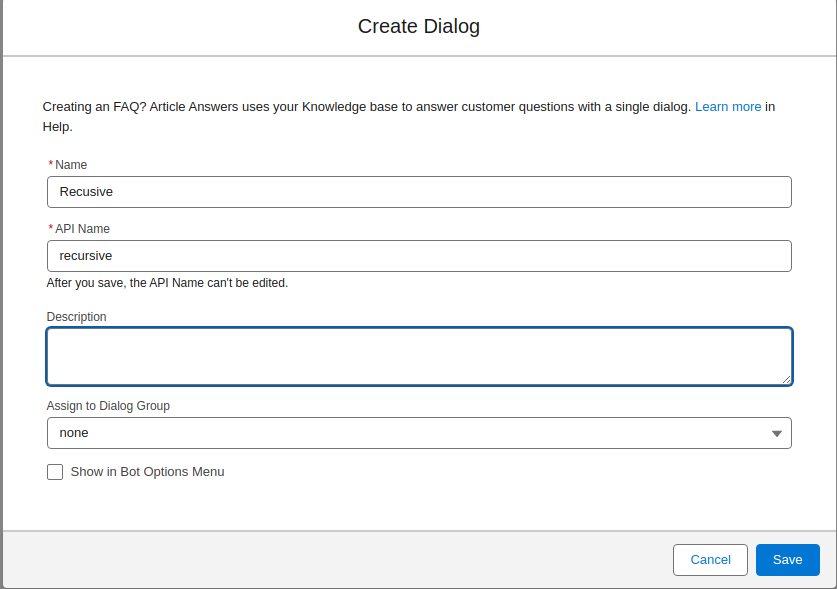
- In the left panel, click on the "+" icon and select New dialog from it
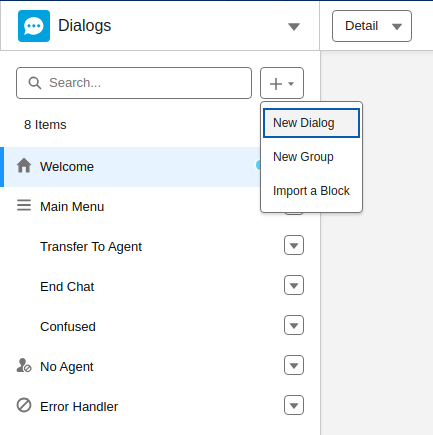
- Fill the following values in the dialog box and click Save button.
- Now go into that new dialog and create a new Apex component from the component window and configure it the same way as we did above.

- Then after the Apex component, add a Dynamic component as we did above with the following properties.
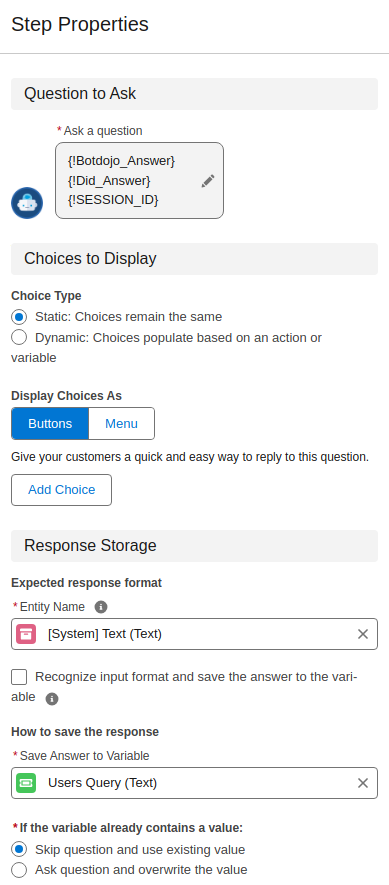
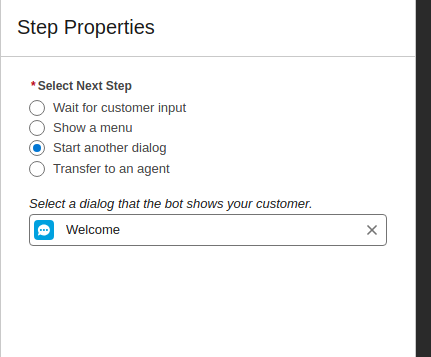
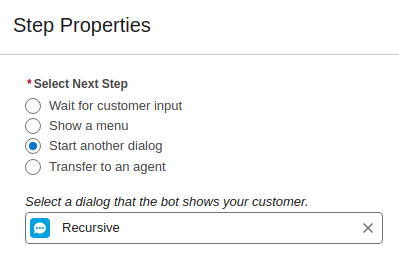
- Then in the Next Step component, select Start another dialog as the next step and choose Welcome dialog from the dropdown.
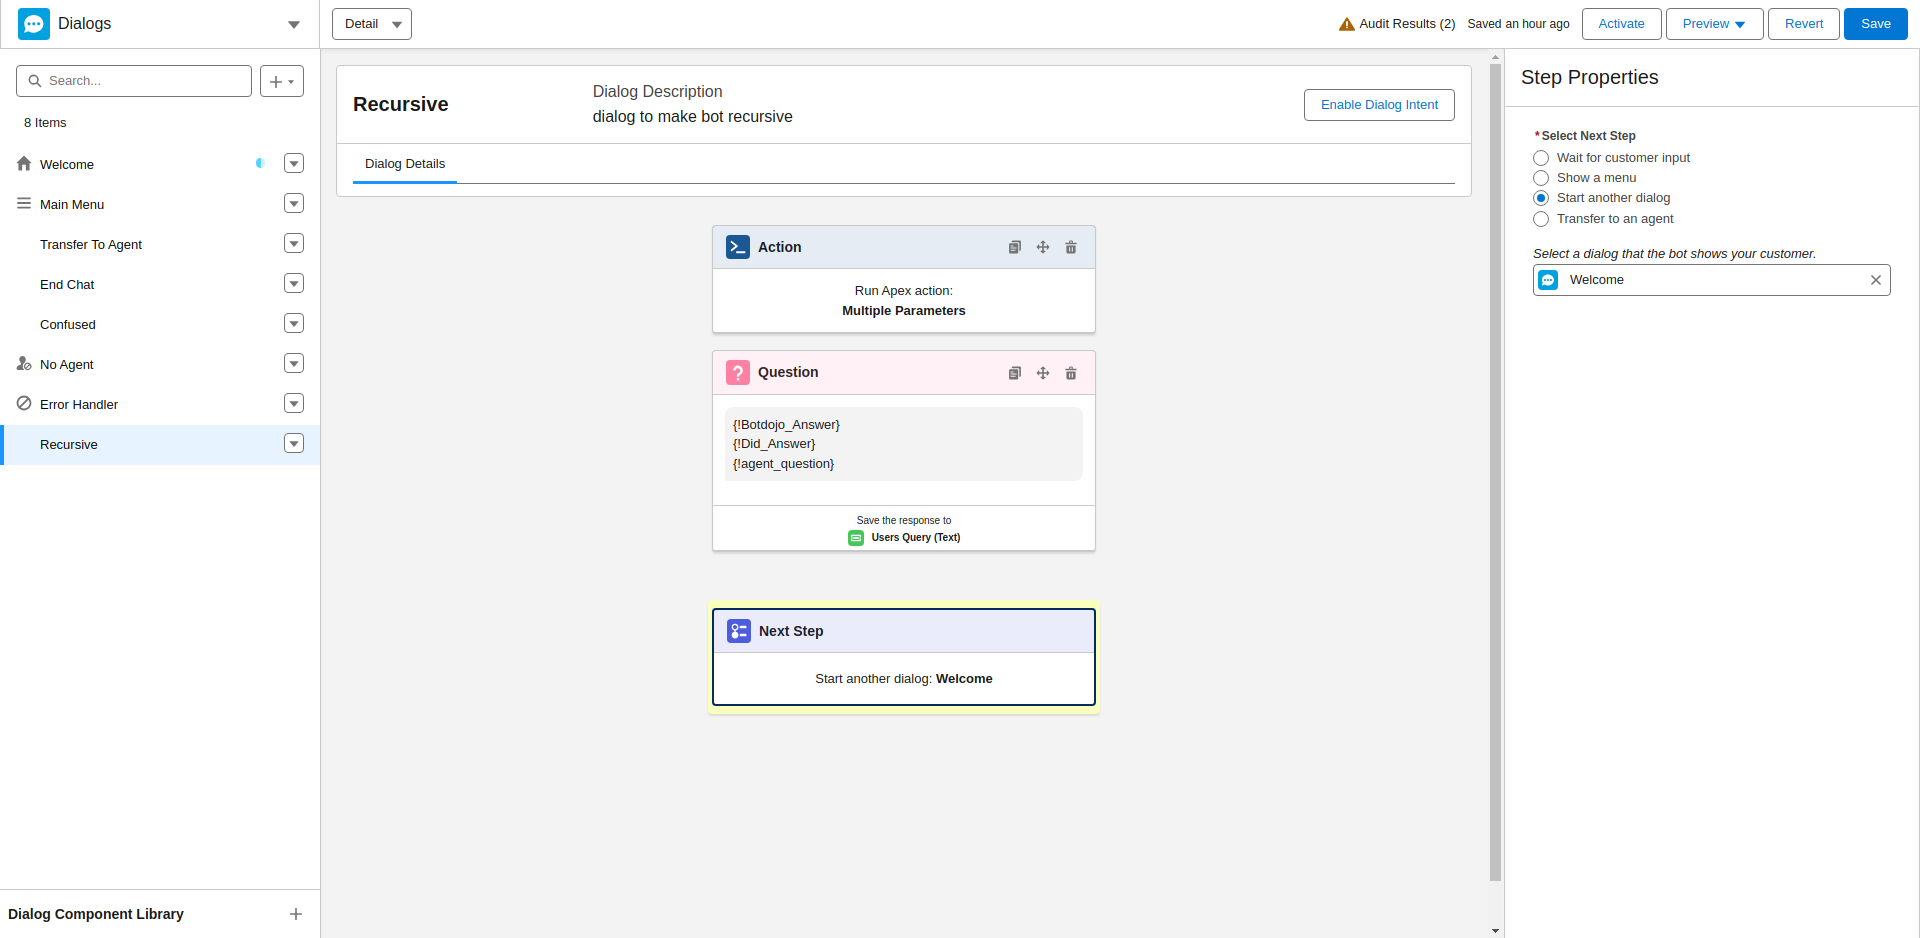
This is how the final flow for new Recursive dialog look like
- Lastly, go back into the Welcome dialog (which should be visible in the left panel), and change the next step property from Wait for customer input to Start another dialog and select Recursive from the dialog dropdown.
Steps to do Test Coverage
In order to deploy your Apex for the Salesforce, unit tests must cover at least 75% of your Apex code, and those tests must pass.
To create test code for your Apex class, create a new Apex class and create your test methods in which you give valid input and verifies the expected response of the text. The more use cases and scenarios you cover for your class the more coverage your test code will get.
Make sure to give annotation @isTest to your private test class and the test methods that you have created.
If there is any method of your original class that needs to be used in your test class, it should be annotated wit @TestVisible to be accessible in the test class.
@isTest
private class MultiParameterTest {

    private class MockHttpCallout implements BotDojoClient.HttpCallout {
        public HttpResponse send(HttpRequest request) {
            HttpResponse response = new HttpResponse();
            response.setStatusCode(200);
            response.setBody('{"flow_session_id": "090078601", "response": {"text_output": "This is a mocked response"}}');
            return response;
        }
    }

    private class MockHttpErrorCallout implements BotDojoClient.HttpCallout {
        public HttpResponse send(HttpRequest request) {
            HttpResponse response = new HttpResponse();
            response.setStatusCode(500);
            response.setBody('{"error": "Internal Server Error"}');
            return response;
        }
    }

    @isTest
    static void testAskMethod() {
        List<BotDojoClient.InputWrapper> inputs = new List<BotDojoClient.InputWrapper>();

        BotDojoClient.InputWrapper input1 = new BotDojoClient.InputWrapper();
        input1.custom_input1 = 'What is AI?';
        input1.custom_input2 = 'en_US';
        input1.custom_input3 = '090078601';
        inputs.add(input1);

        BotDojoClient.InputWrapper input2 = new BotDojoClient.InputWrapper();
        input2.custom_input1 = 'What is LLM?';
        input2.custom_input2 = 'en_US';
        input2.custom_input3 = '090078601';
        inputs.add(input2);

        MockHttpCallout mockHttpCallout = new MockHttpCallout();

        List<BotDojoClient.OutputWrapper> results = BotDojoClient.ask(inputs, mockHttpCallout);

        System.assertEquals(2, results.size(), 'The size of results should be 2');
        System.assertEquals('This is a mocked response', results[0].custom_output1, 'The answer in the first result should match the mock response');
        System.assertEquals('090078601', results[0].custom_output2, 'The session_id in the first result should match the mock session_id');
        System.assert(results[0].custom_output3, 'The first result should indicate that it did answer');
        System.assertEquals('This is a mocked response', results[1].custom_output1, 'The answer in the second result should match the mock response');
        System.assertEquals('090078601', results[1].custom_output2, 'The session_id in the second result should match the mock session_id');
        System.assert(results[1].custom_output3, 'The second result should indicate that it did answer');
    }

    @isTest
    static void testAskMethodWithError() {

        List<BotDojoClient.InputWrapper> inputs = new List<BotDojoClient.InputWrapper>();

        BotDojoClient.InputWrapper input = new BotDojoClient.InputWrapper();
        input.custom_input1 = 'Test question with error';
        input.custom_input2 = 'en';
        input.custom_input3 = null;
        inputs.add(input);

        MockHttpErrorCallout mockHttpErrorCallout = new MockHttpErrorCallout();

        List<BotDojoClient.OutputWrapper> results = BotDojoClient.ask(inputs, mockHttpErrorCallout);

        System.assertEquals(1, results.size(), 'The size of results should be 1');
        System.assertEquals(false, results[0].custom_output3, 'The result should have did_answer as false');
    }
}
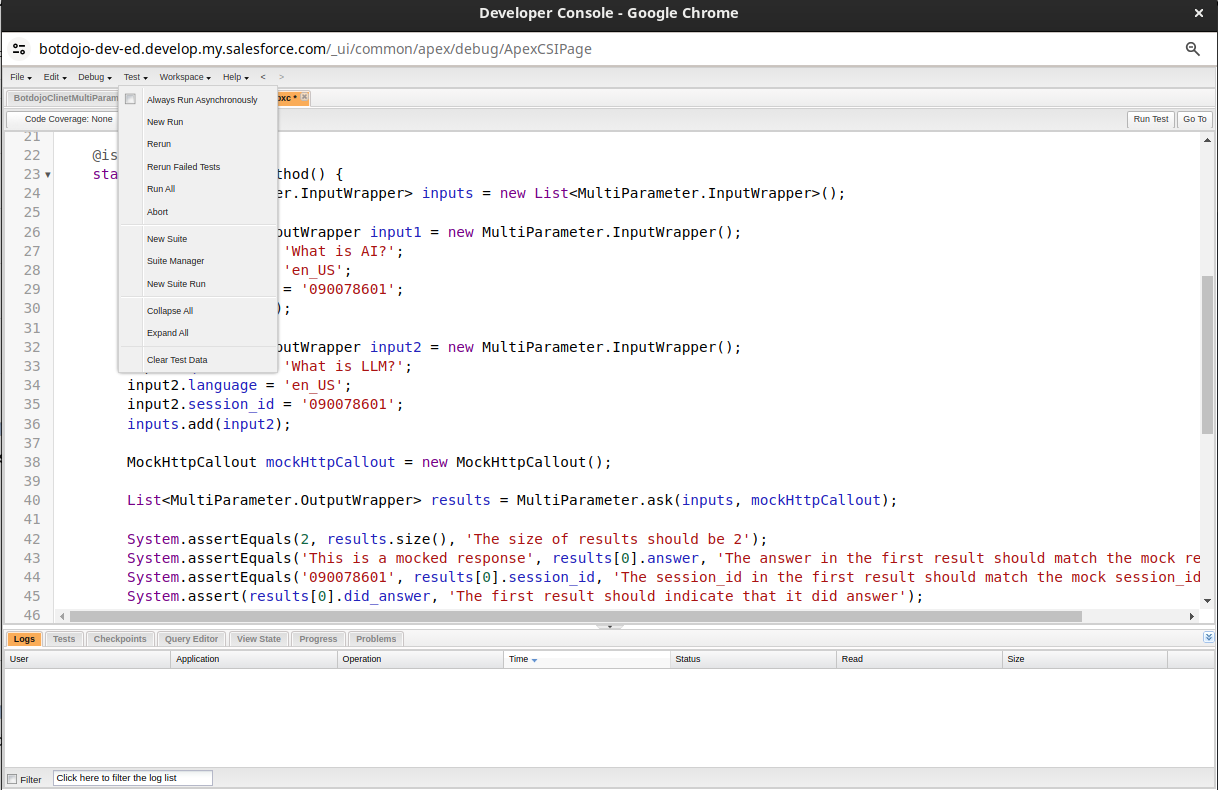
Now in the Developers Console click on the Test button on the menu bar and then click New run
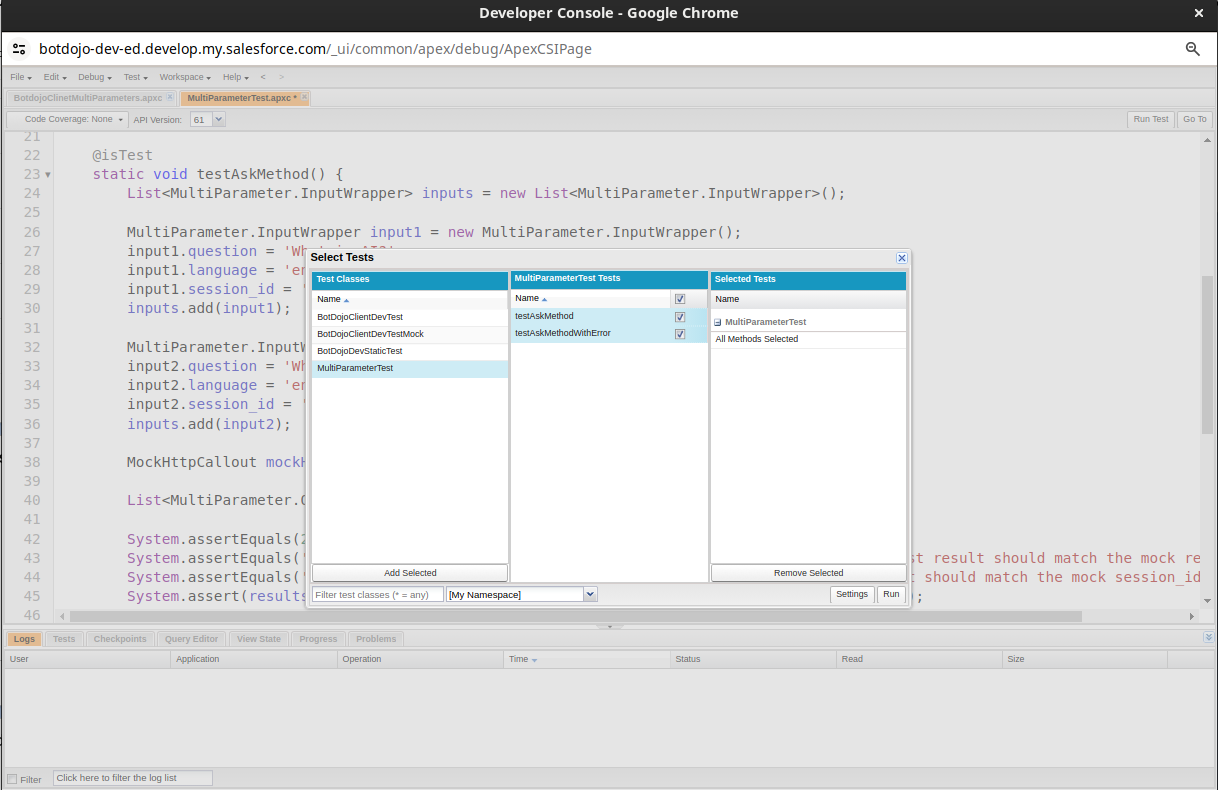
In the dialog window, select your test class (which in our case is MultiParameterTest) and click on Add Selected. It will select your test class and all the test methods in it. Then click Run.
After running the tests, In the bottom bar click on Tests Section where you can see details of your test run along with the code coverage of all your test classes.

Feedback
Users can provide feedback on how the bot performed using the buttons at the end of each message.