HubSpot
BotDojo can integrate your ChatBot into HubSpot. Following are the steps to Integrate Botdojo with HubSpot chatflow.
Connect HubSpot Integration with your BotDojo Account
- Click on the Integration button on the left side-panel of your BotDojo Account.

- Then in the Applications section, look for HubSpot Integration and click Connect button.

- A dialogue box will open, click on the Connect button on the dialog box as well.

-
After that you will be redirected to HubSpot for OAuth. There you will need to select the HubSpot account you want to connect with your BotDojo.
-
When the OAuth is completed you will be redirected to BotDojo, then you will be able to see Connected indication on HubSpot. This means that your HubSpot account is now connected to your BotDojo account.

How to fetch code snippet to use in HubSpot
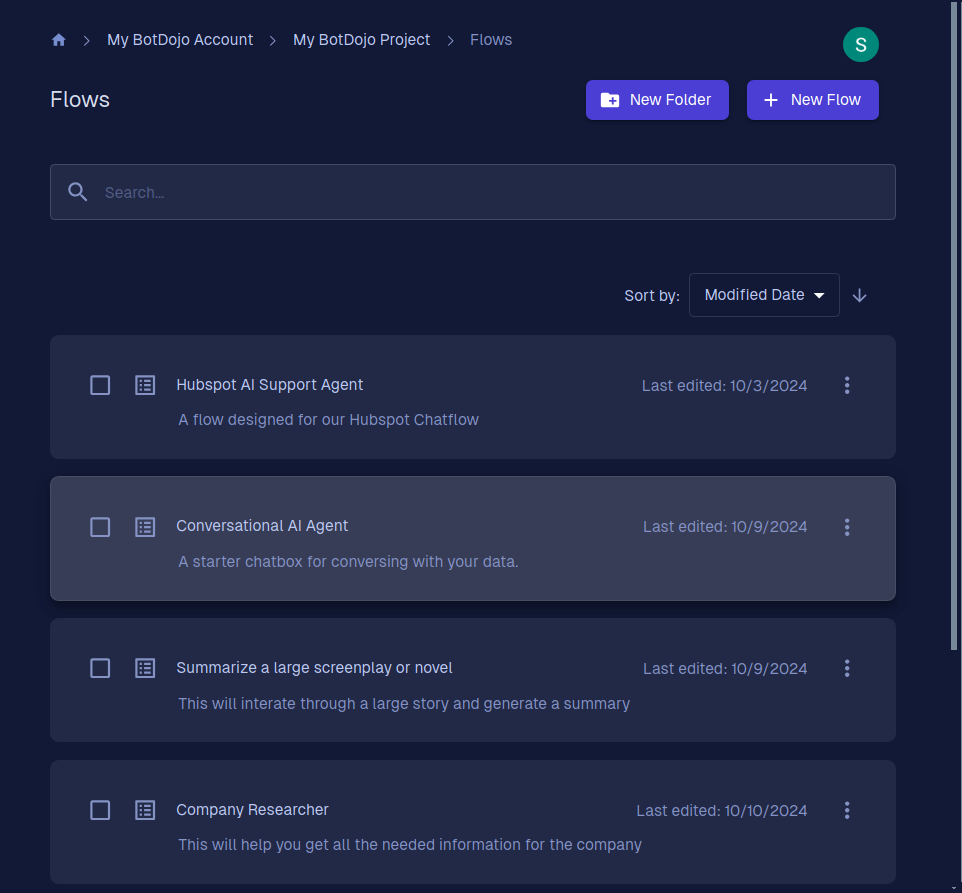
- Select the flow you want to connect with your HubSpot chatflow.
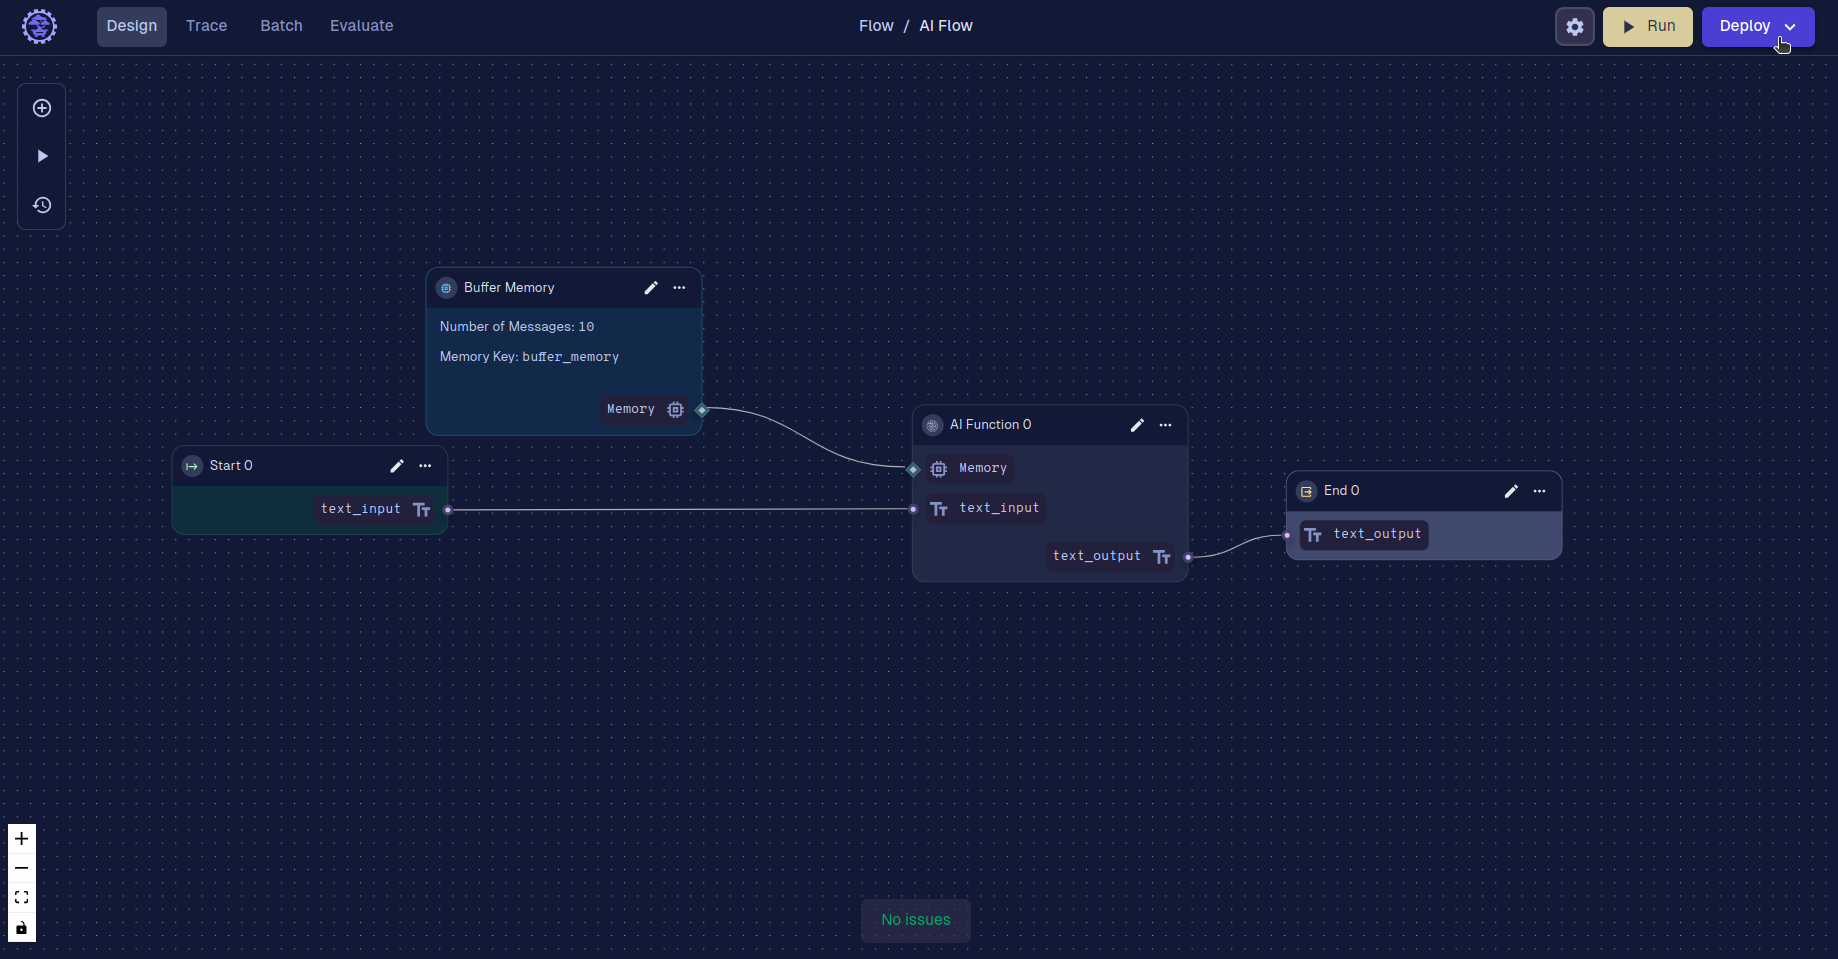
- Now, in the flow, click on the Deploy button on the top right of the screen.
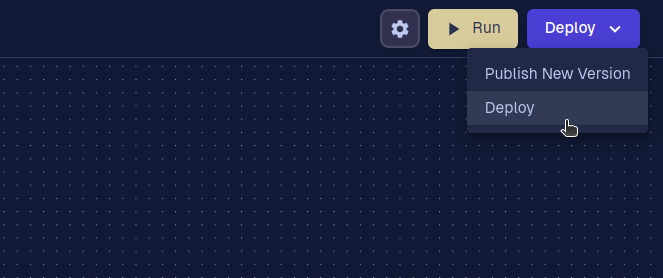
- A drop-down will open, again select the Deploy option from it.
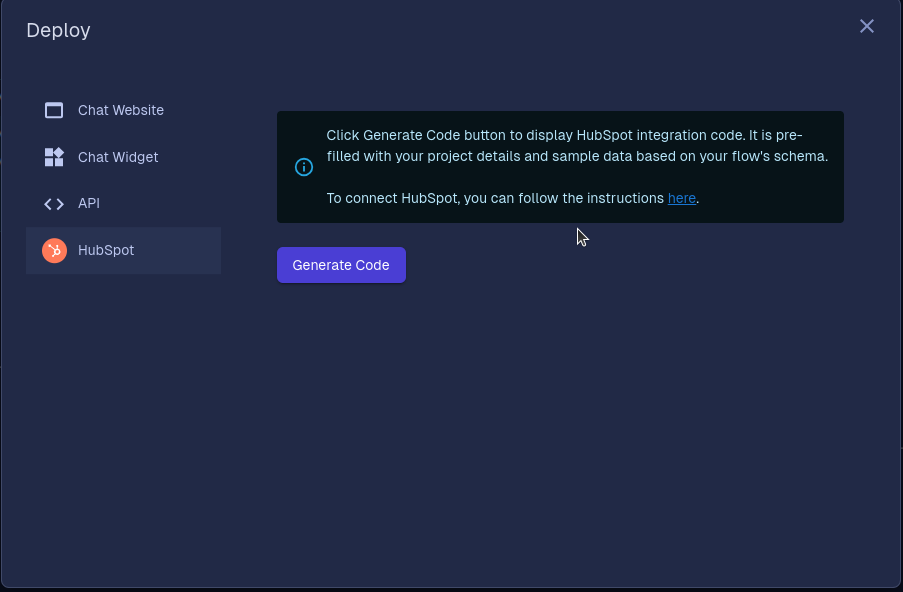
- Now in the left-side panel, you will see a HubSpot option, click on that. Click Generate Code. After clicking on Generate Code you will be able to see the code snippet.
You will not be able to see this option if you have not connected the HubSpot integration first as instructed in Step 1.
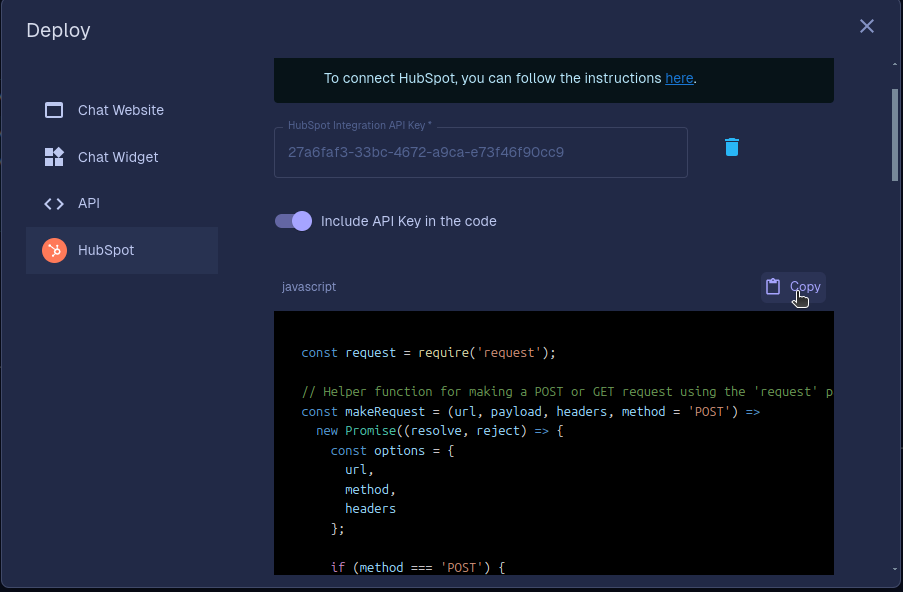
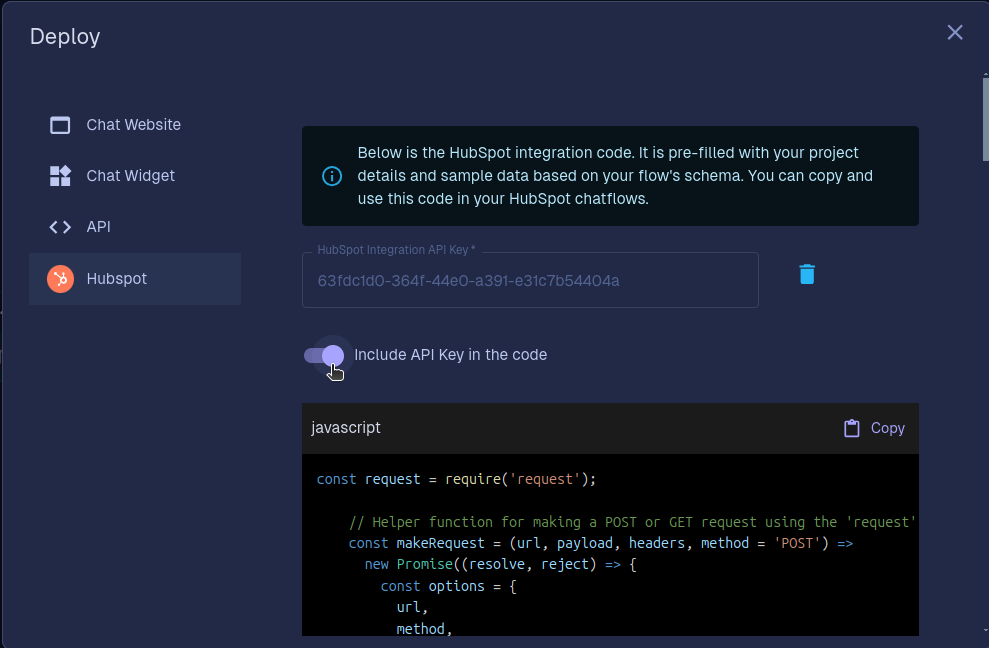
- Now, just make sure Include API Key in the code toggle is on and then copy the code.
Setting up Chatflow bot in HubSpot
- Go to your HubSpot Portal/Dashboard. From the Left-side panel, select Automation > ChatFlows.
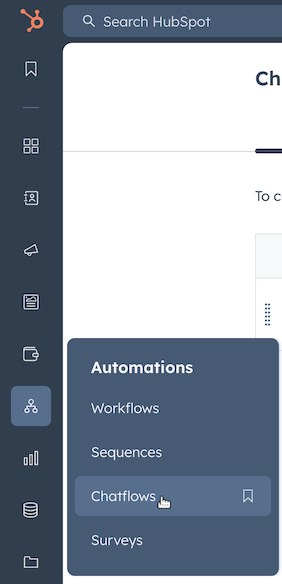
- On the Chatflows page, click on Create Chatflow button.

-
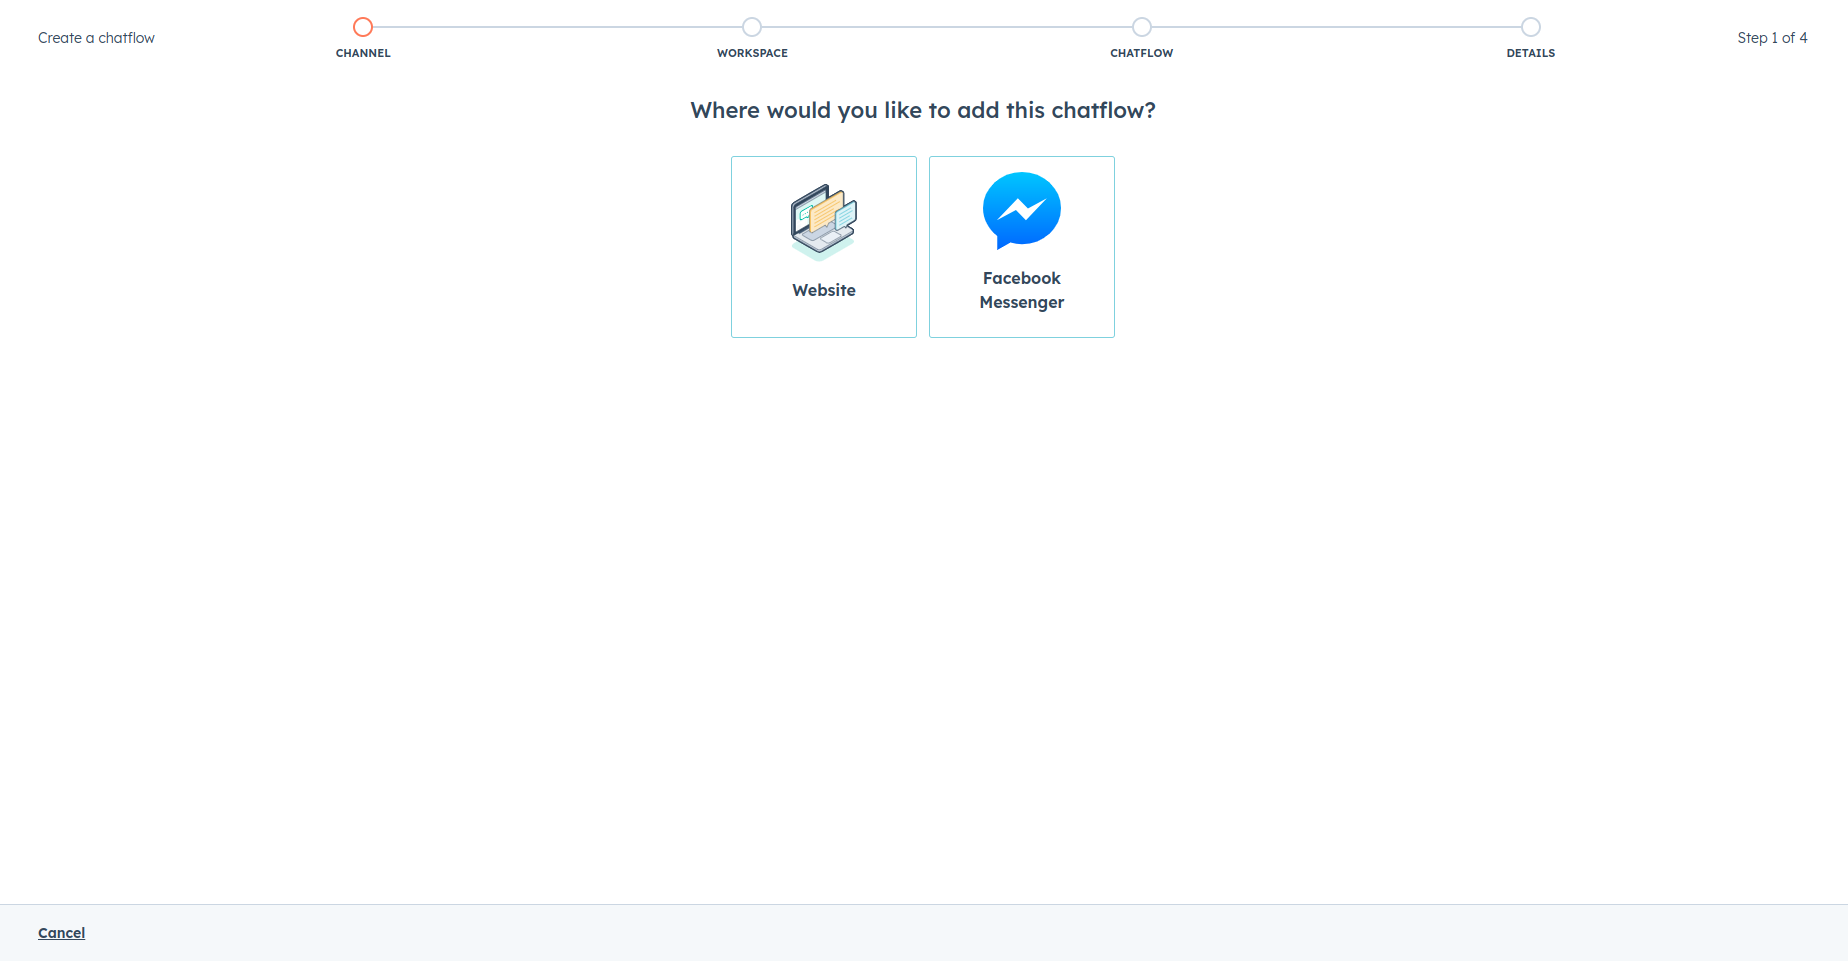
You will be redirected to your chatbot configuration. Select Website on the following page.
-
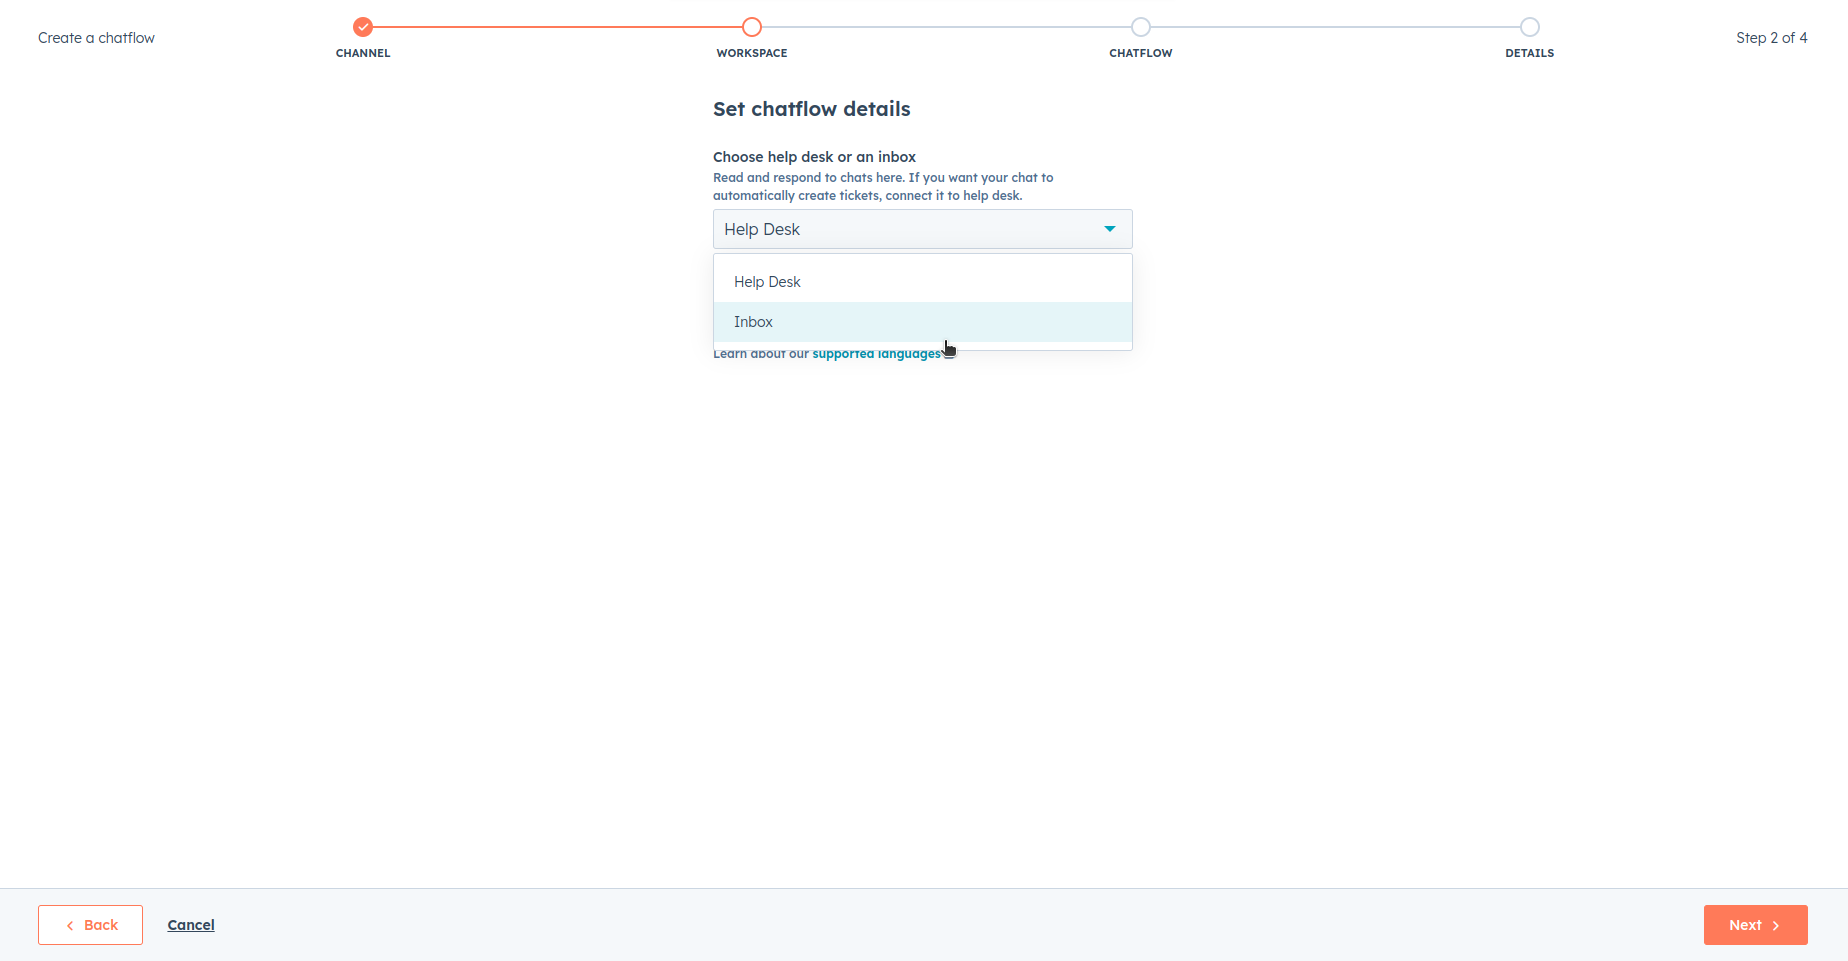
Now in the next section, click on the dropdown under Choose help desk or an inbox. From the dropdown, Select Inbox and click on Next.
-
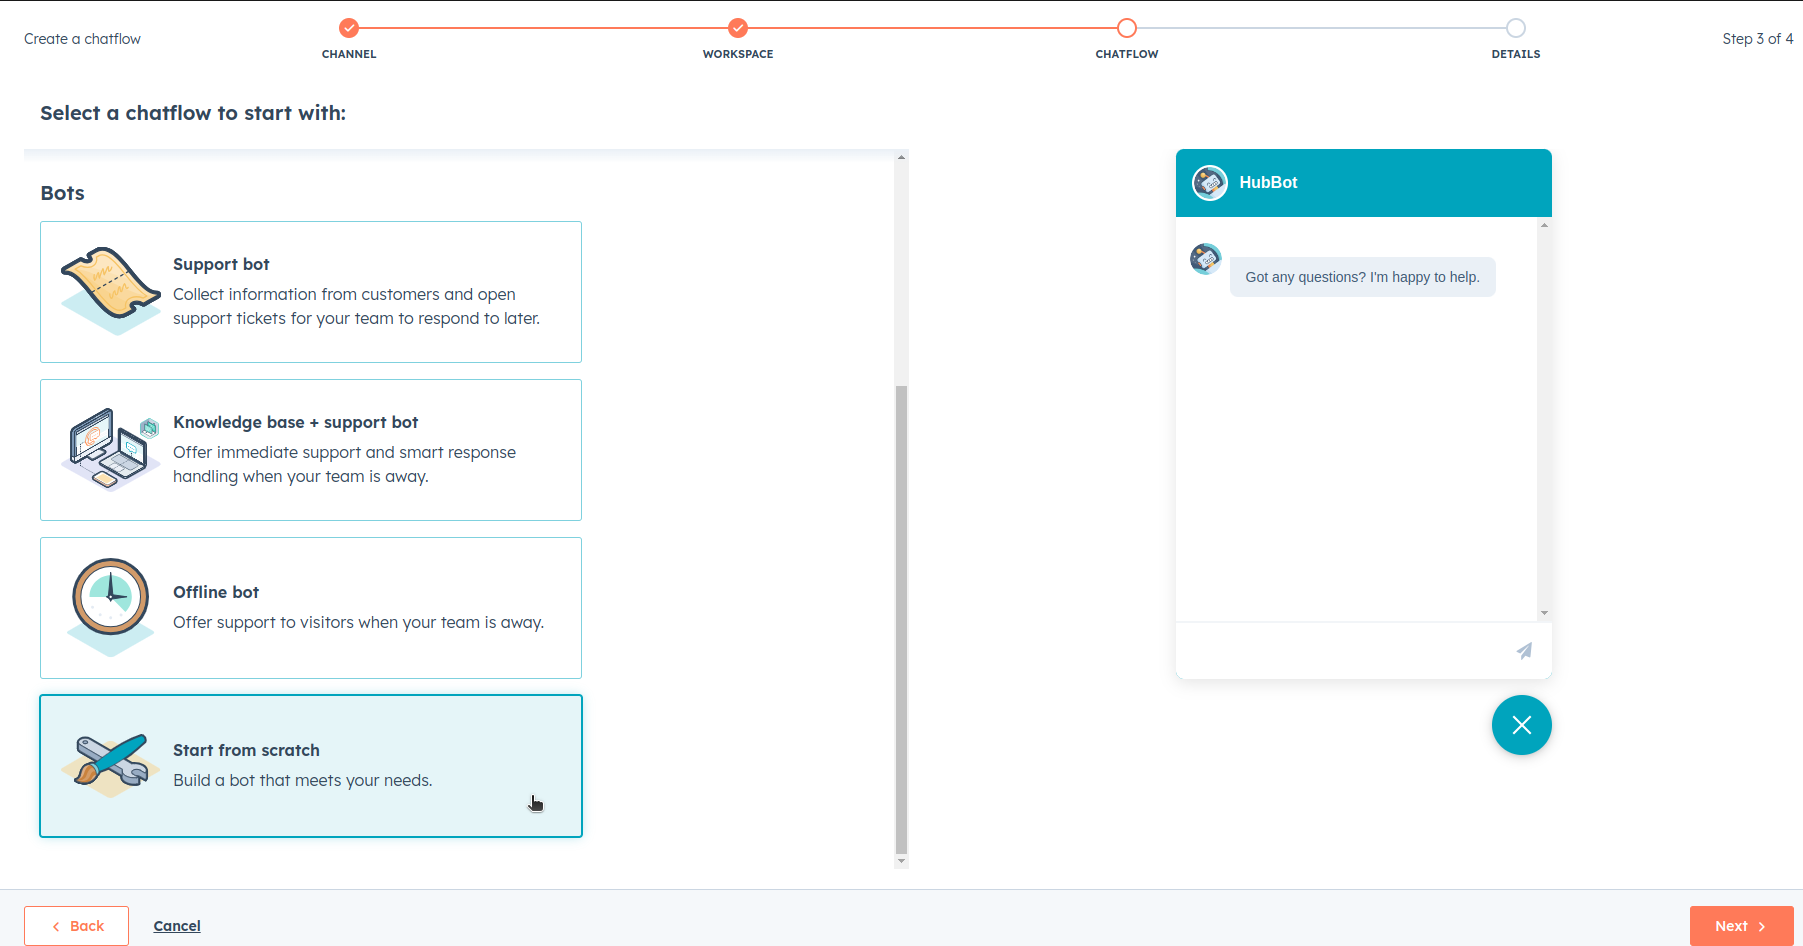
Next, Under the Bots section in Select a chatflow to start with:, select Start from scratch and create your bot.
- When you have created your bot, you will see a chatflow with a “+” icon between each node.
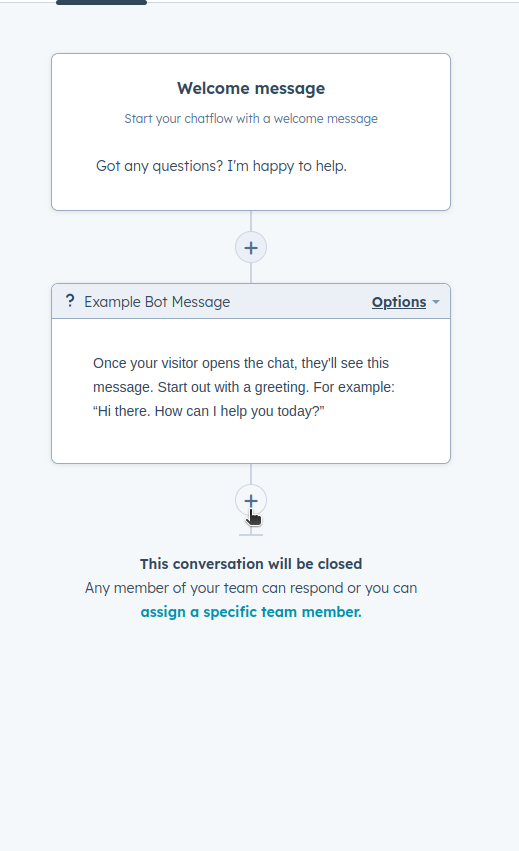
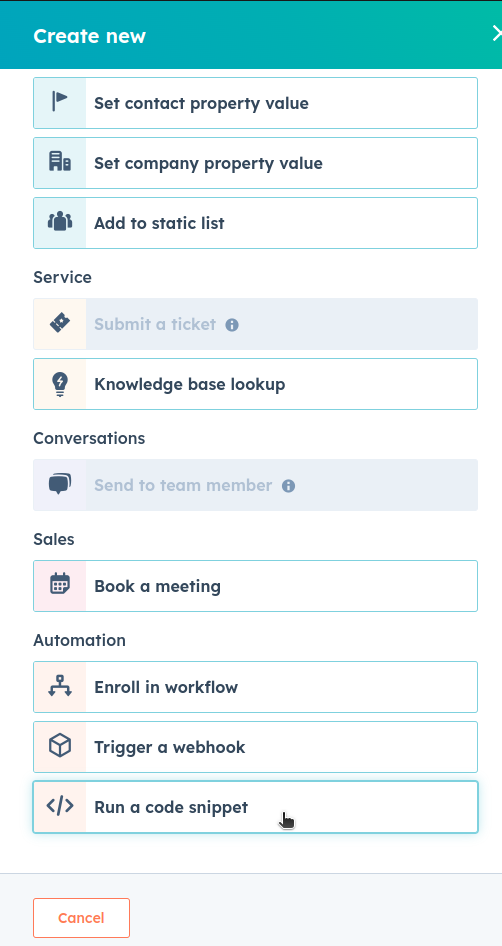
- Click on the last “+” icon in the flow, and you will see a right-side panel with multiple options. In the panel, scroll down and select Run a code snippet from the Automation section.
- Give this Action a name, e.g. BotDojo Chatbot, and click on Open in full page editor.
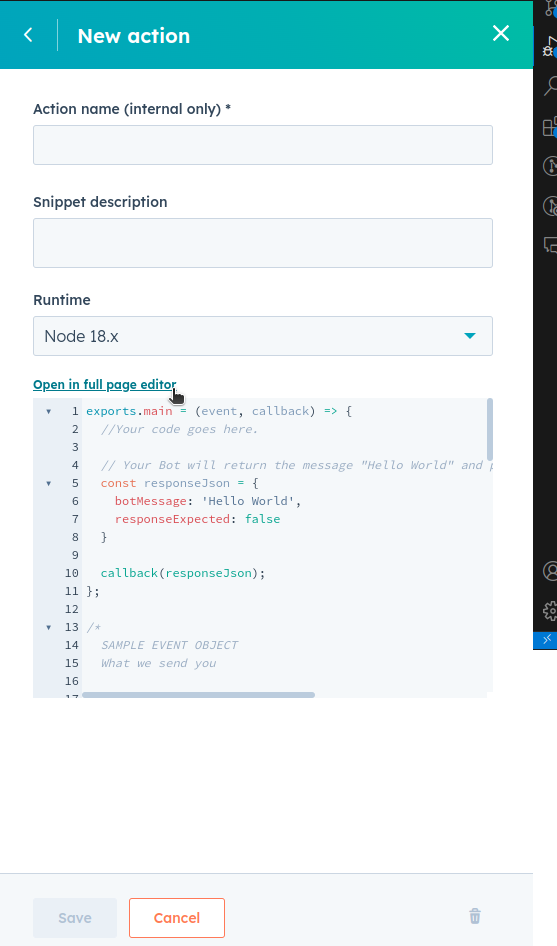
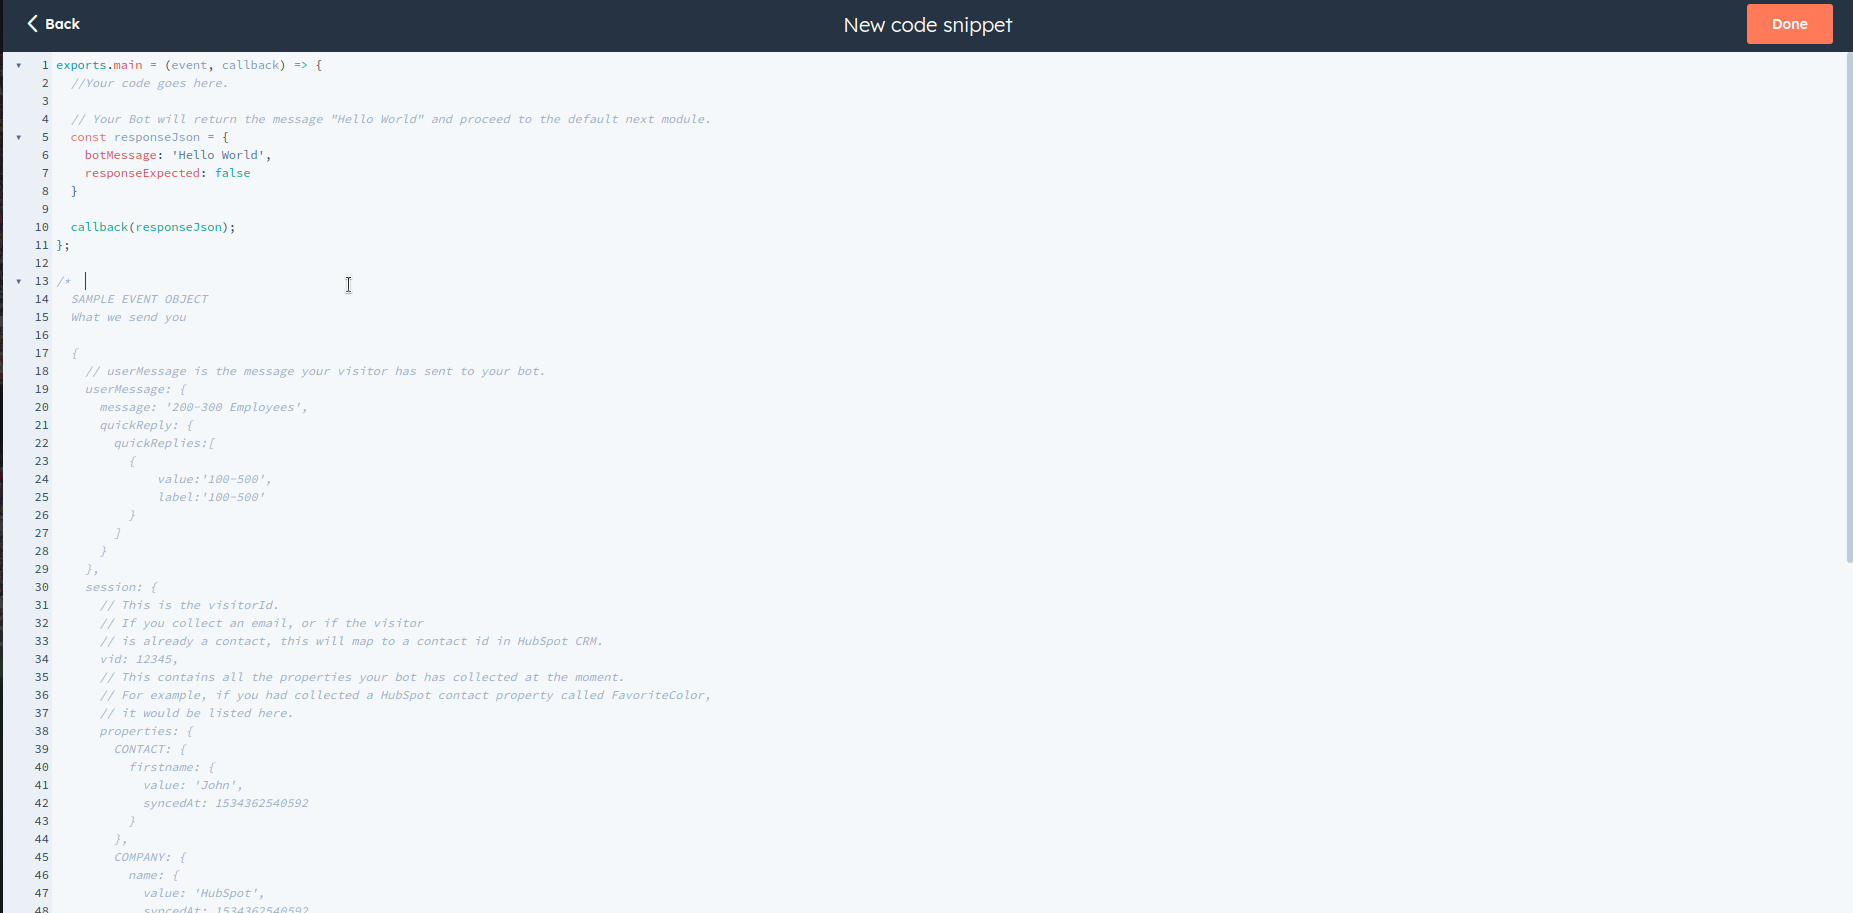
- In the code editor, delete all of the code in the editor.
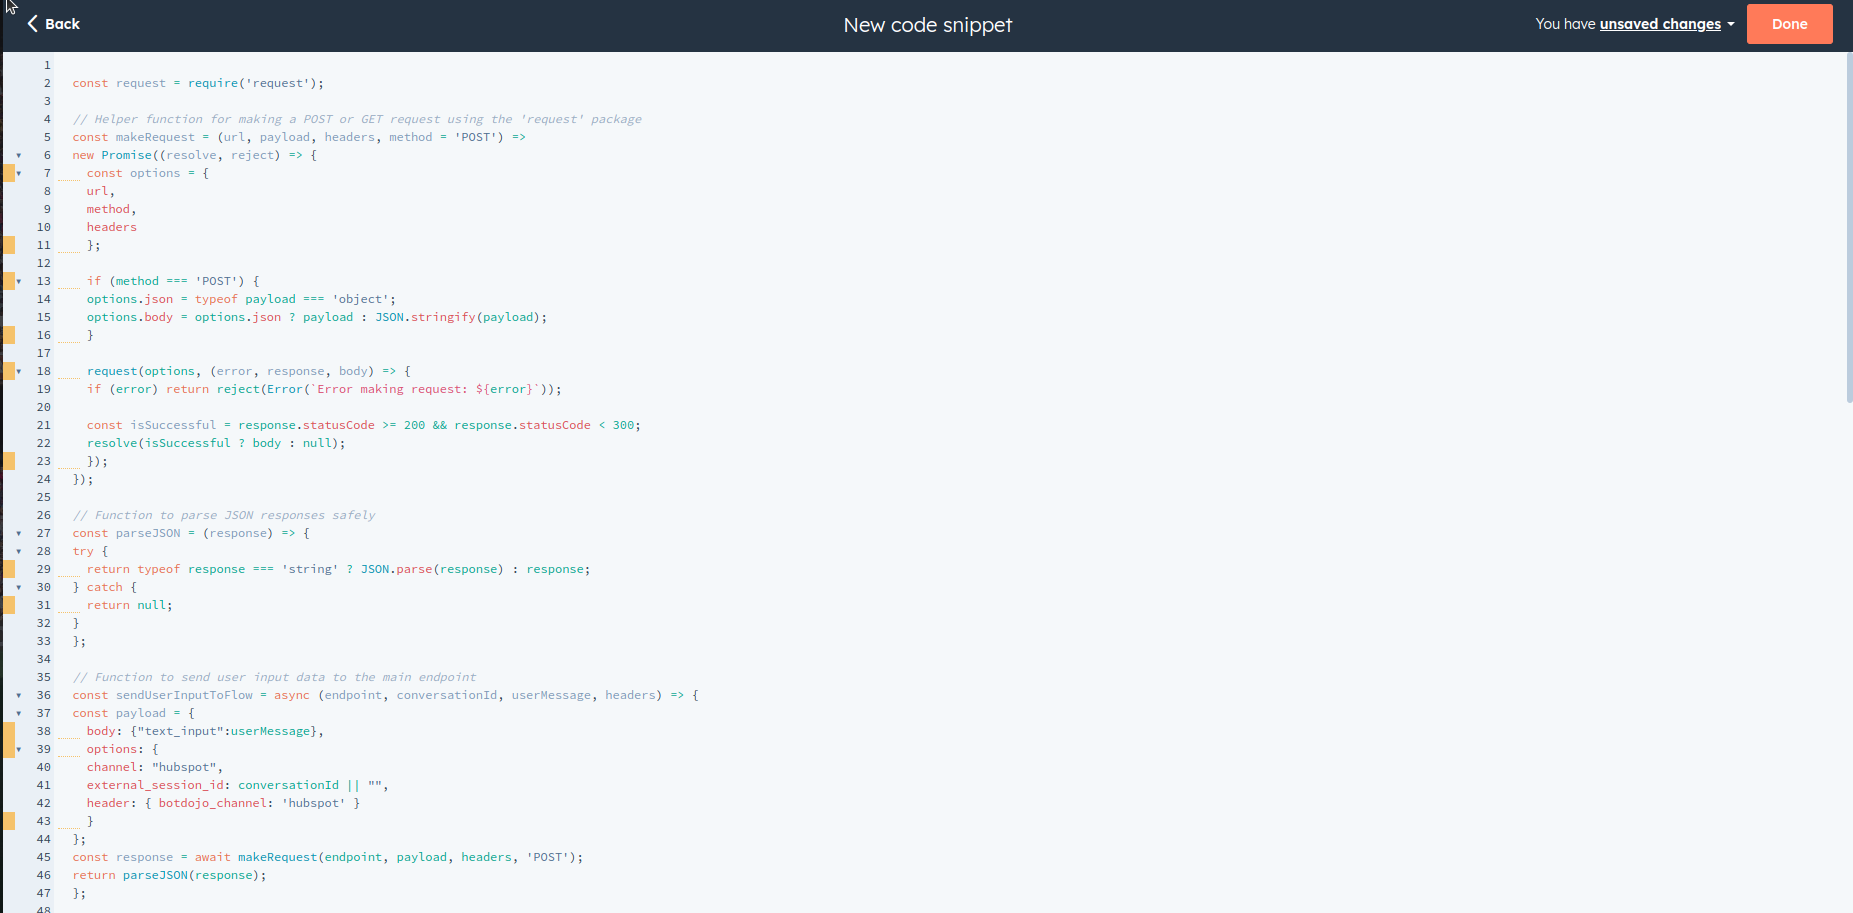
- Now paste the code that you have copied from the BotDojo app flow here.
After pasting the code and entering your values, click Done button on the top right.
- Click Save.
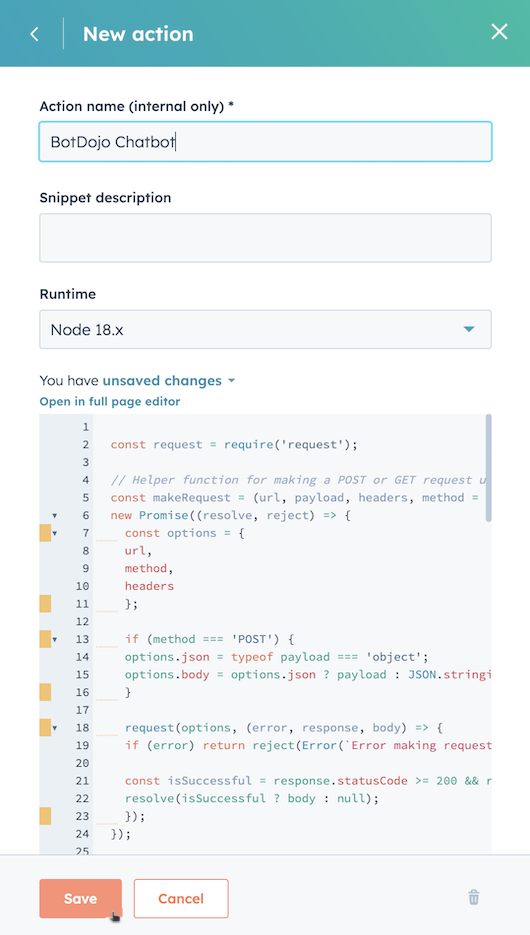
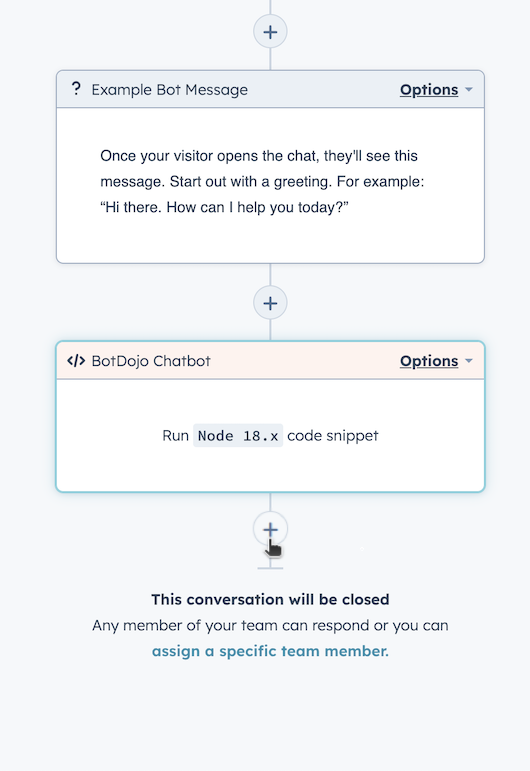
- Now we are going to add the ability to send the conversation to a team member. In the chatflow, add a new node by clicking on the last “+” icon.
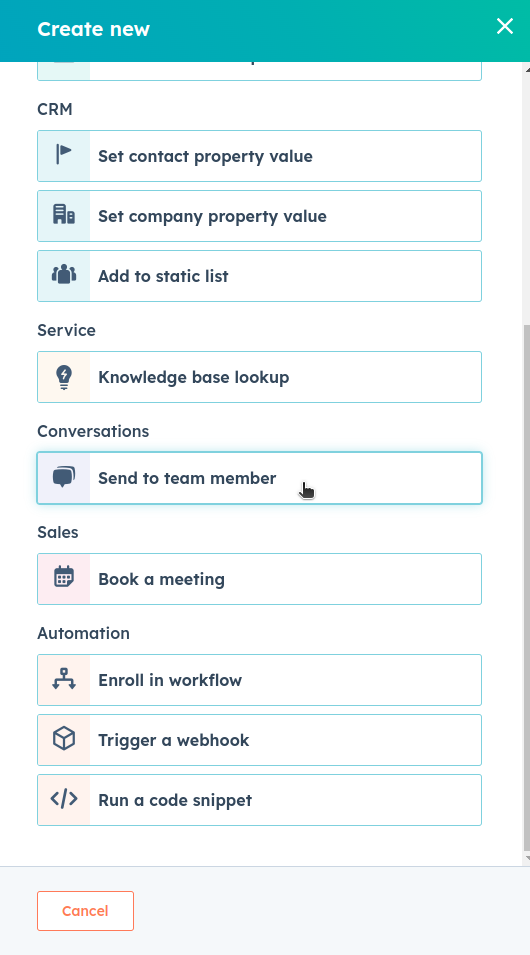
- Under Conversations, select Send to a team member.
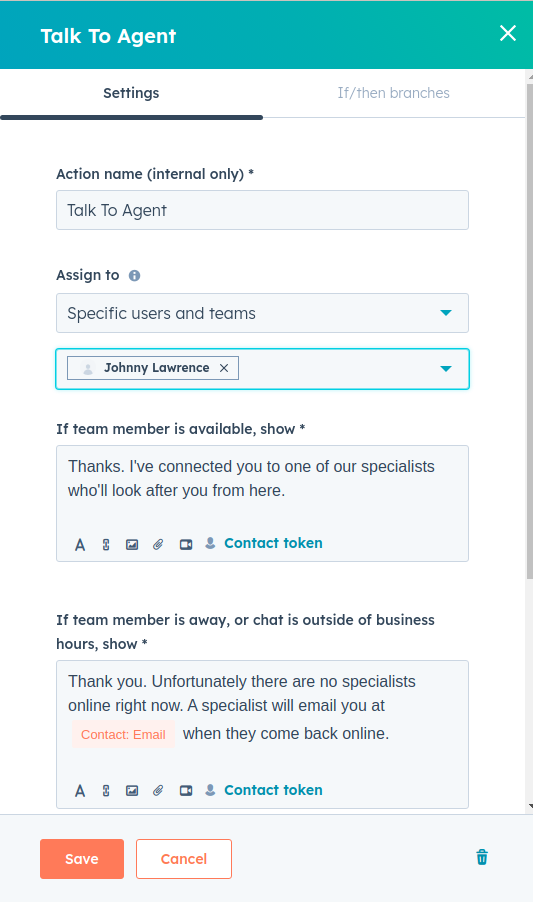
- Configure this node according to your needs and Save it.
- In the chatflow, click on your Custom code node (BotDojo Chatbot) and select the If/then branches section. Click Add if/then branch button.
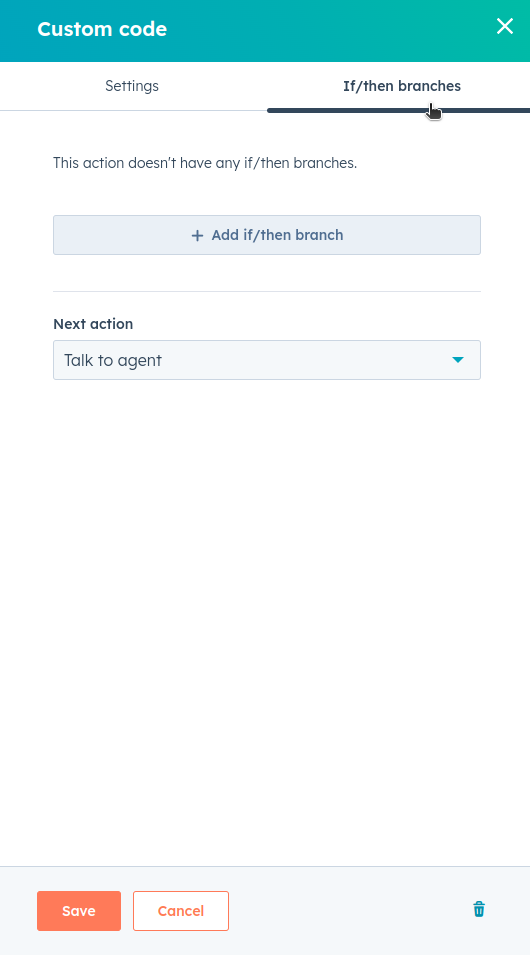
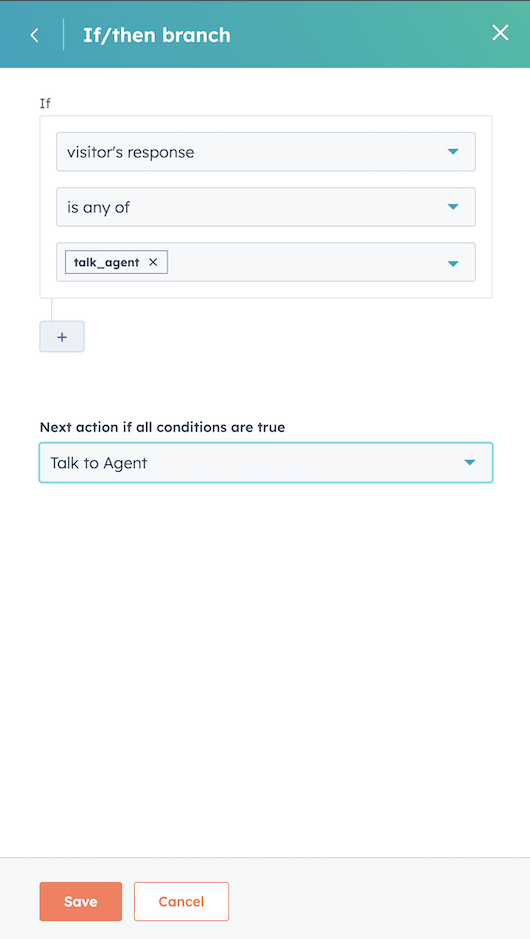
- Configure the values as shown in the picture below. If visitor's response is any of
talk_agent, then Talk to Agent and click Save twice to return to the chatflow.
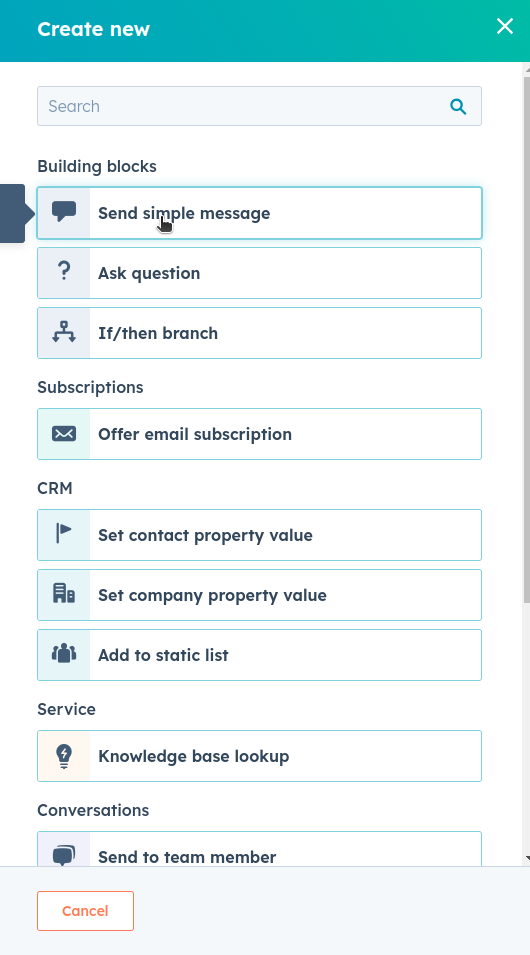
- Now we're going to add the ability to end the conversation. Click on the last “+” icon again and select “Send simple message” option.
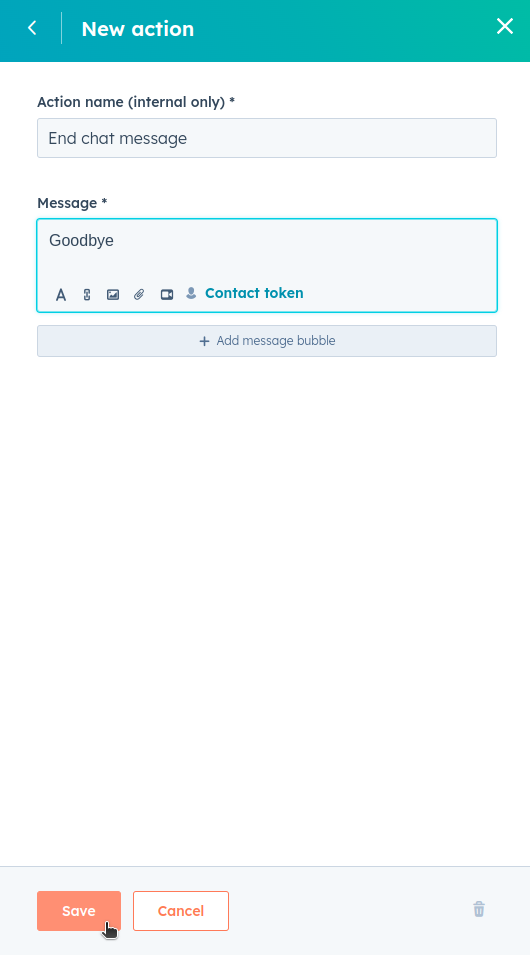
- Configure the message for your user and click Save.
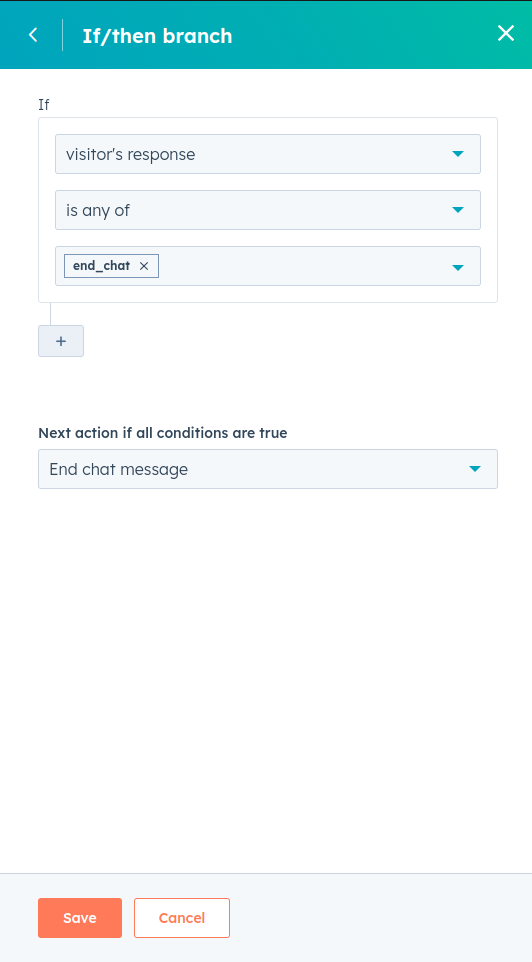
- Now as we did previously, in the chatflow, click on your Custom code node and go into the If/then branches section and add another if statement and configure as shown in picture below. If visitor's response is any of
end_chat, then End chat message. Click Save.
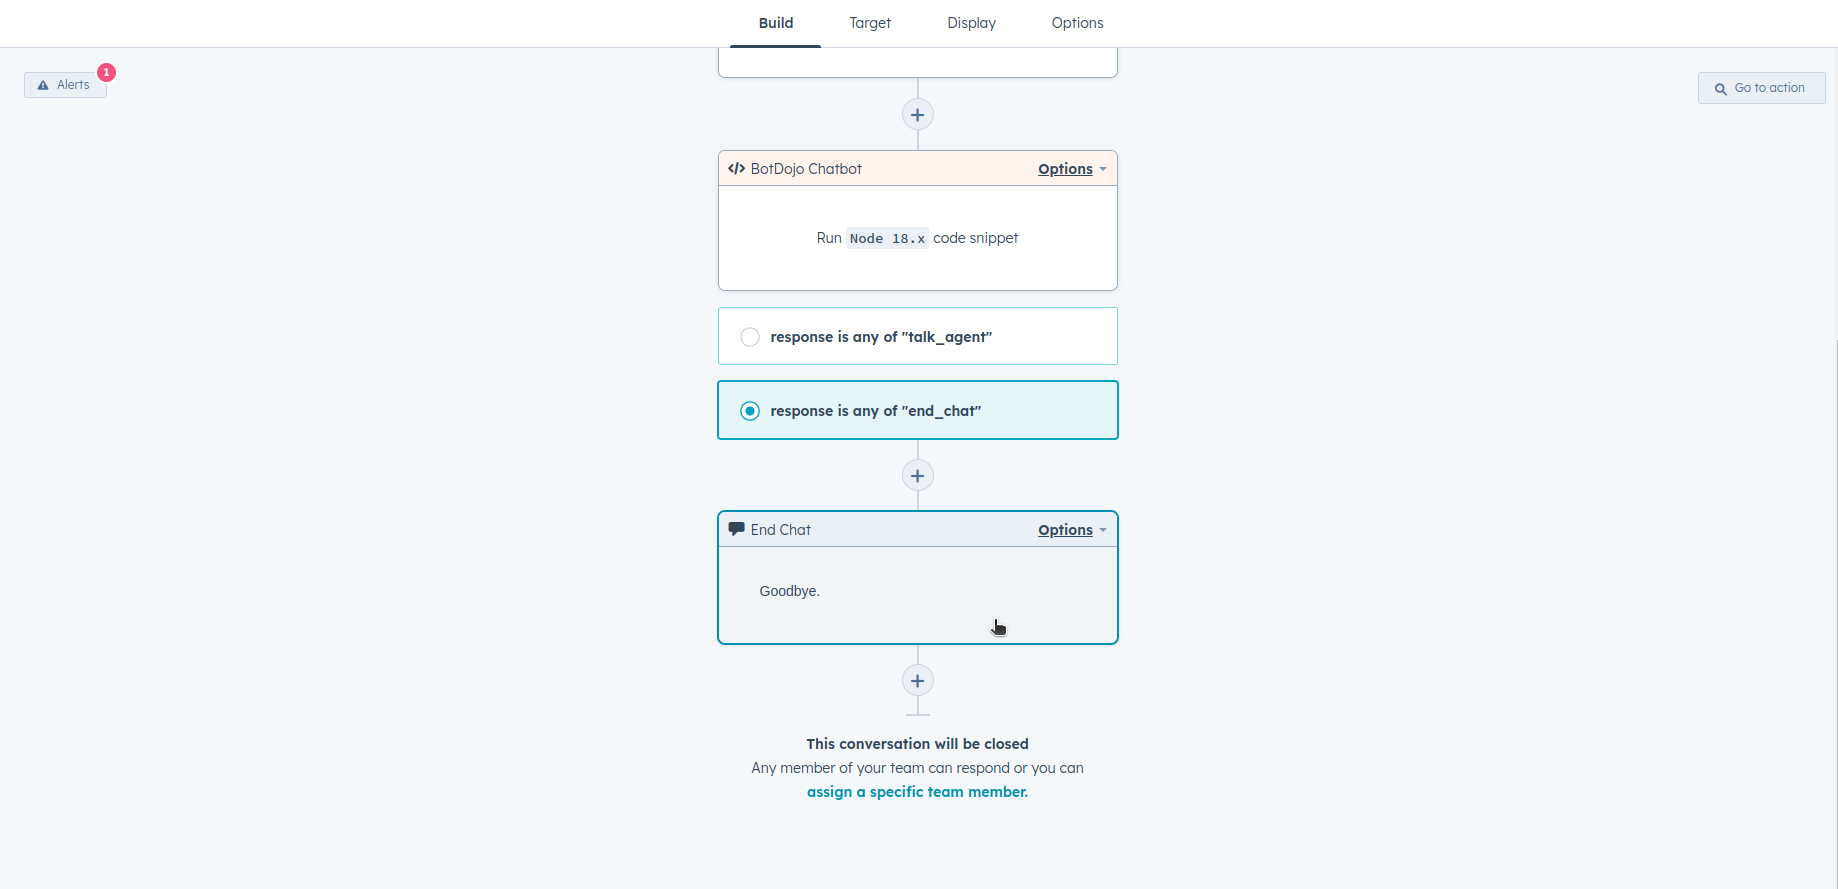
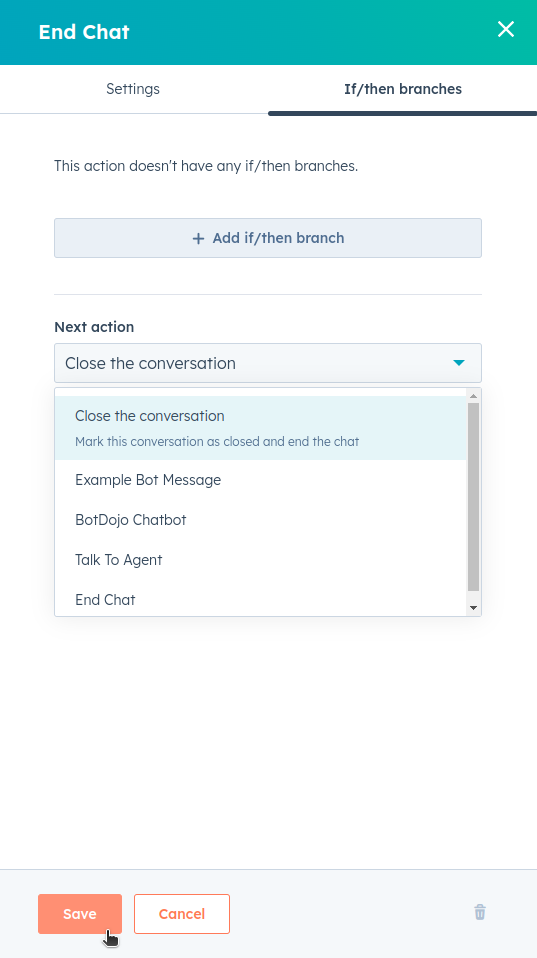
- In the chatflow, select the node response is any of "end_chat" and click on the End chat node below it. (If you don't see the End Chat node, try refreshing the page.)
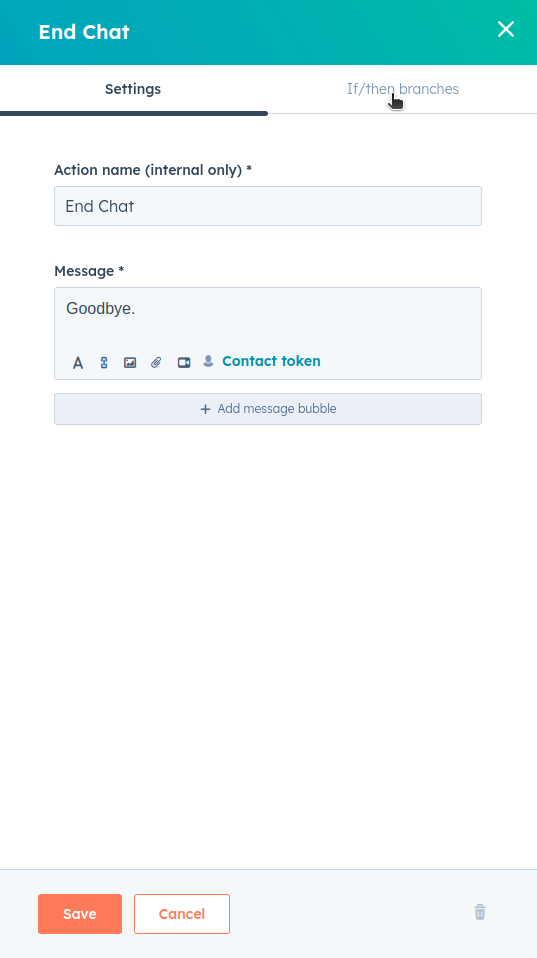
- In the right-panel select If/then branches section.
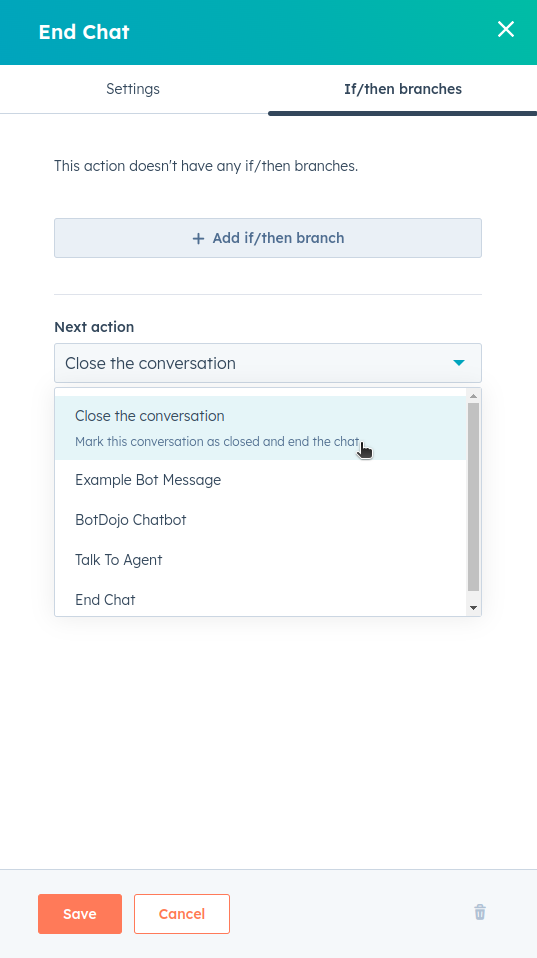
- Under Next action dropdown, select Close the conversation option.
- Click on the Save button of the panel
Now your chatflow is configured you can test it by clicking the Preview button on the top right.
Note: To disable attachments on your site where the chatbot will be published, add the following script:
<script>
  window.hsConversationsSettings = {
    disableAttachment: true
  }
</script>