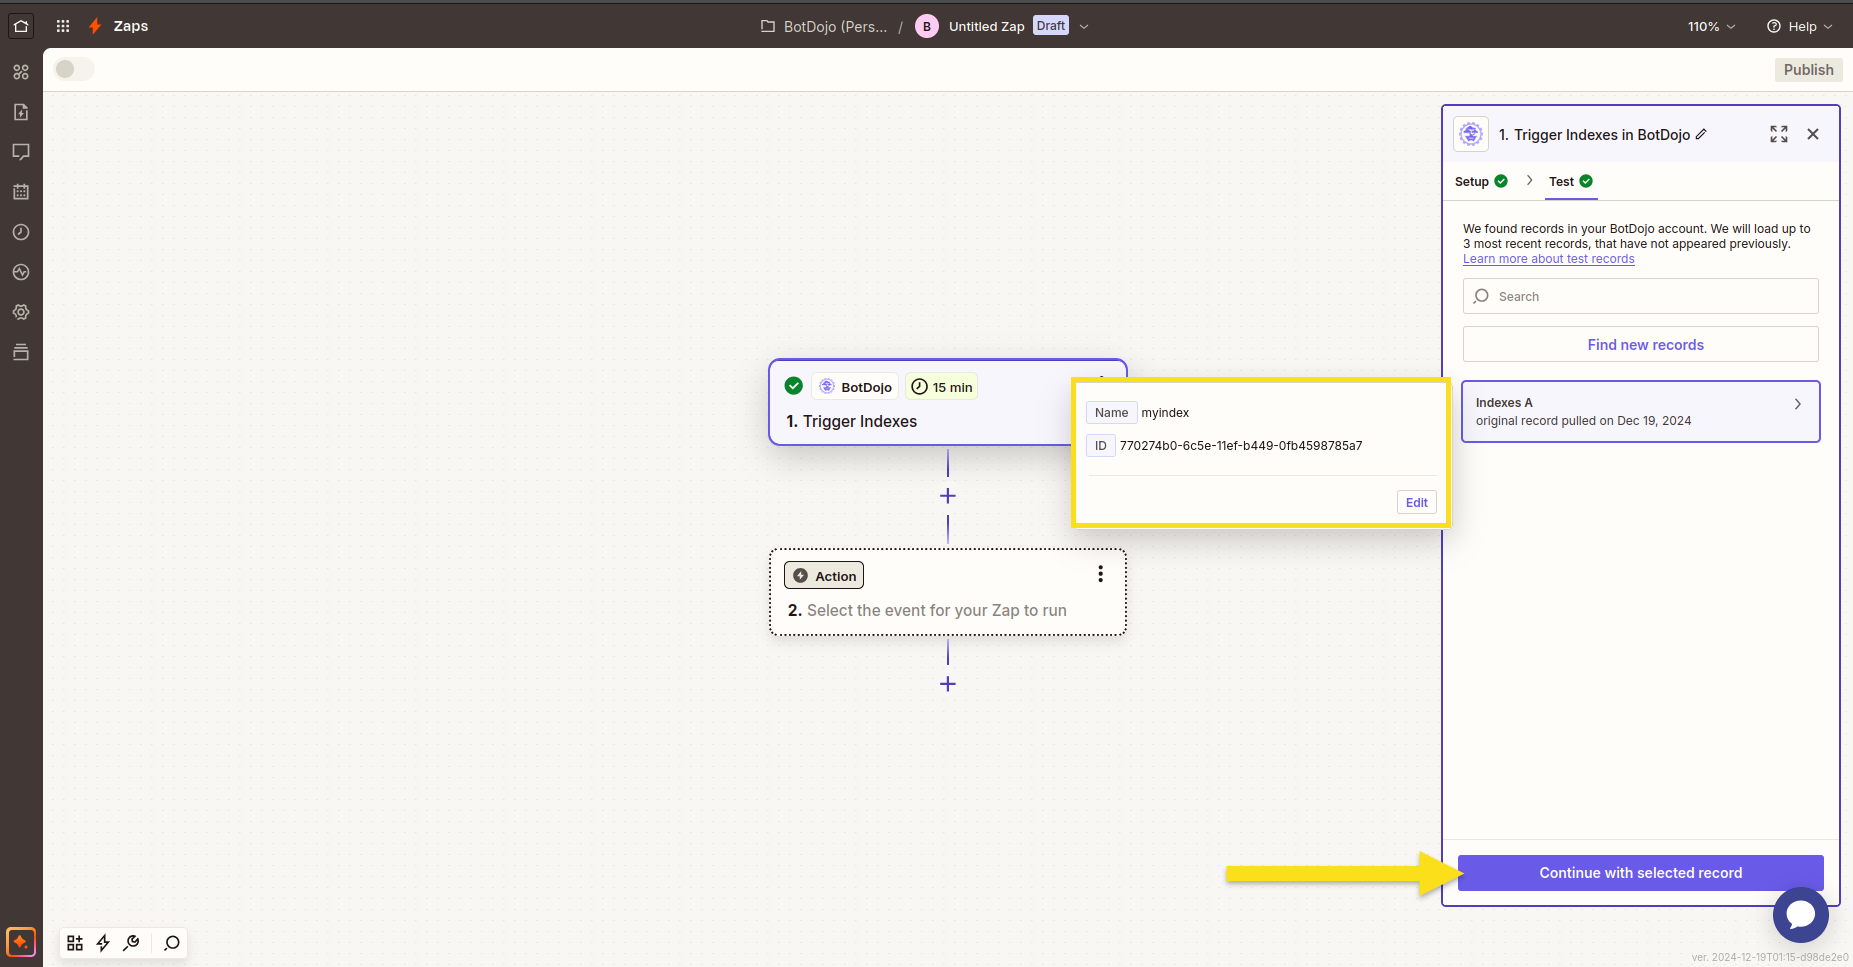
Zapier Integration
BotDojo can integrate with Zapier. Following are the steps to Integrate Botdojo with Zapier.
Connect Zapier Integration with your BotDojo Account
- Click on the Integration button on the left side-panel of your BotDojo Account.
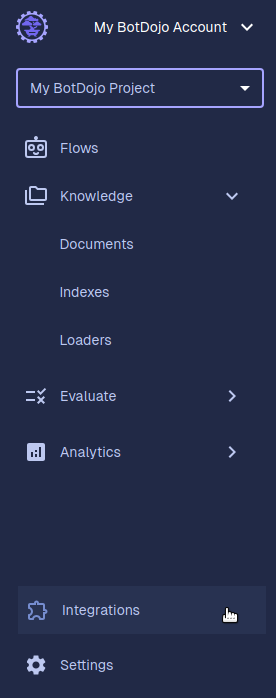
- Then in the Applications section, look for Zapier Integration and click Instructions button.

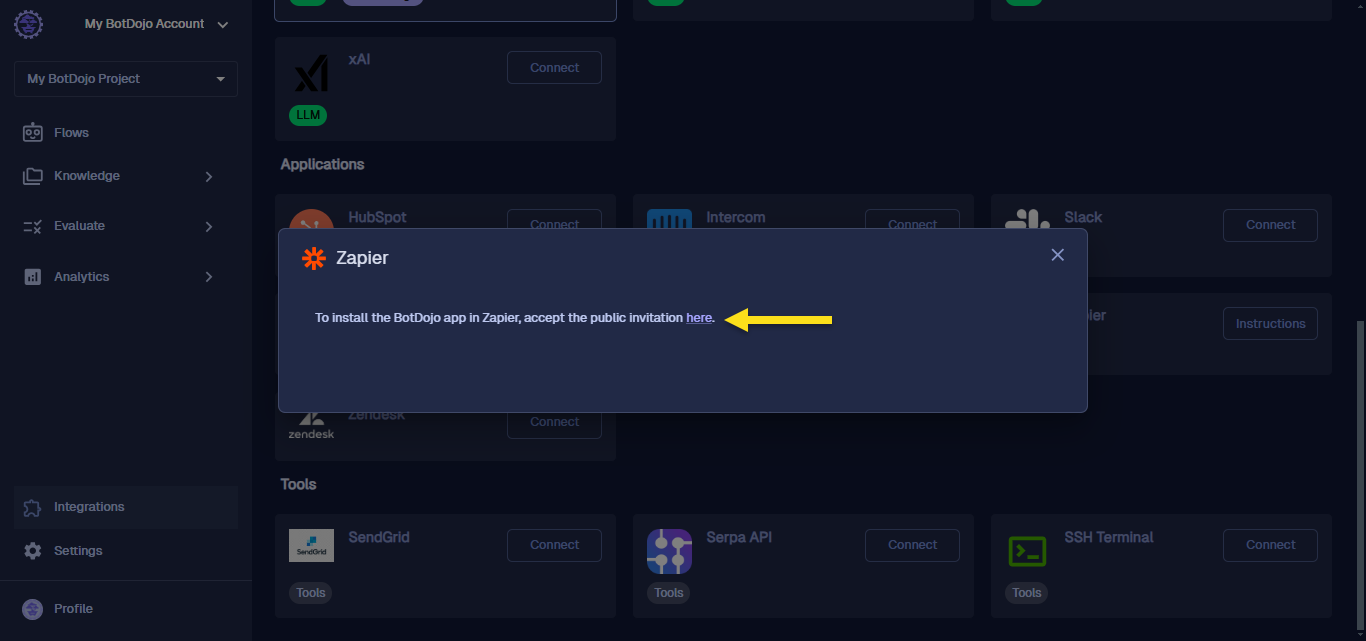
- A dialogue box will open, click on here in the dialog box.
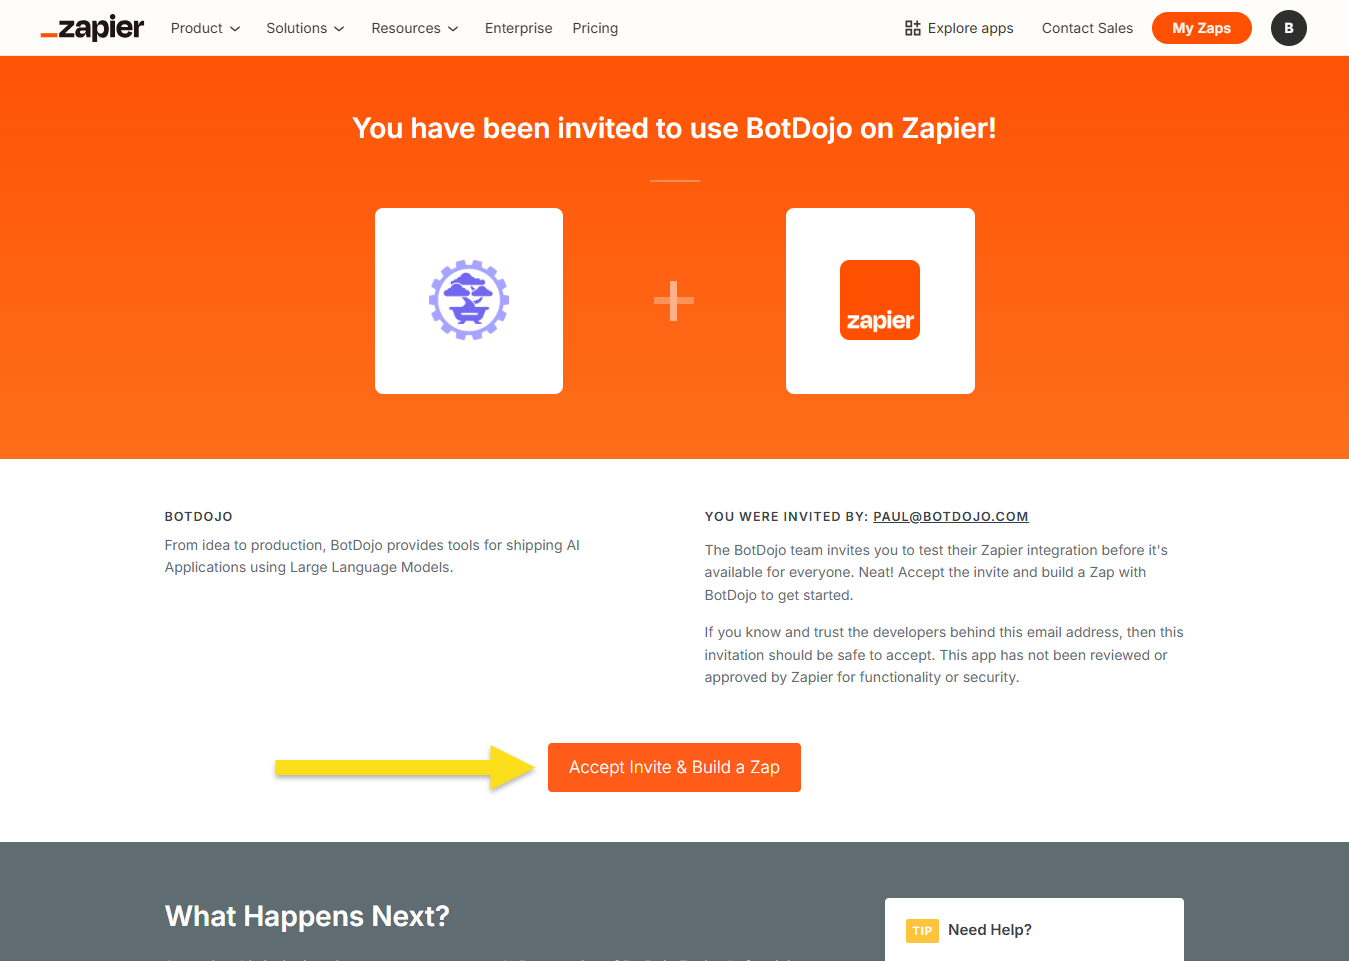
- You will be redirected to Zapier to accept the invitation. Click the Accept Invite & Build a Zap button.
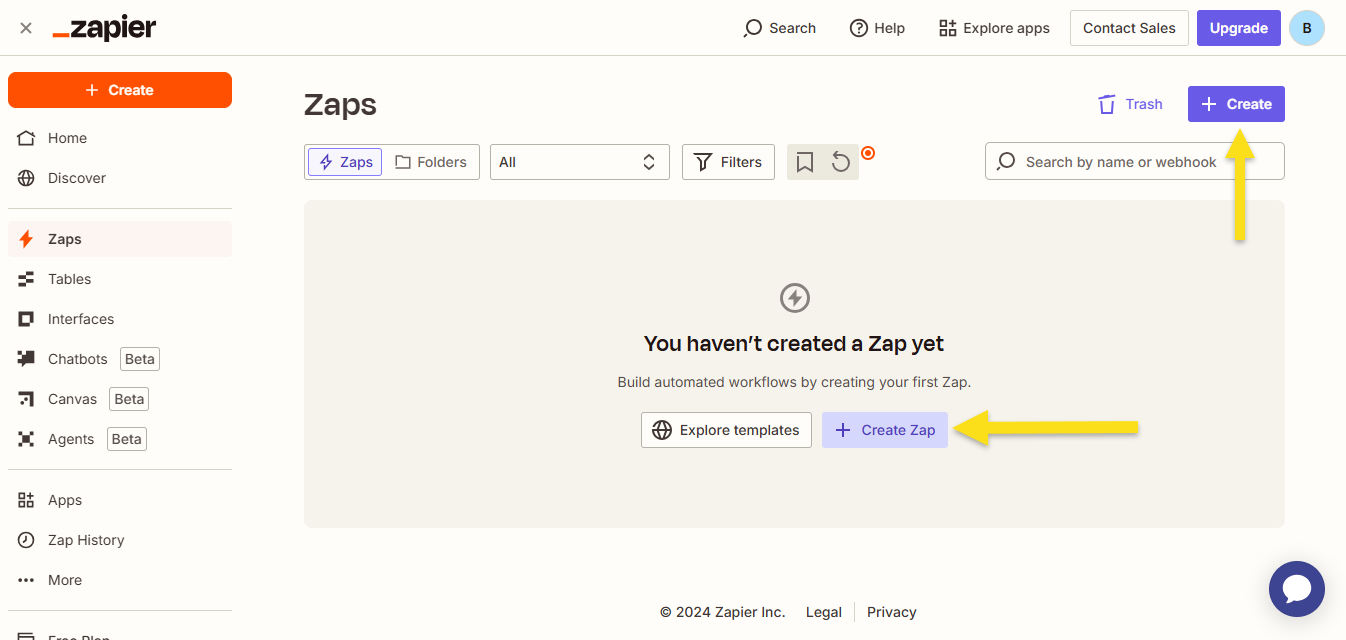
- Click the Create Zap button to create your first zap.
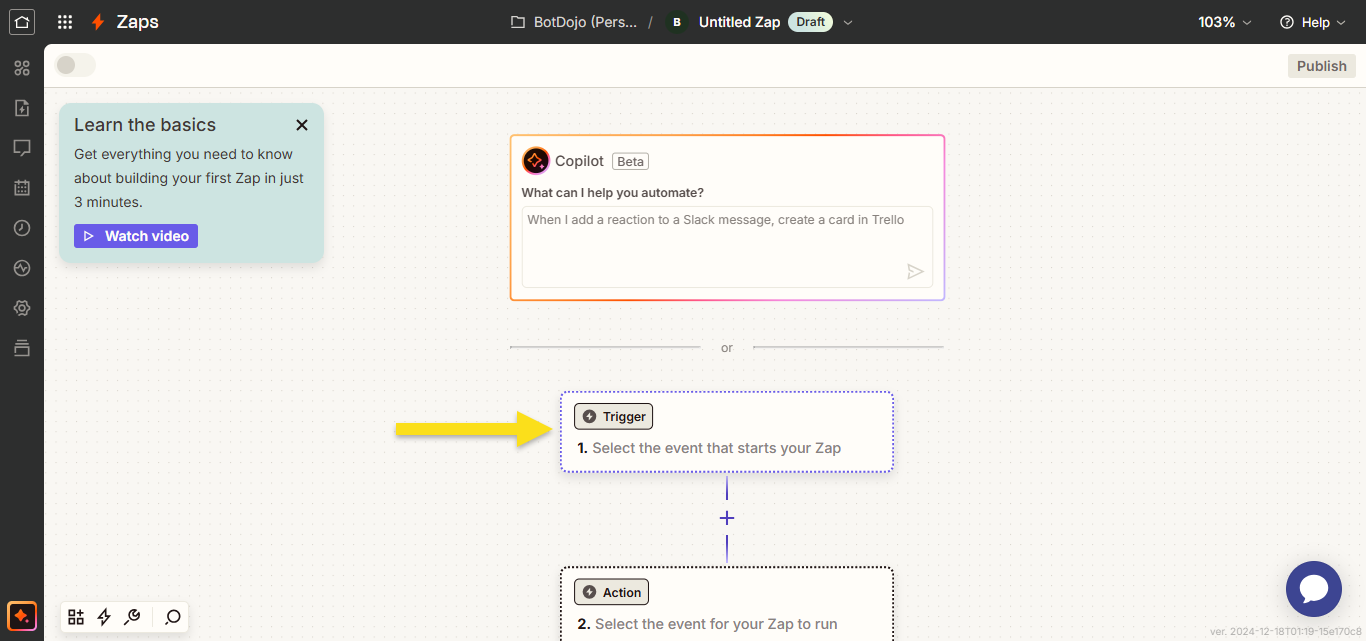
- Click the Trigger button.
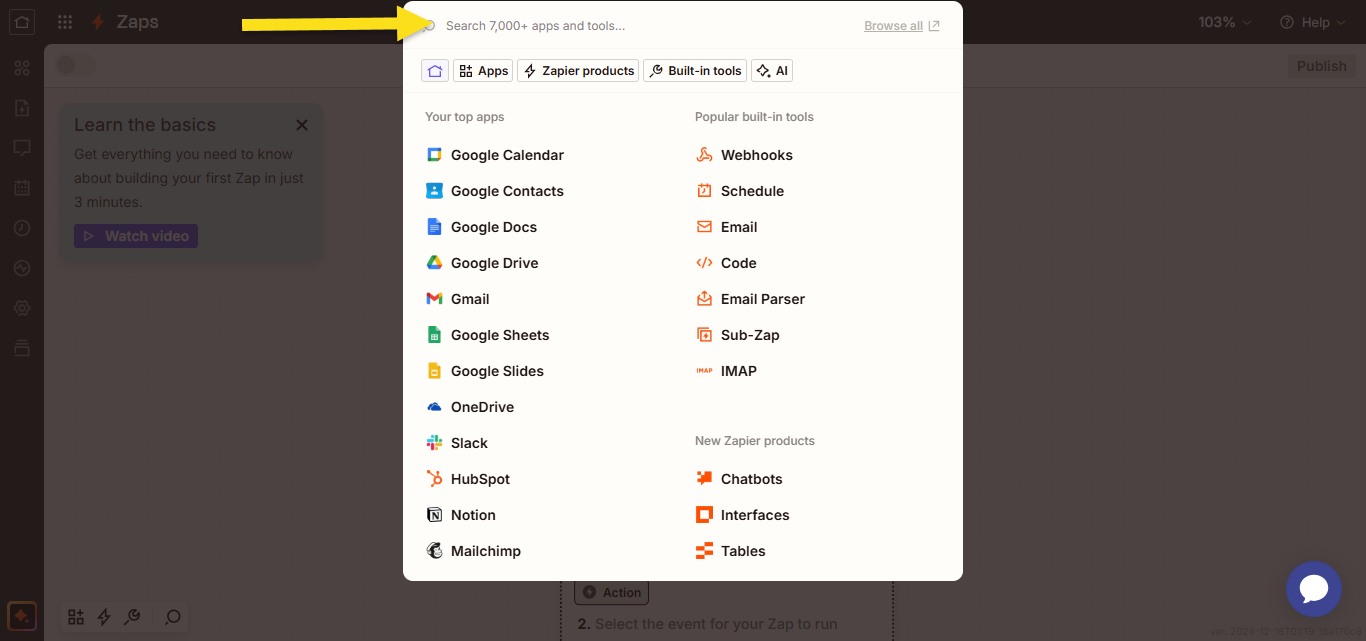
- Search for BotDojo in the applications.
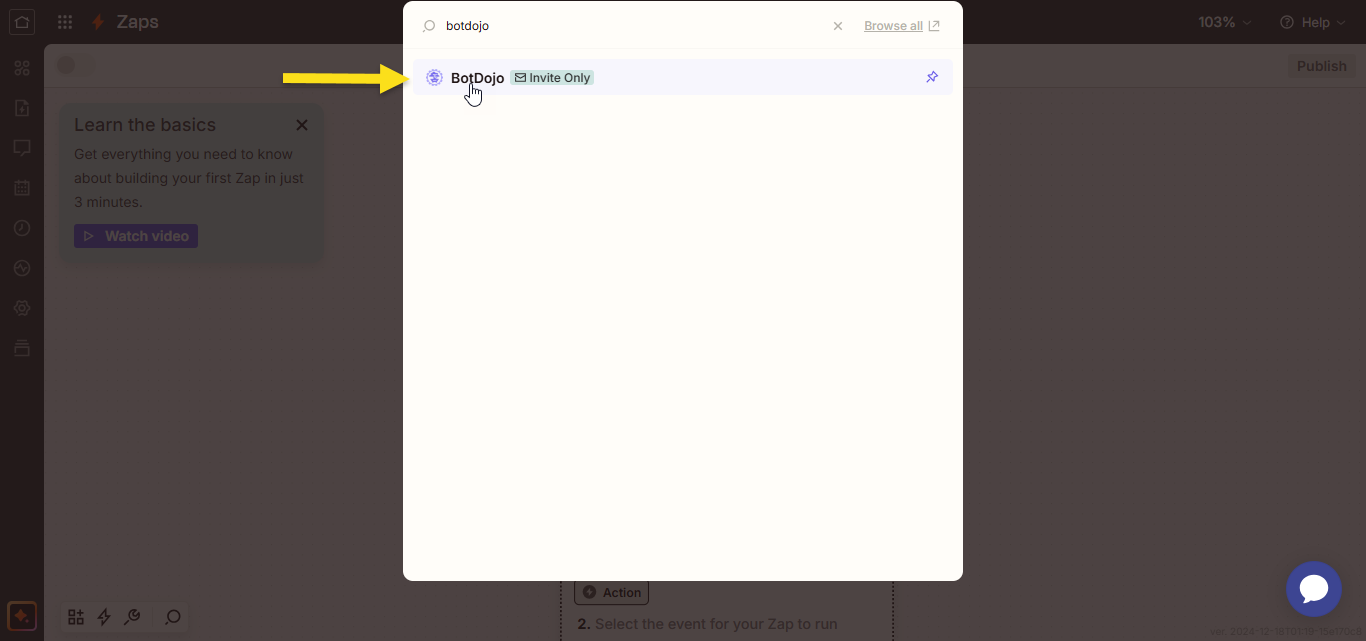
- Click BotDojo
- Now you will see the settings for the first node.
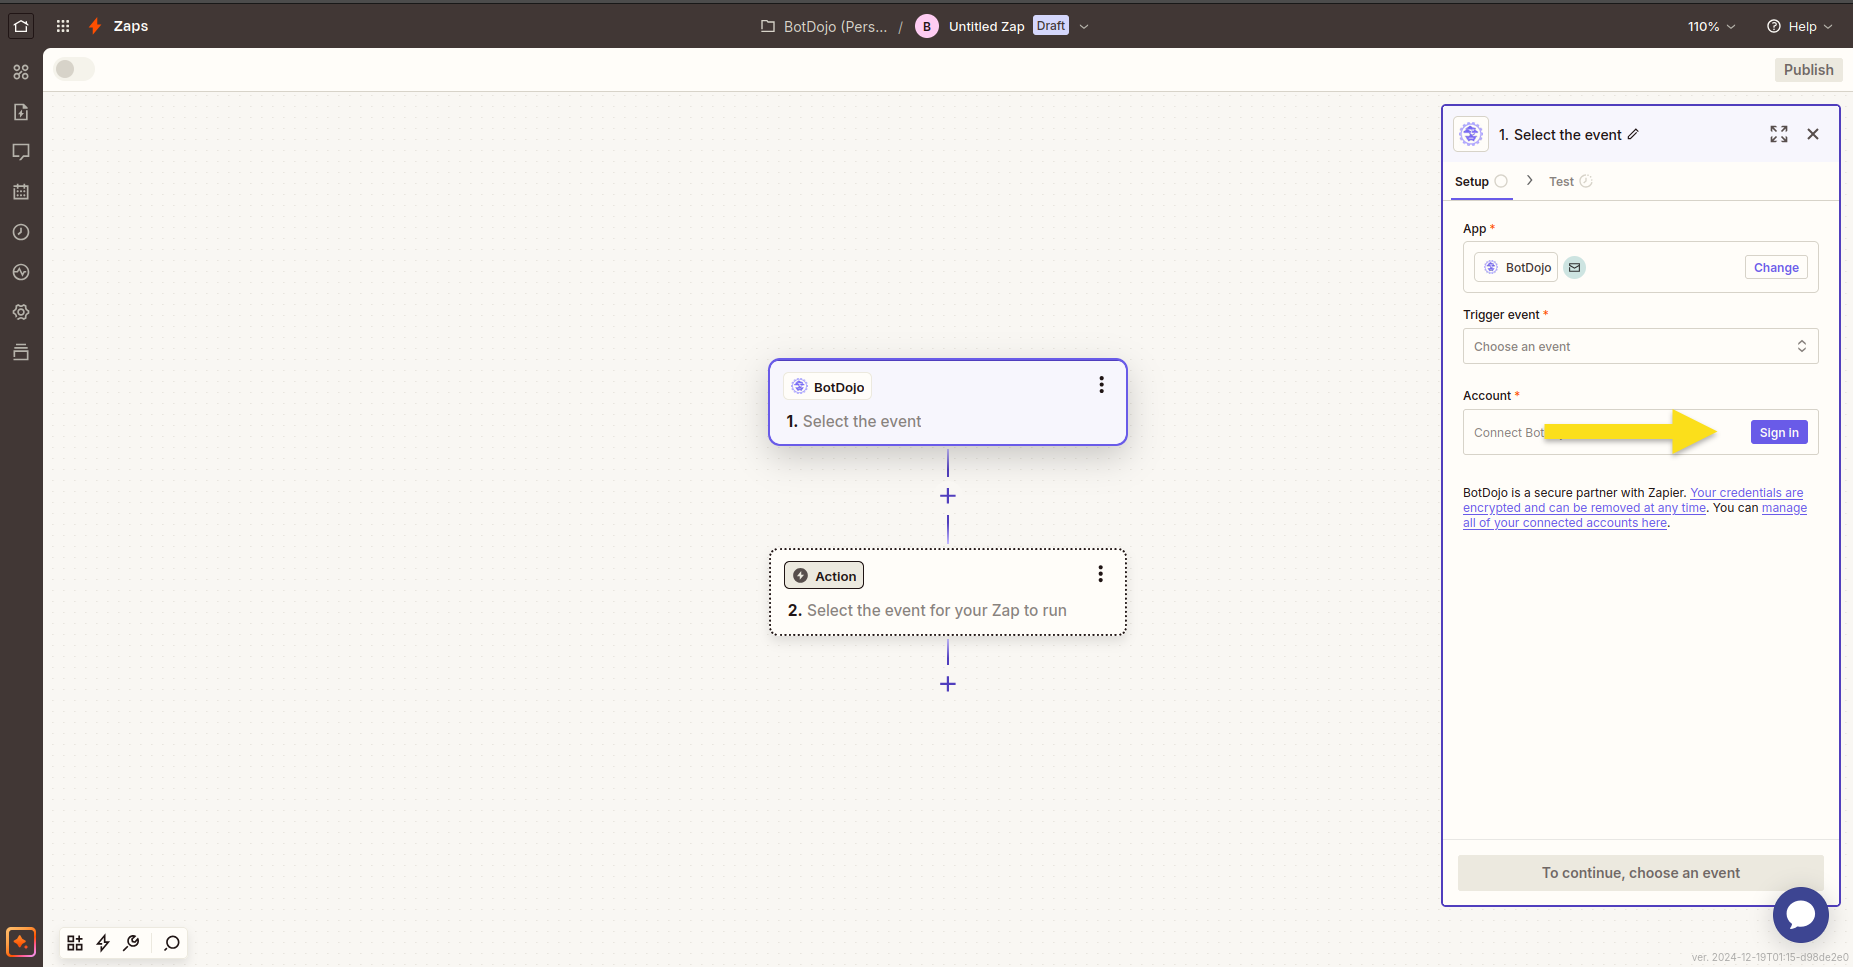
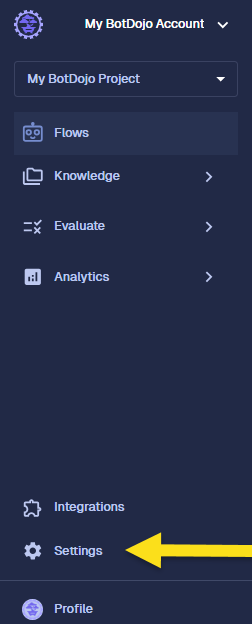
- Go to your BotDojo account and click the Settings tab to create an API key.
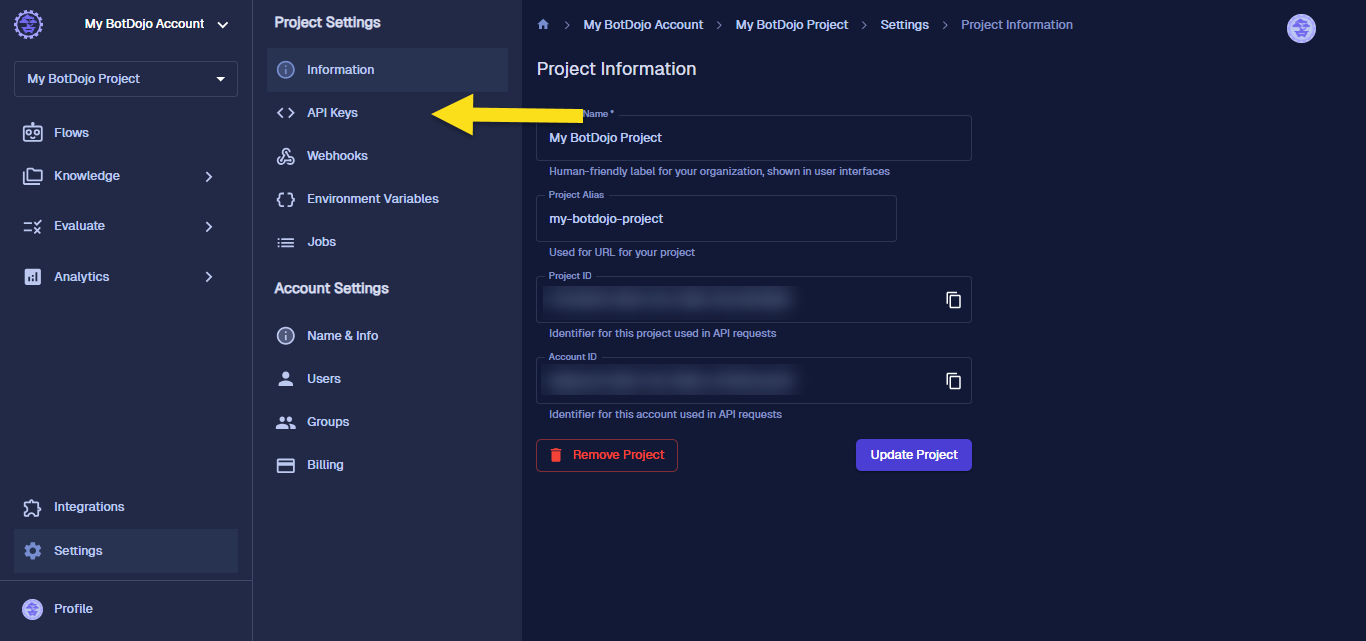
- Click on API Keys tab.
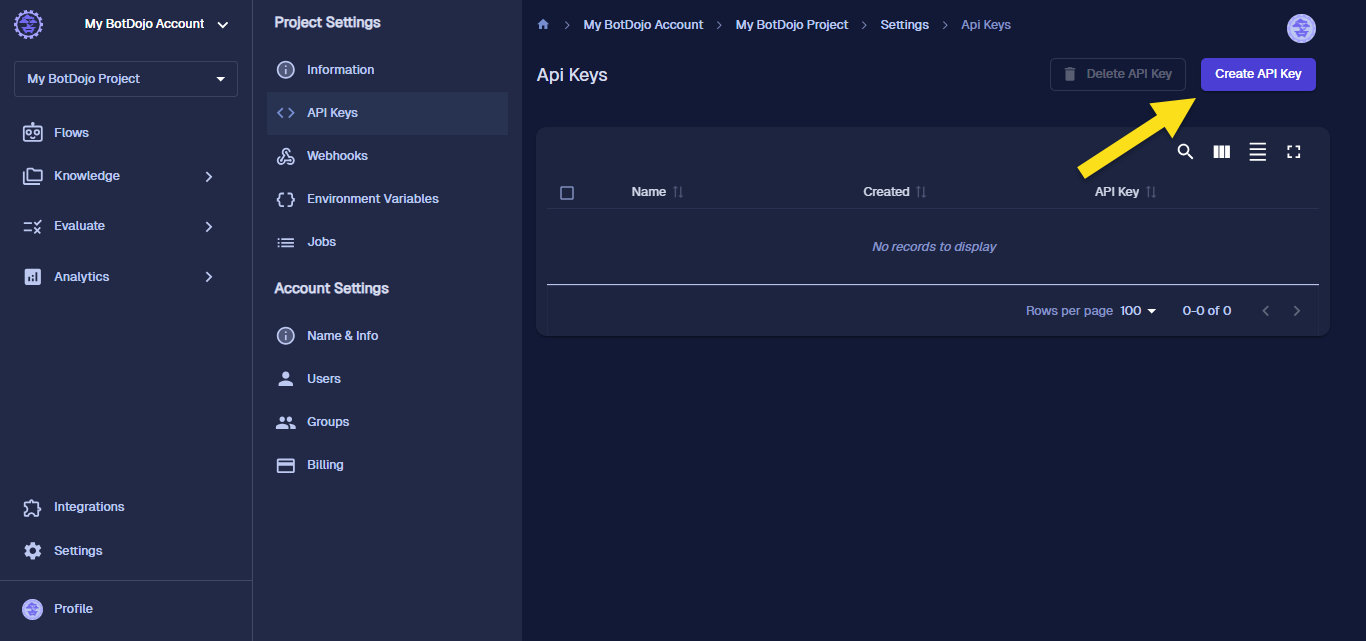
- In the API Keys tab, click the Create API Key button.
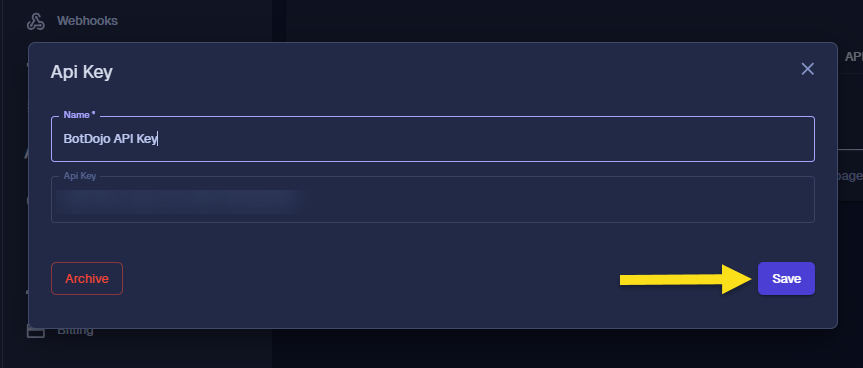
- Click the Save button.
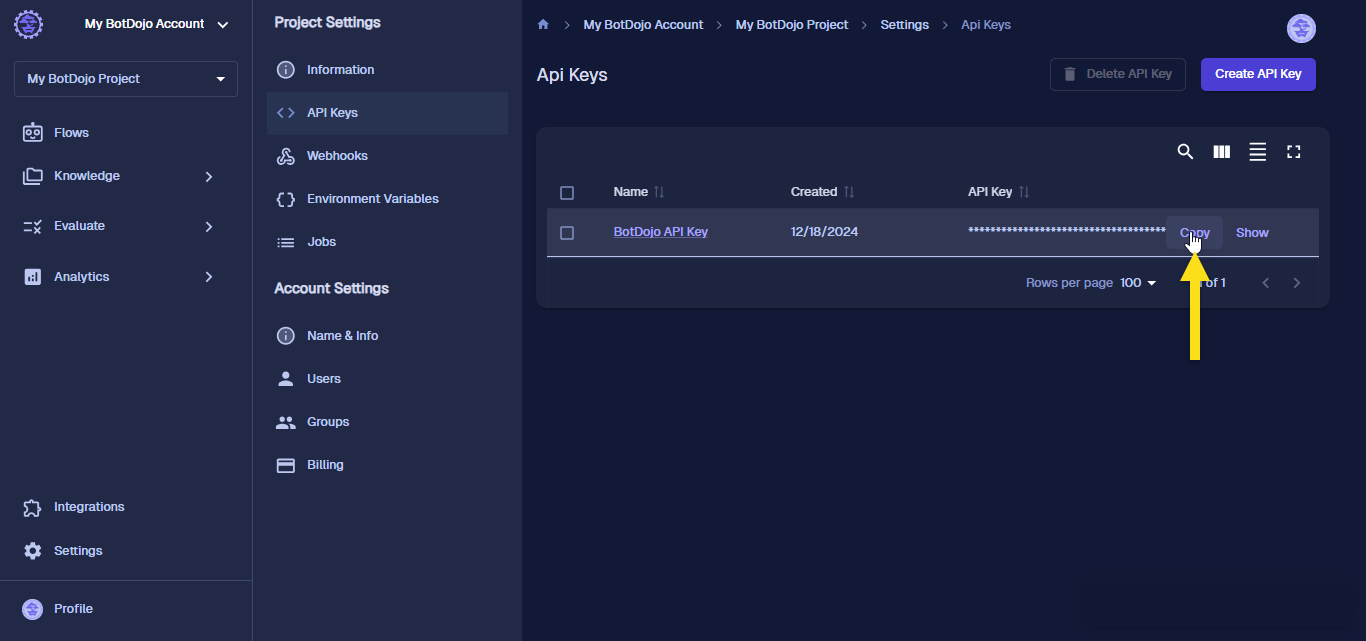
- Click the Copy button to copy your API key.
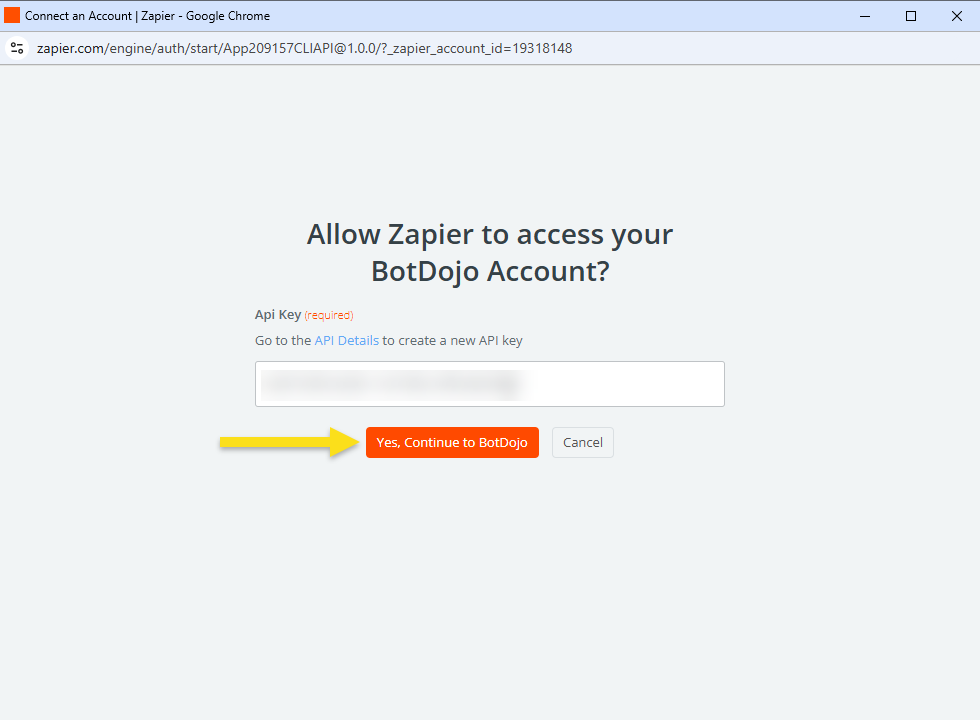
- Return to your zap and click Sign In. You will see a dialog box.

- Paste the copied API key into the dialog box and click Yes, Continue to BotDojo.
Now you have successfully connected BotDojo with Zapier.
Zapier Actions
Click the Action node to configure BotDojo actions.
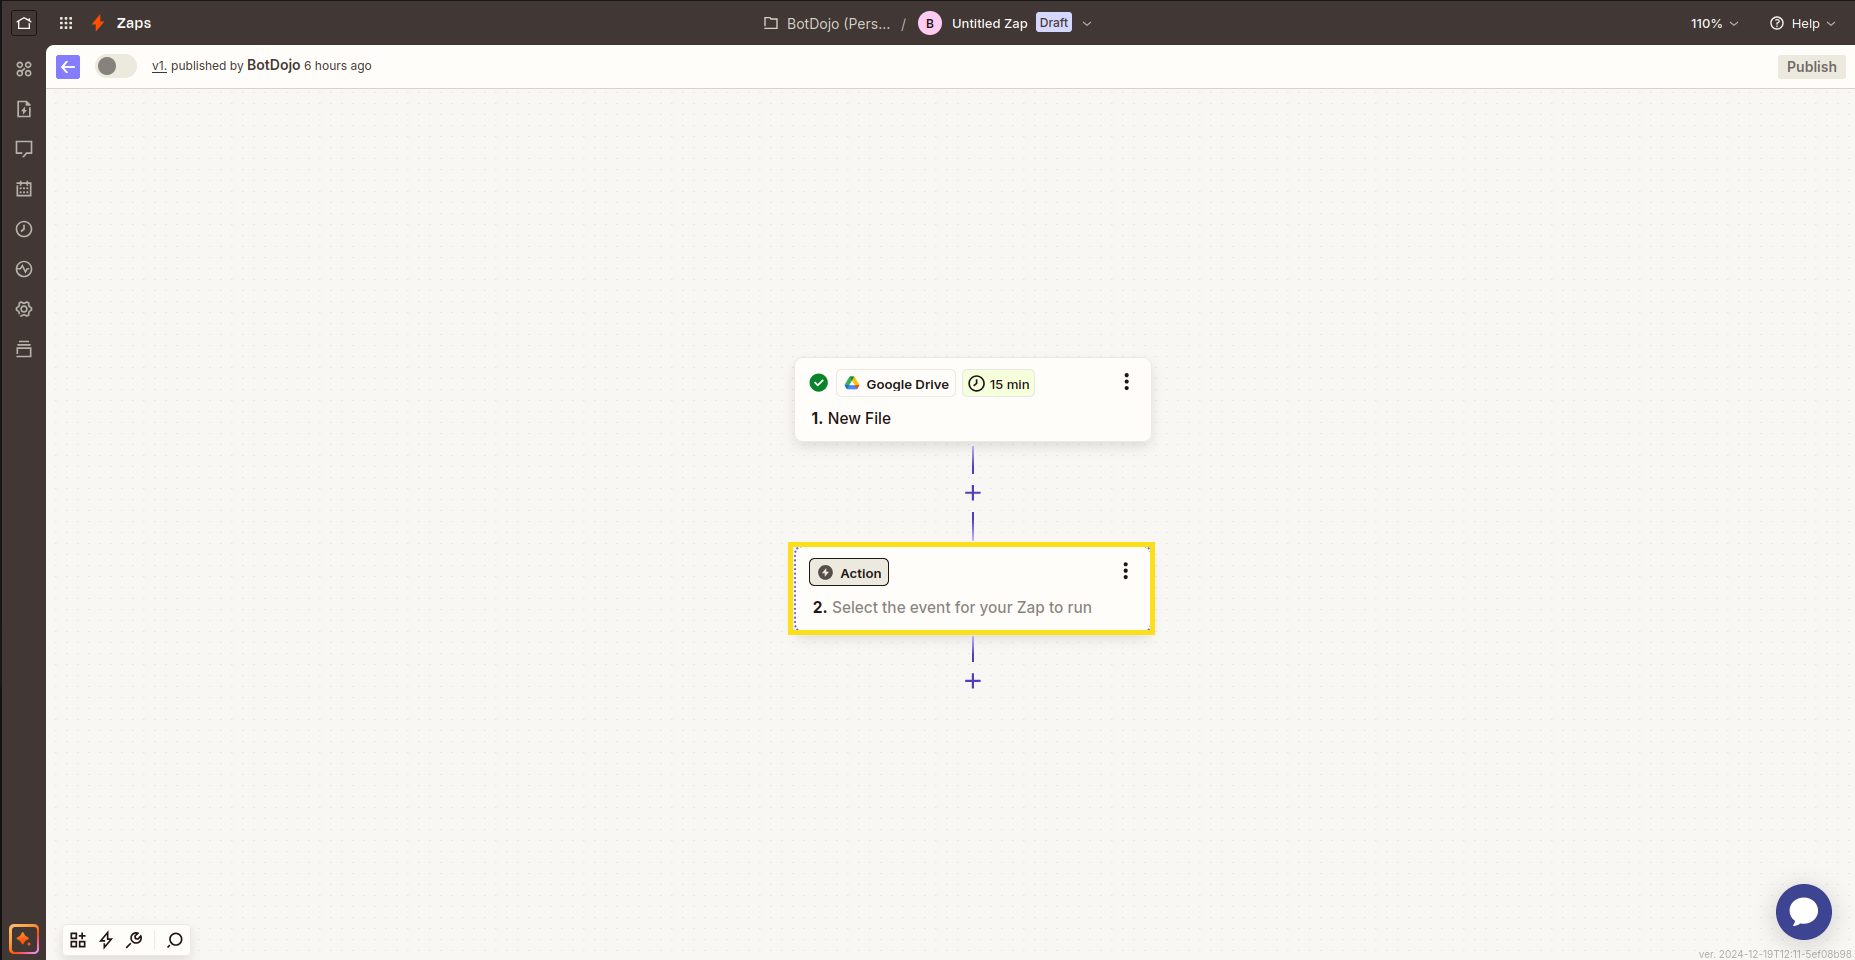
Search for BotDojo in the applications.

Click BotDojo

From here, you can select a wide range of actions from BotDojo:
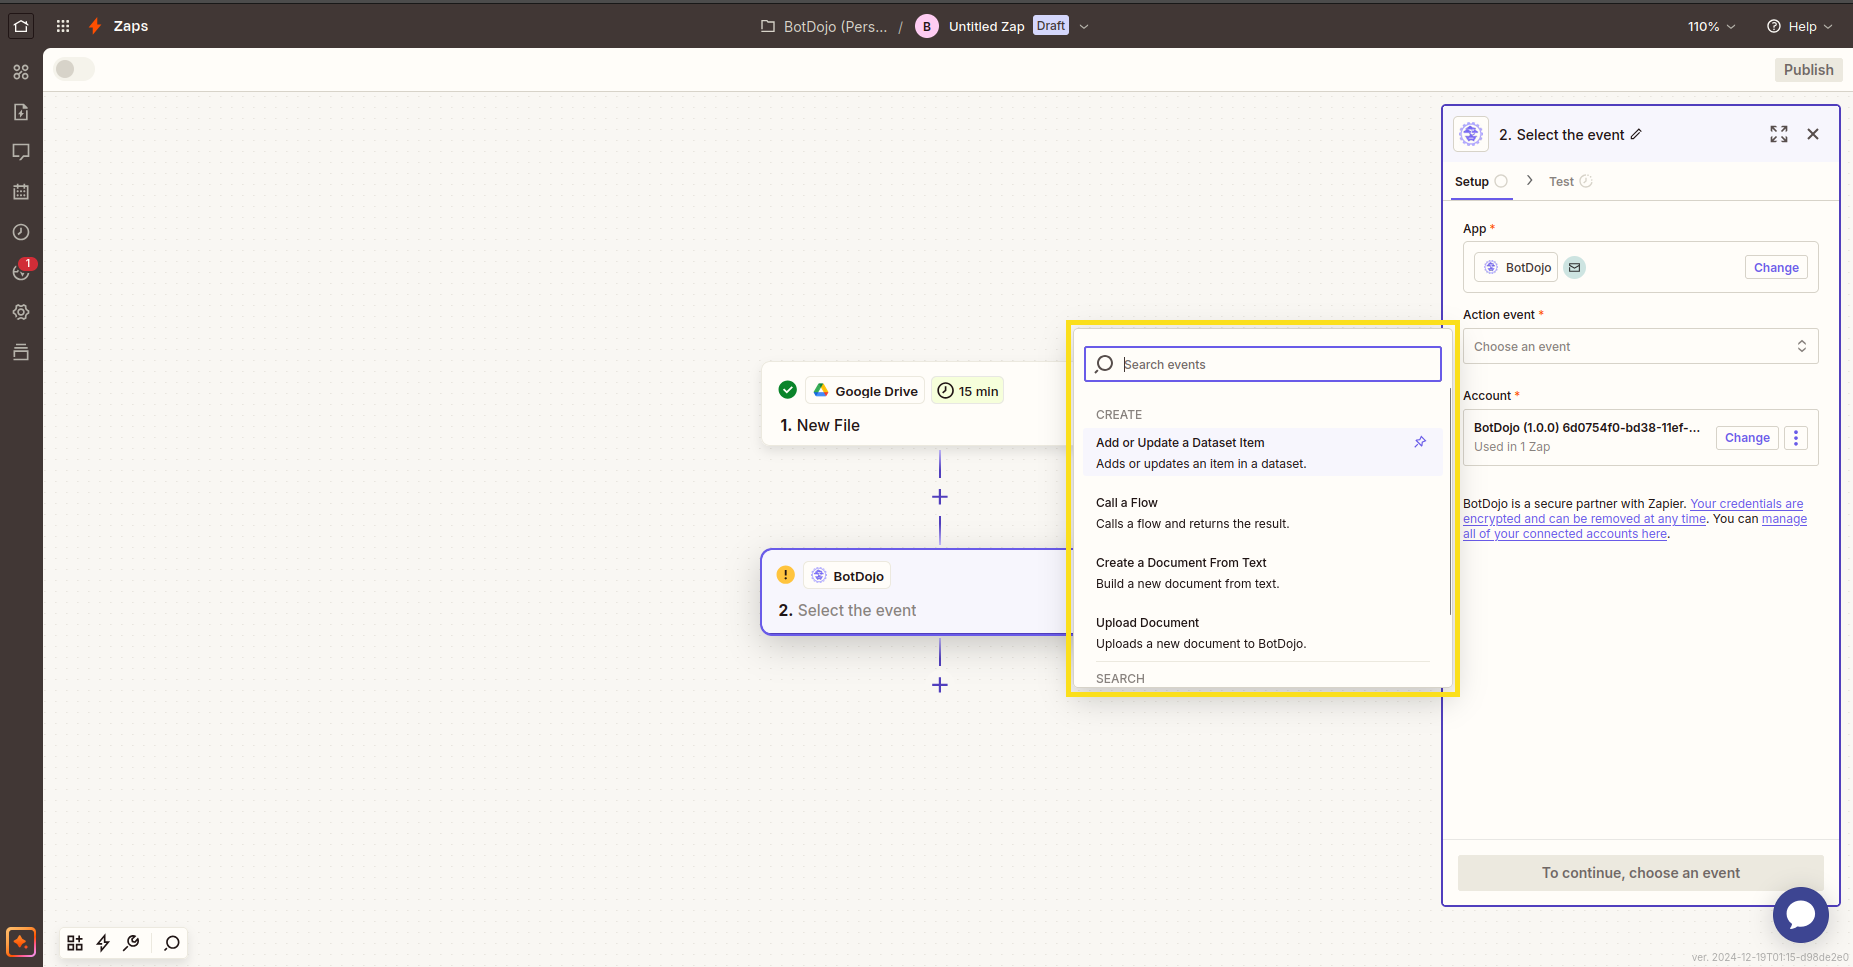
We'll walk through how to set up each action. Feel free to pick and choose which action fit your needs.
1. Call a Flow
This calls a flow on BotDojo.
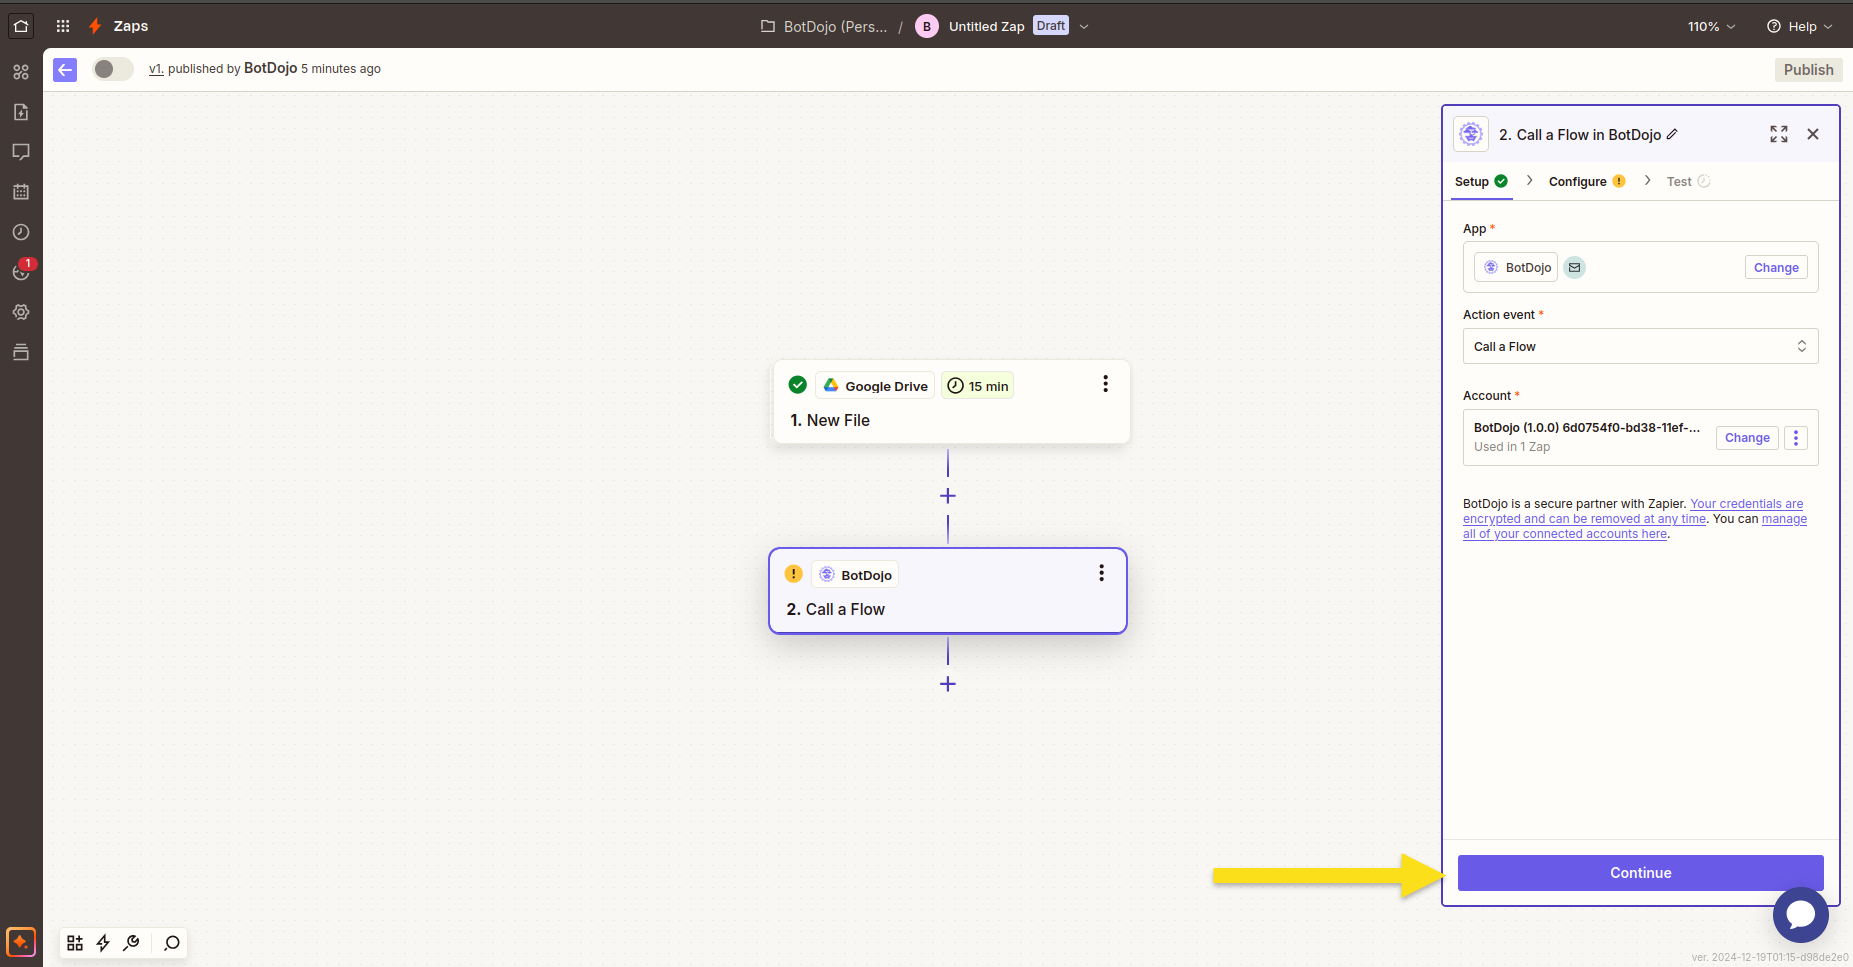
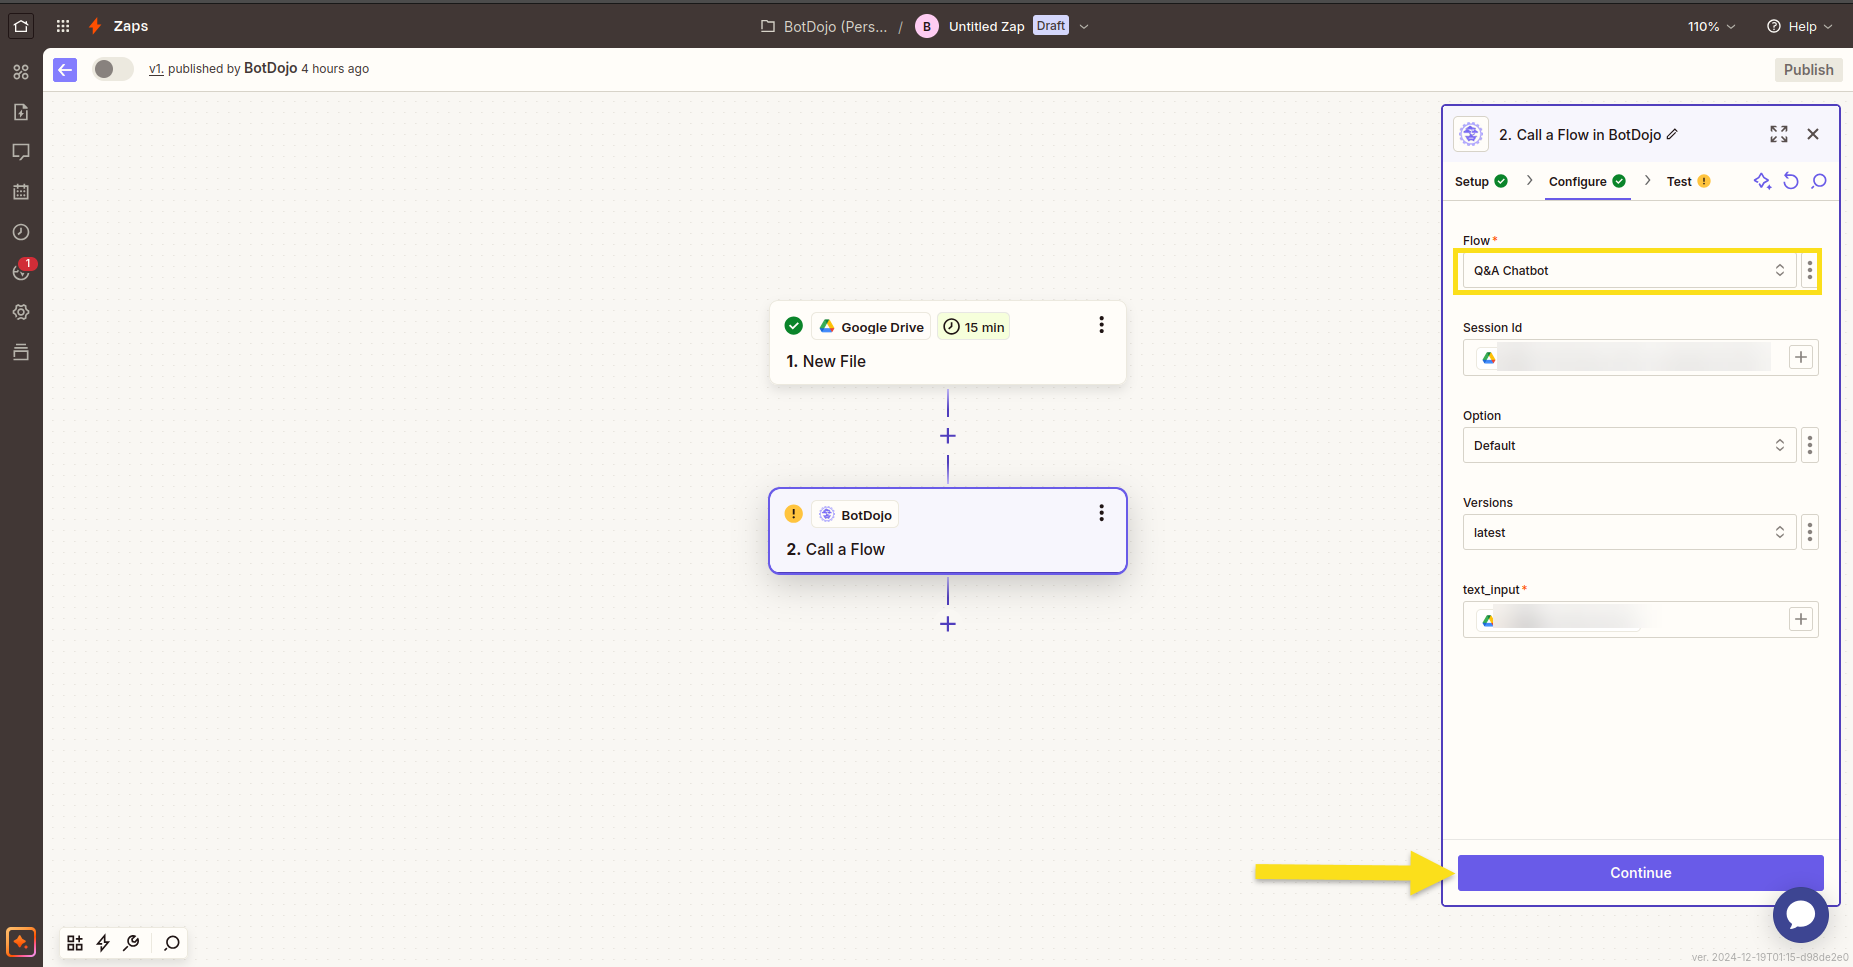
Select a flow from the dropdown menu and configure the schema for the flow and press Continue
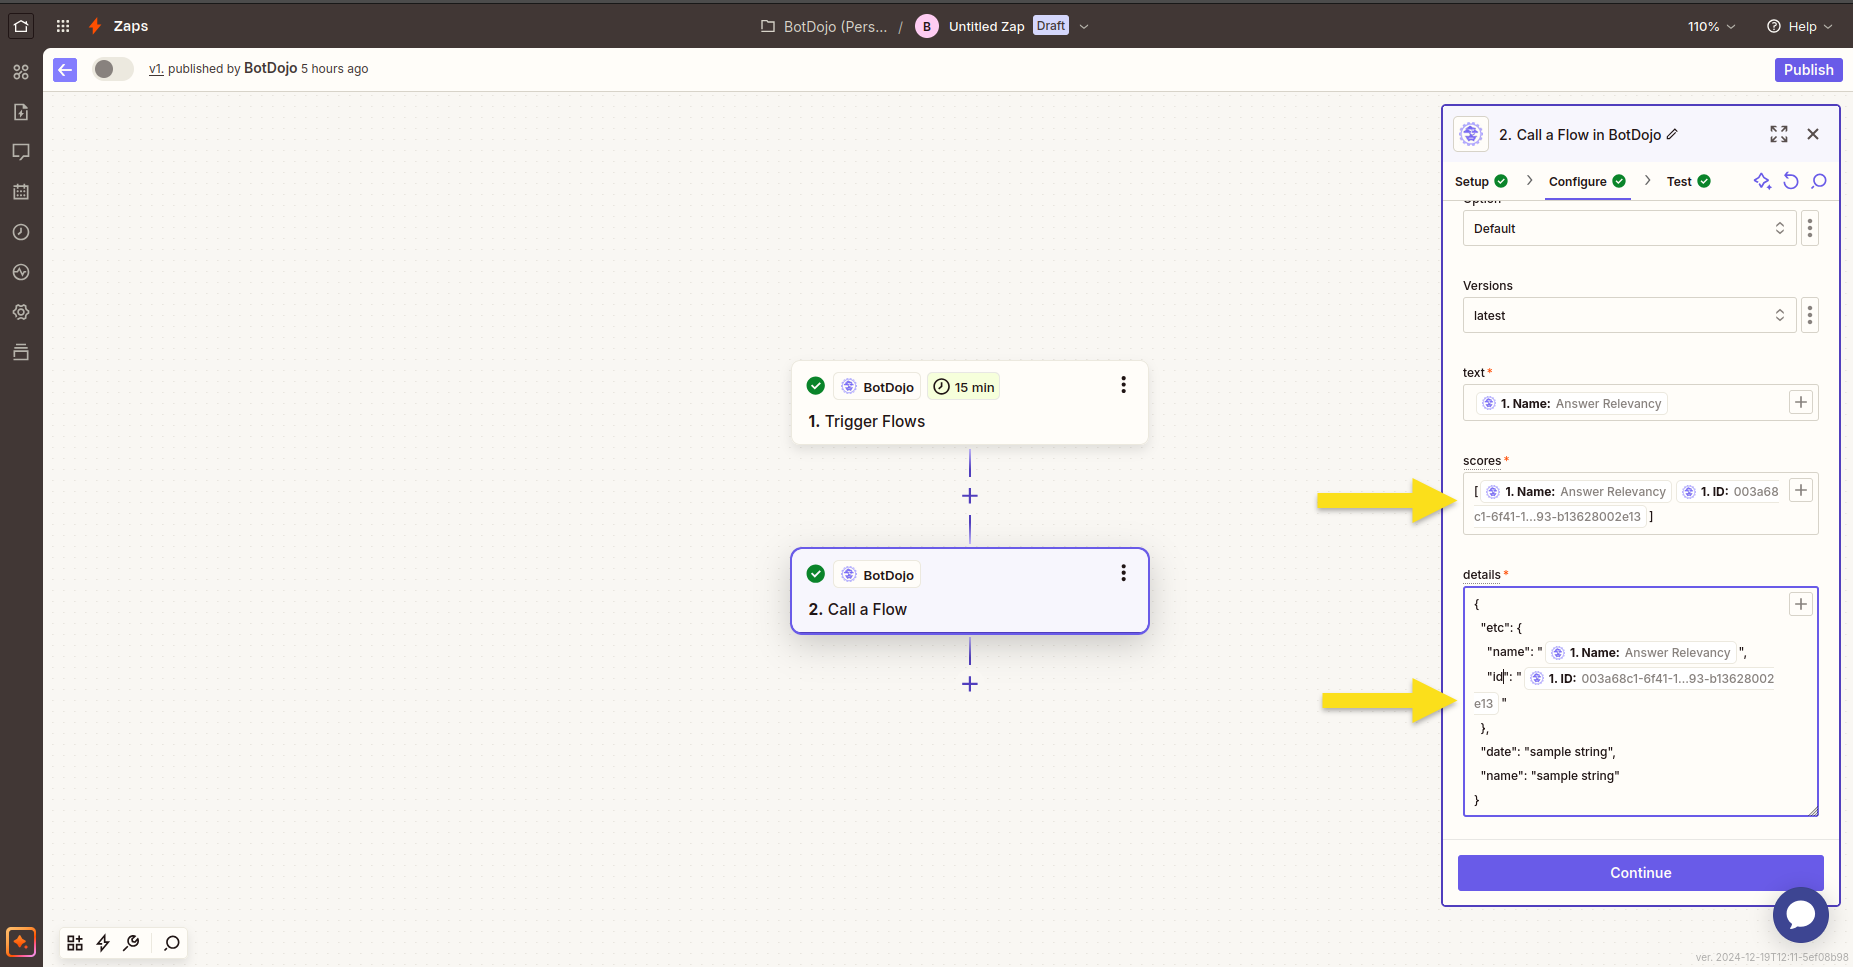
If your flow is expecting an array or a JSON object you need to map it like this:
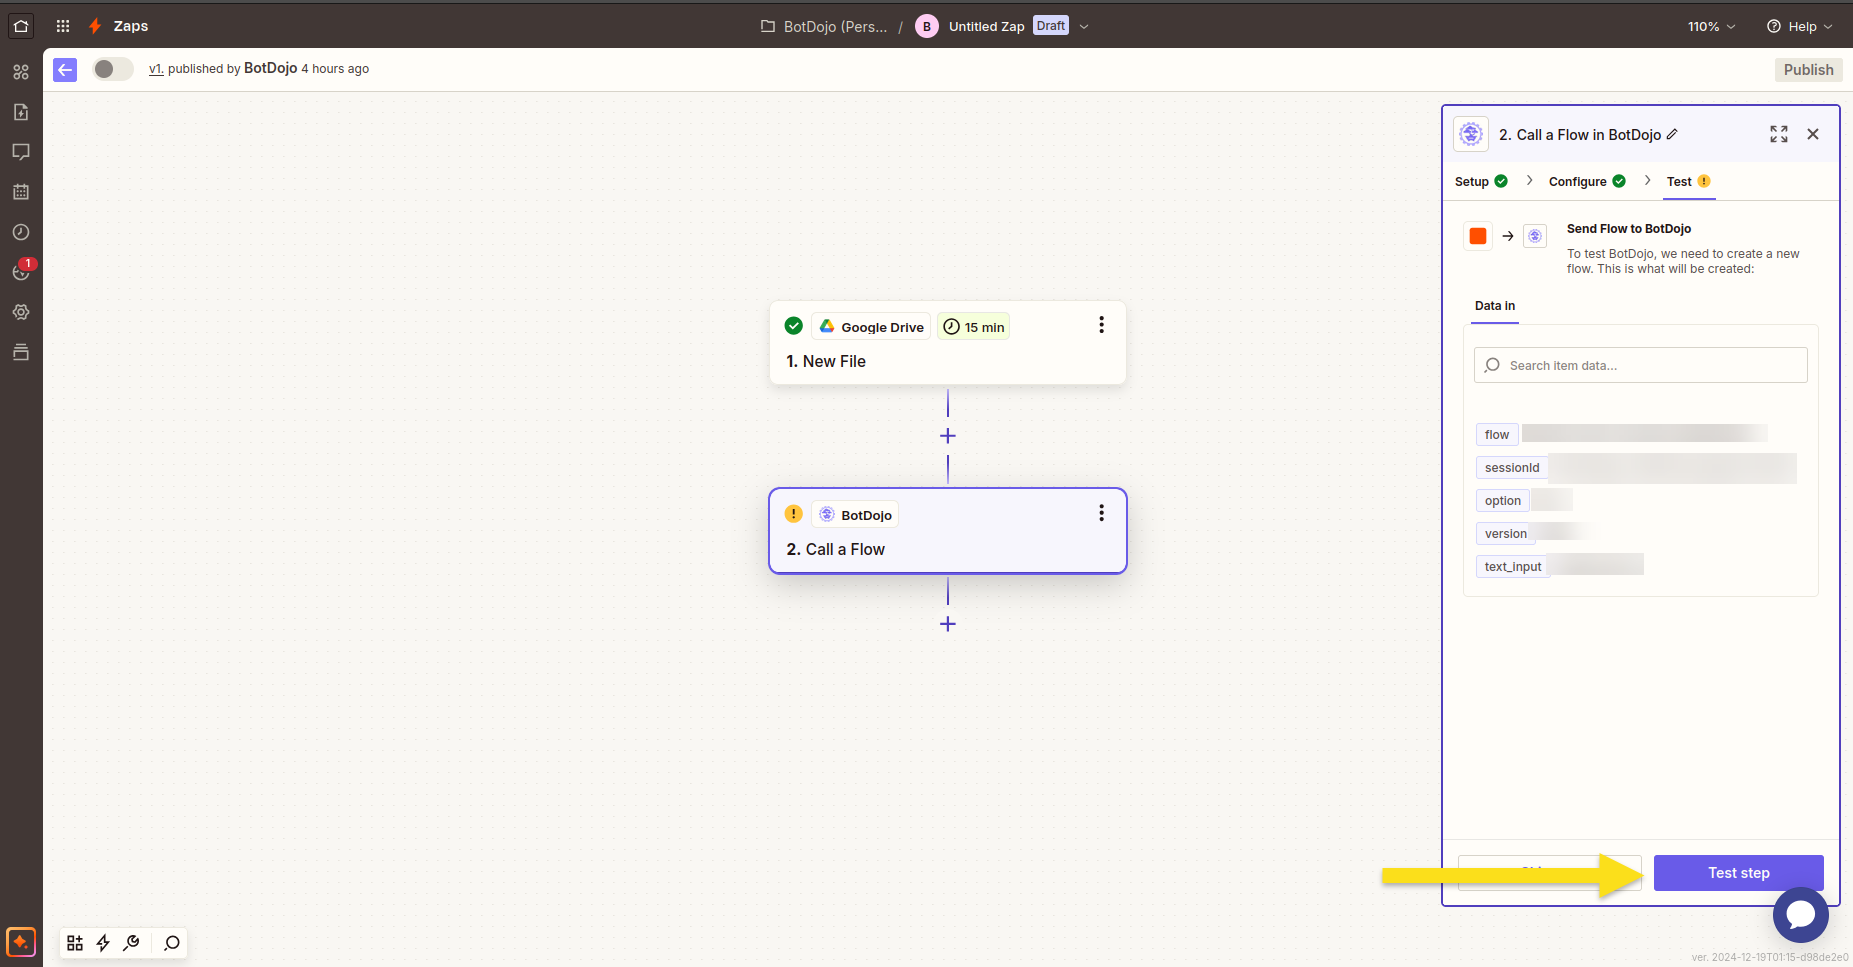
Click Test Step to test it.
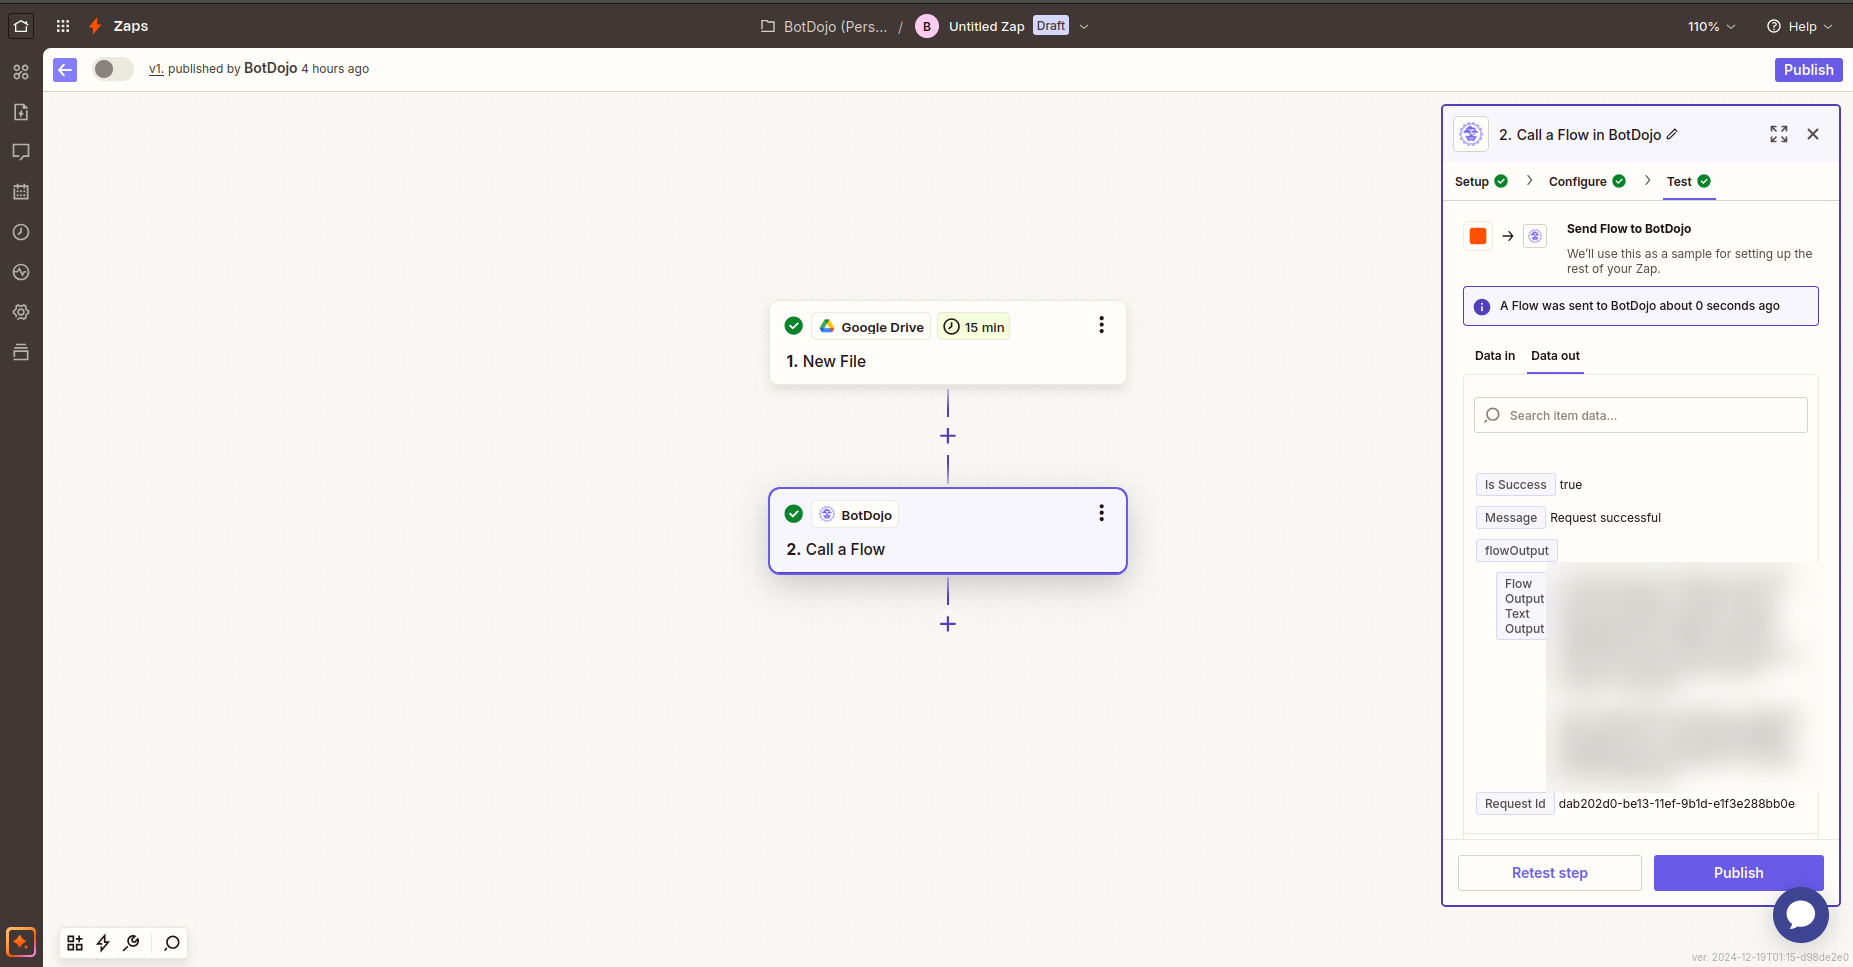
On a successful test, you can publish your zap or add more nodes.
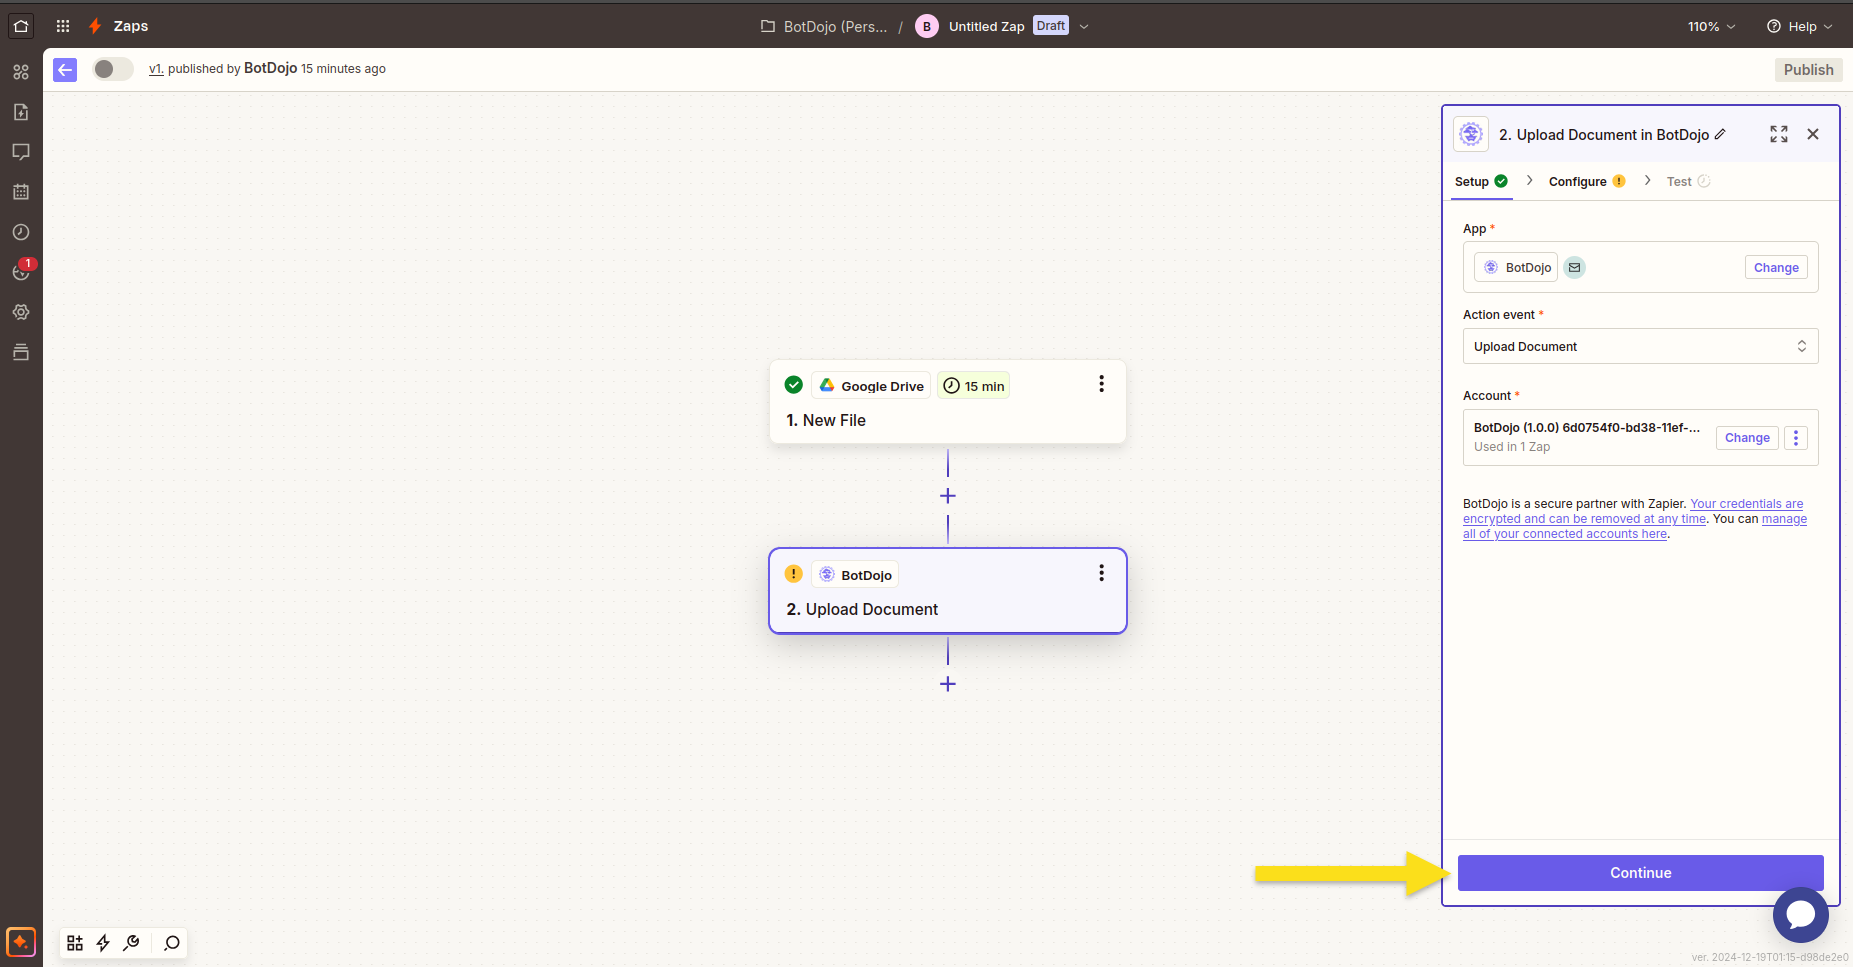
2. Upload Document
This uploads a new document to BotDojo.
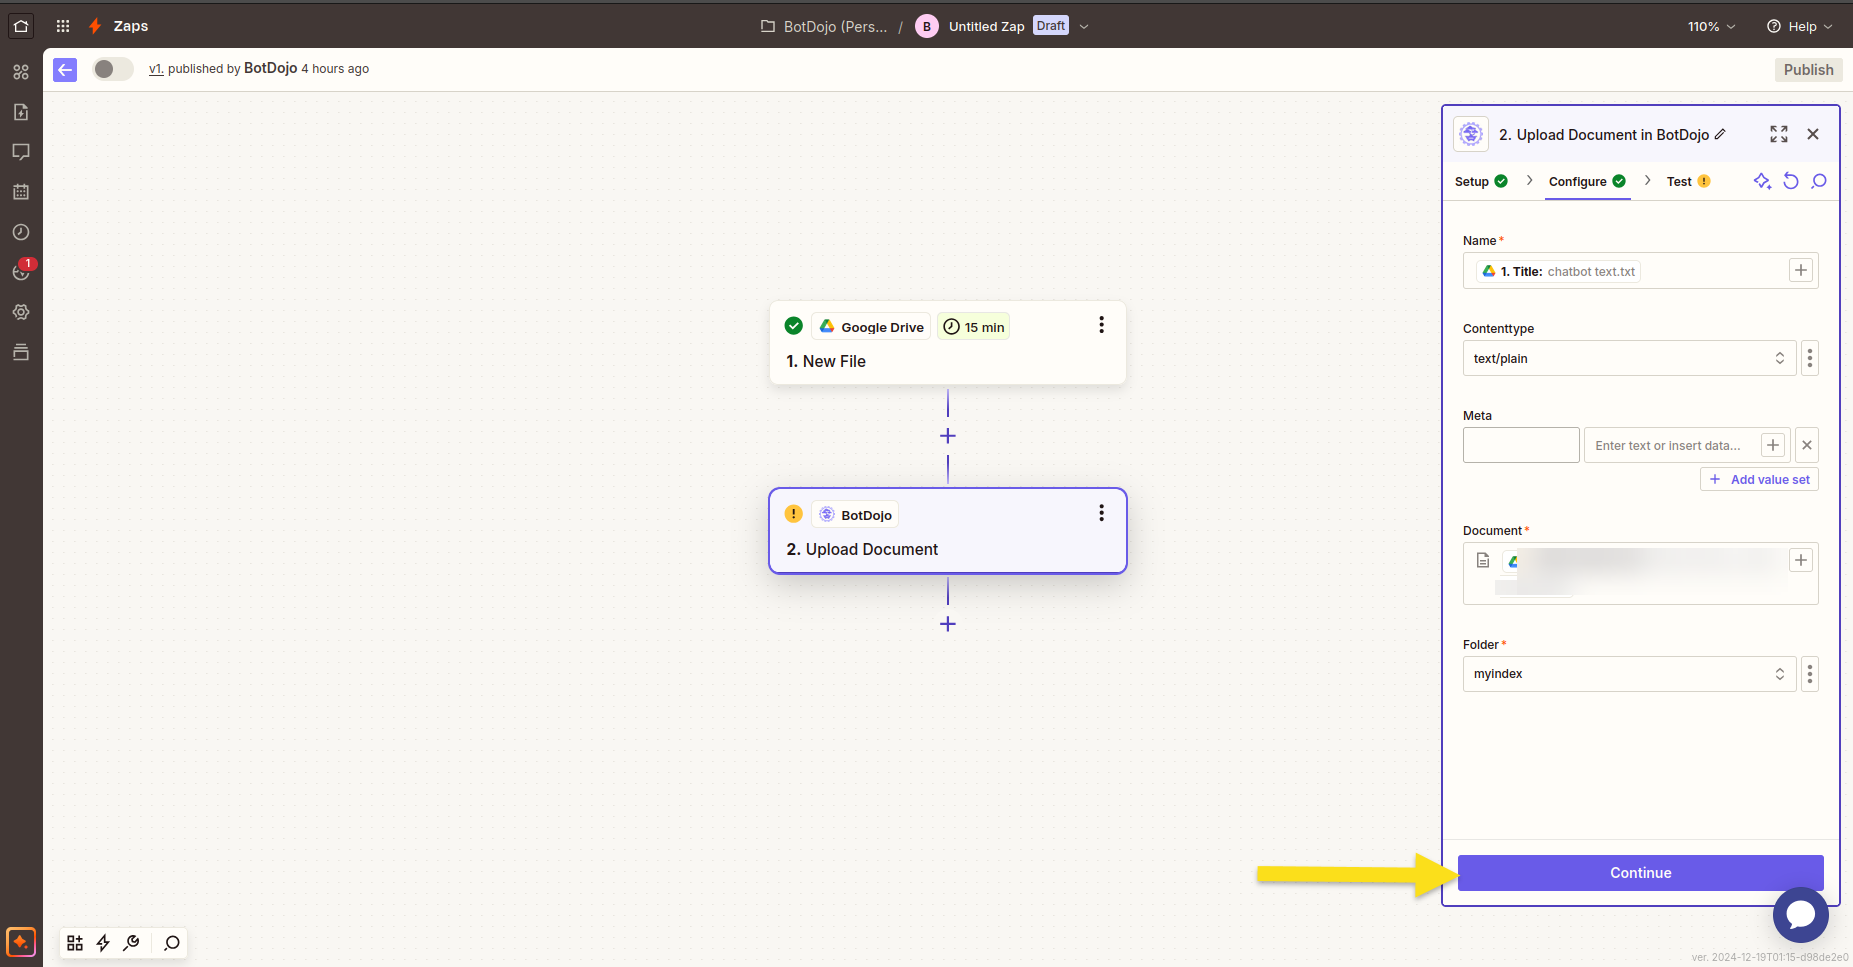
Configure the schema for the new document and click Continue.
Click Test Step to test it.
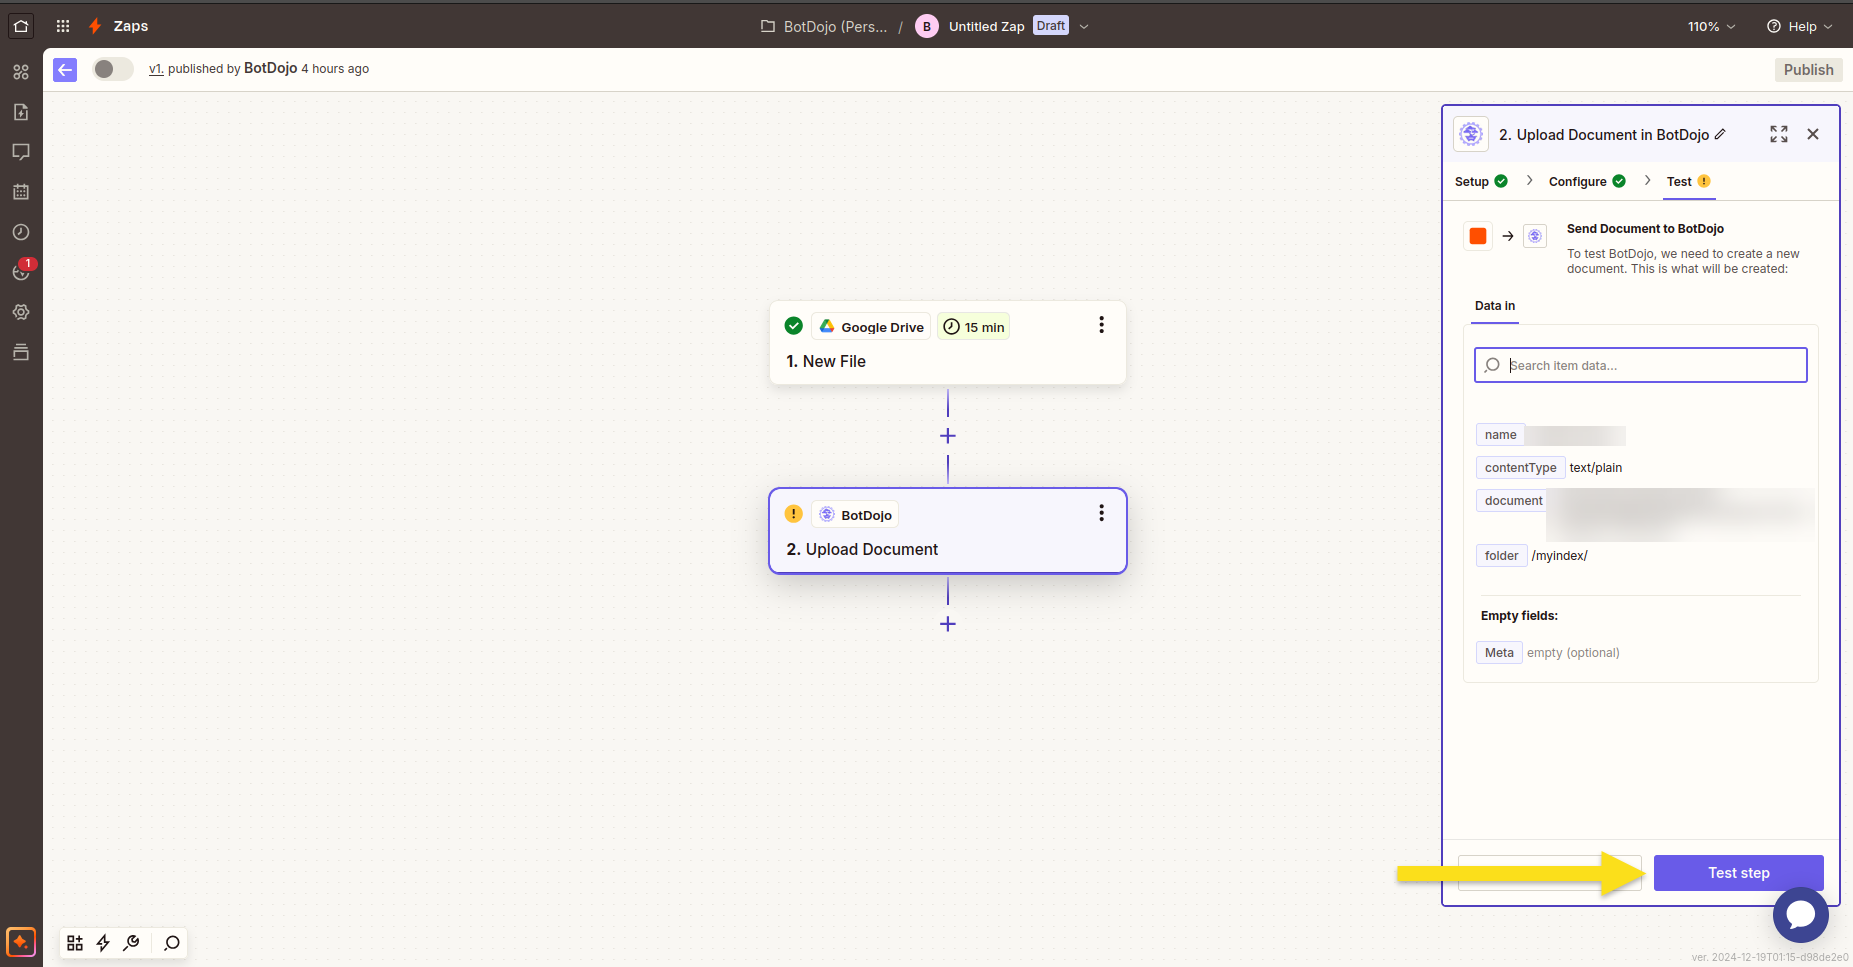
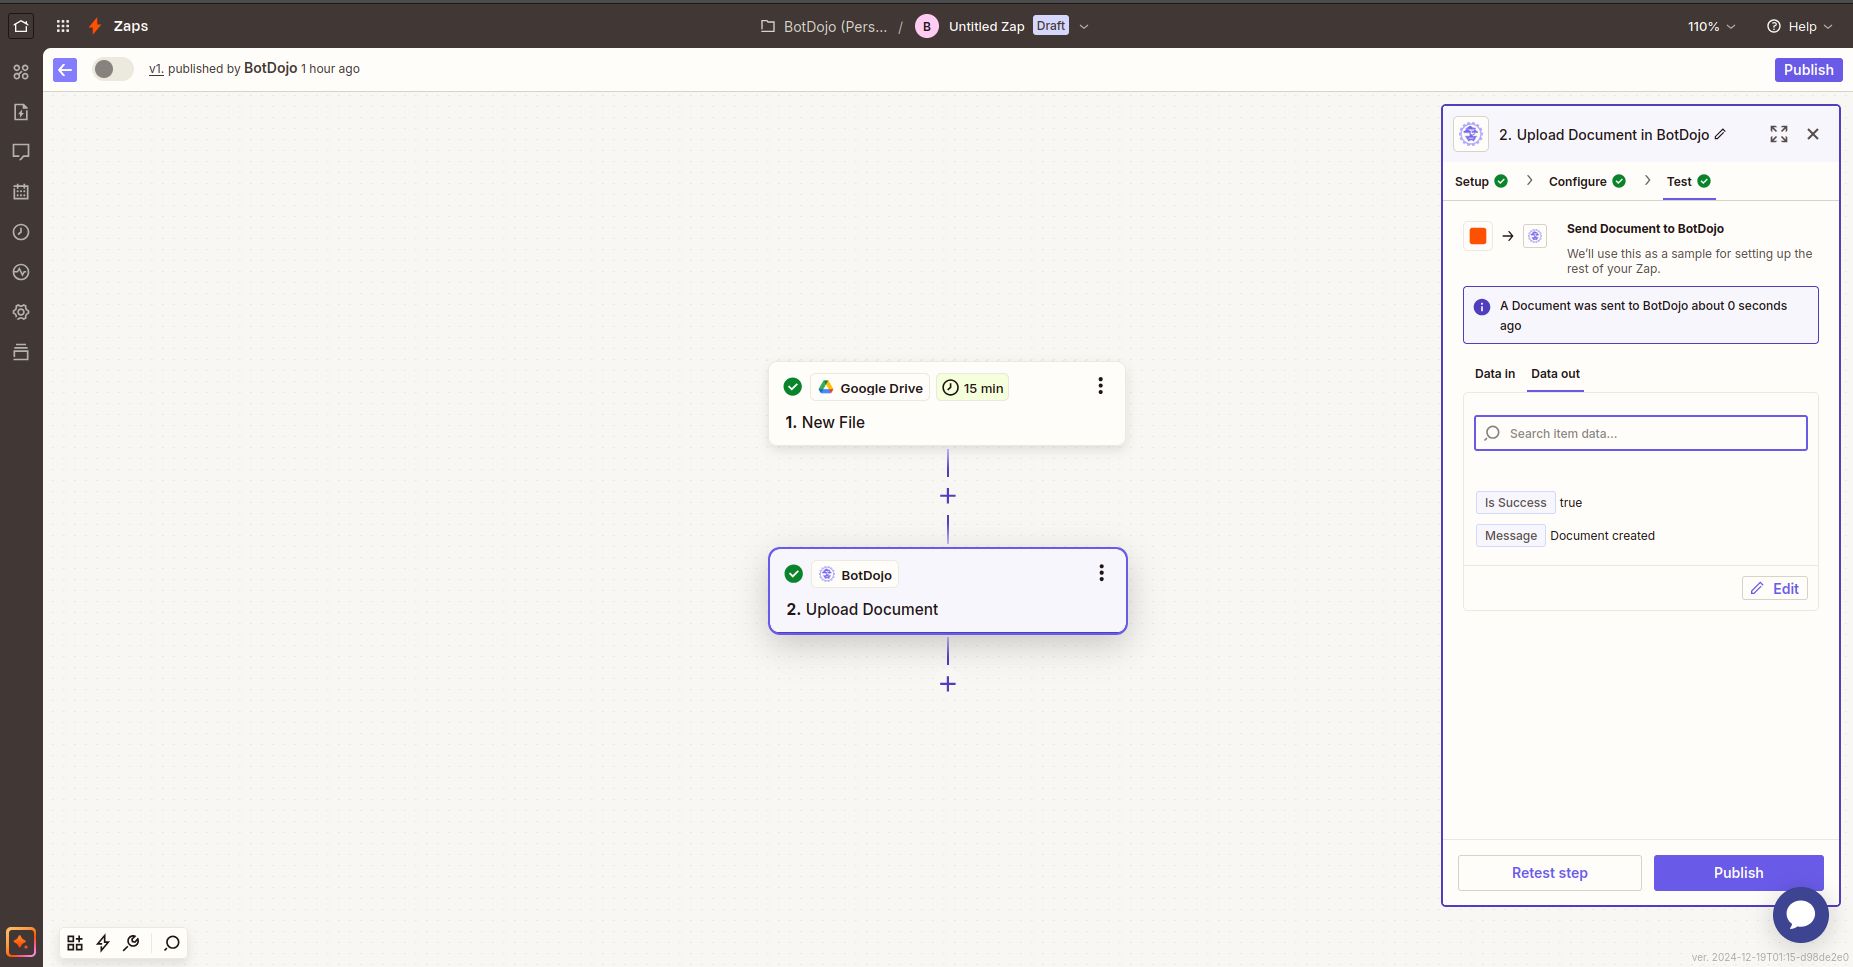
On a successful test, you can publish your zap or add more nodes.
3. Create a Document From Text
This builds a new document on BotDojo from text.
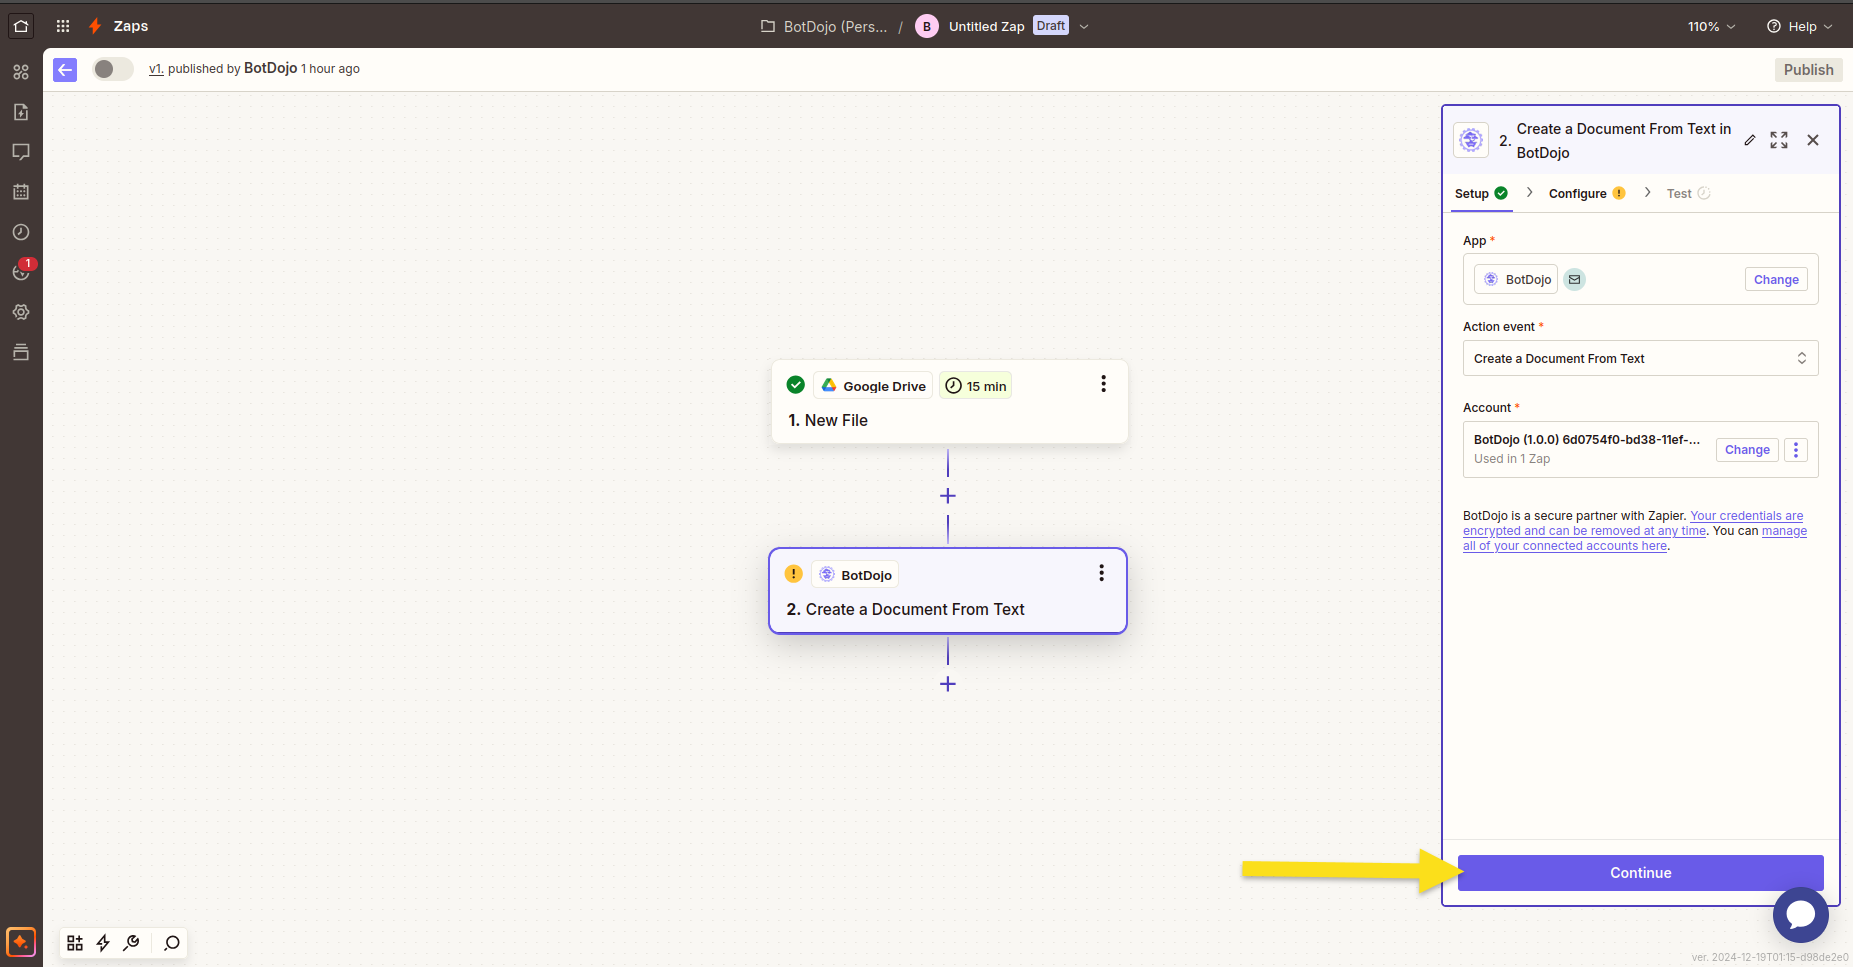
Select a flow from the dropdown menu and configure the schema for the flow.
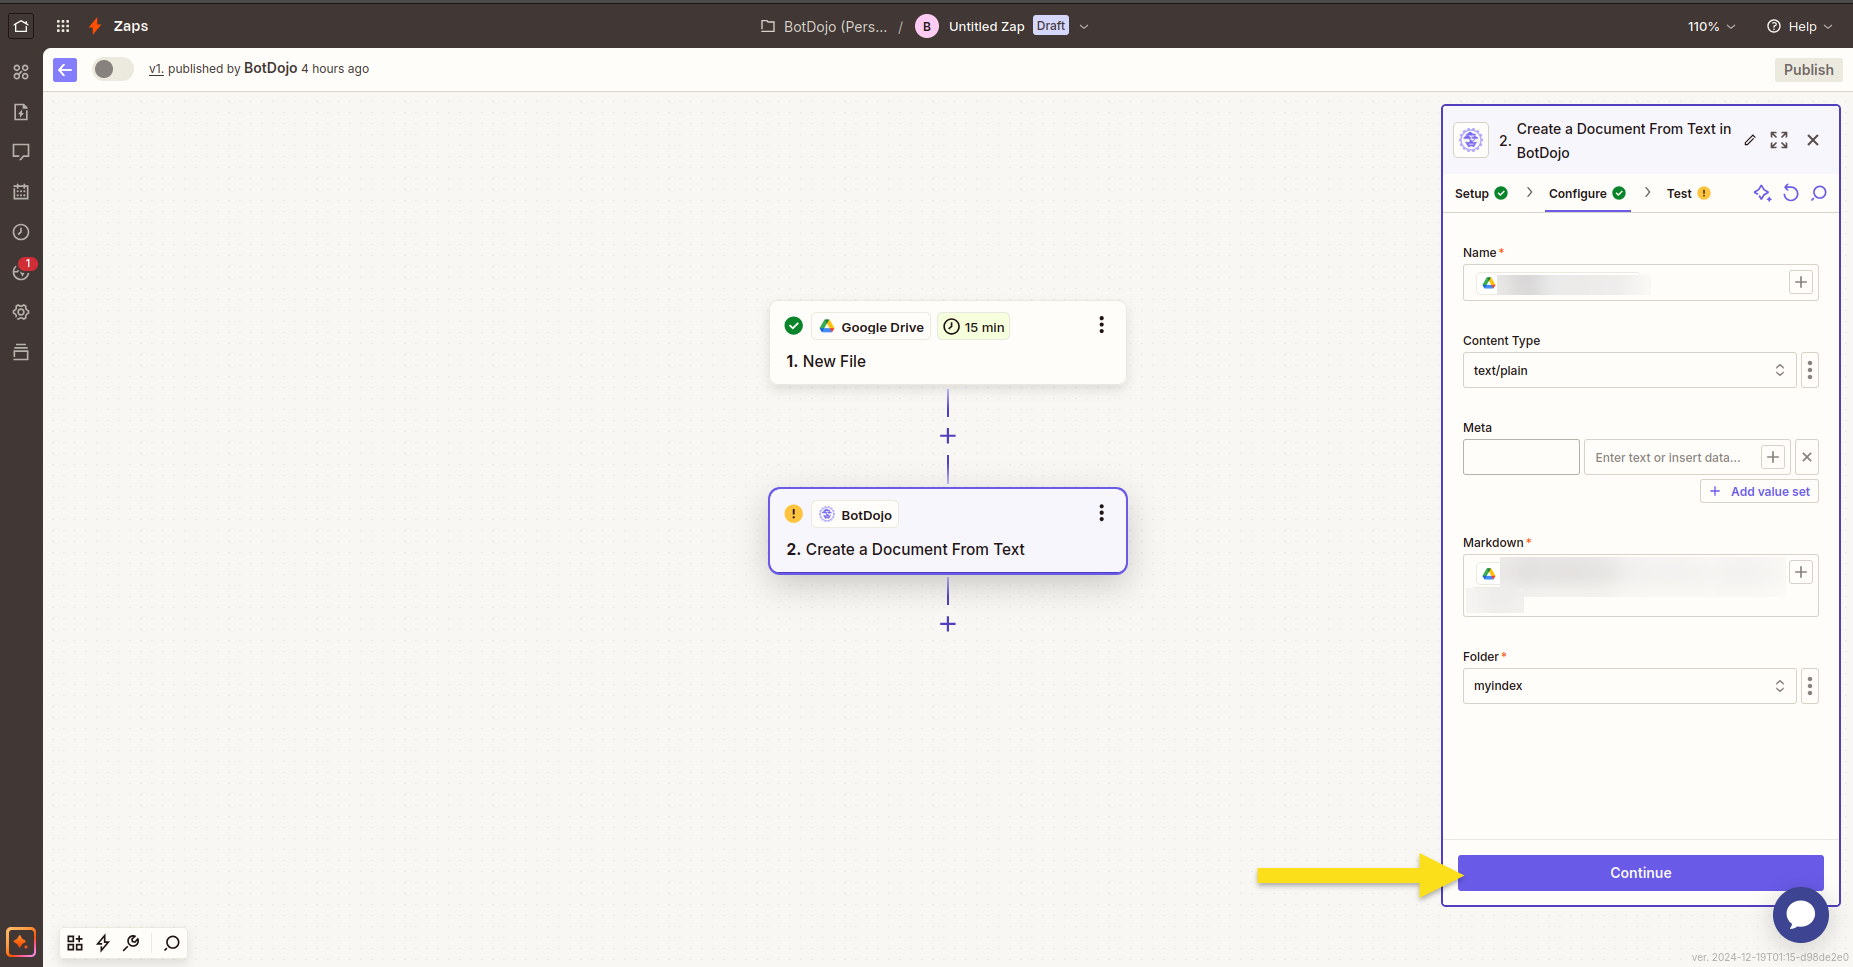
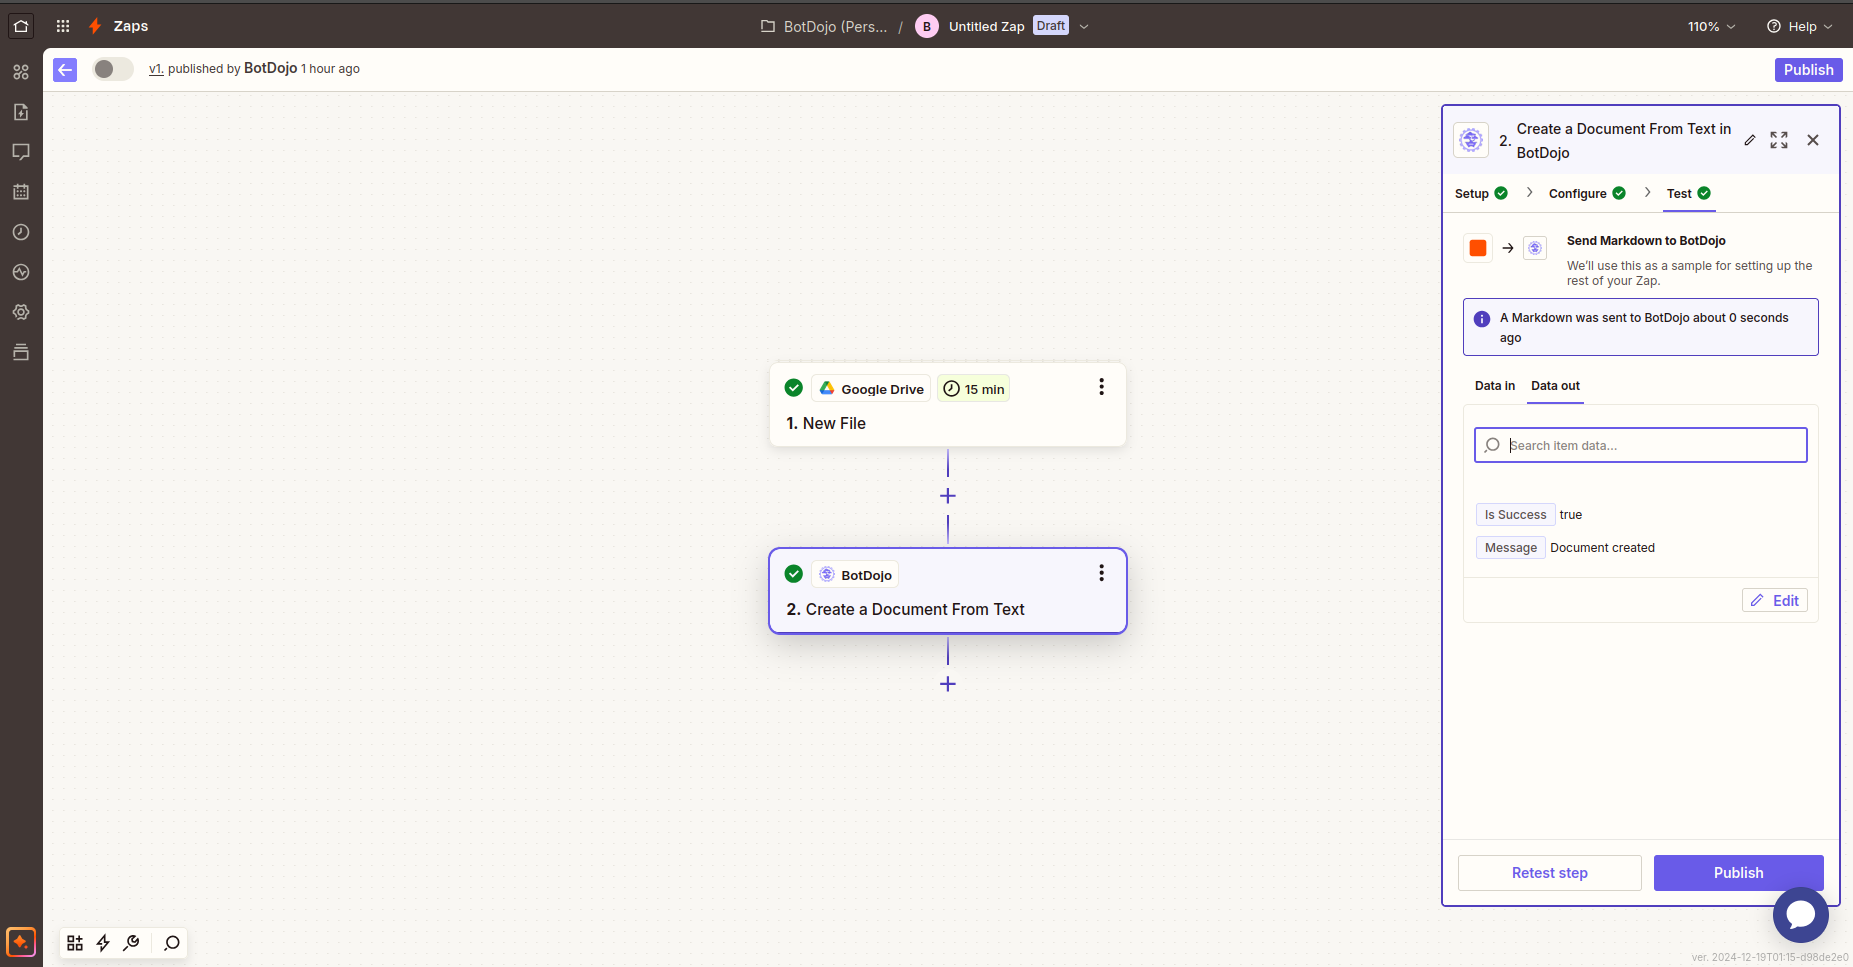
Click Test Step to test it.
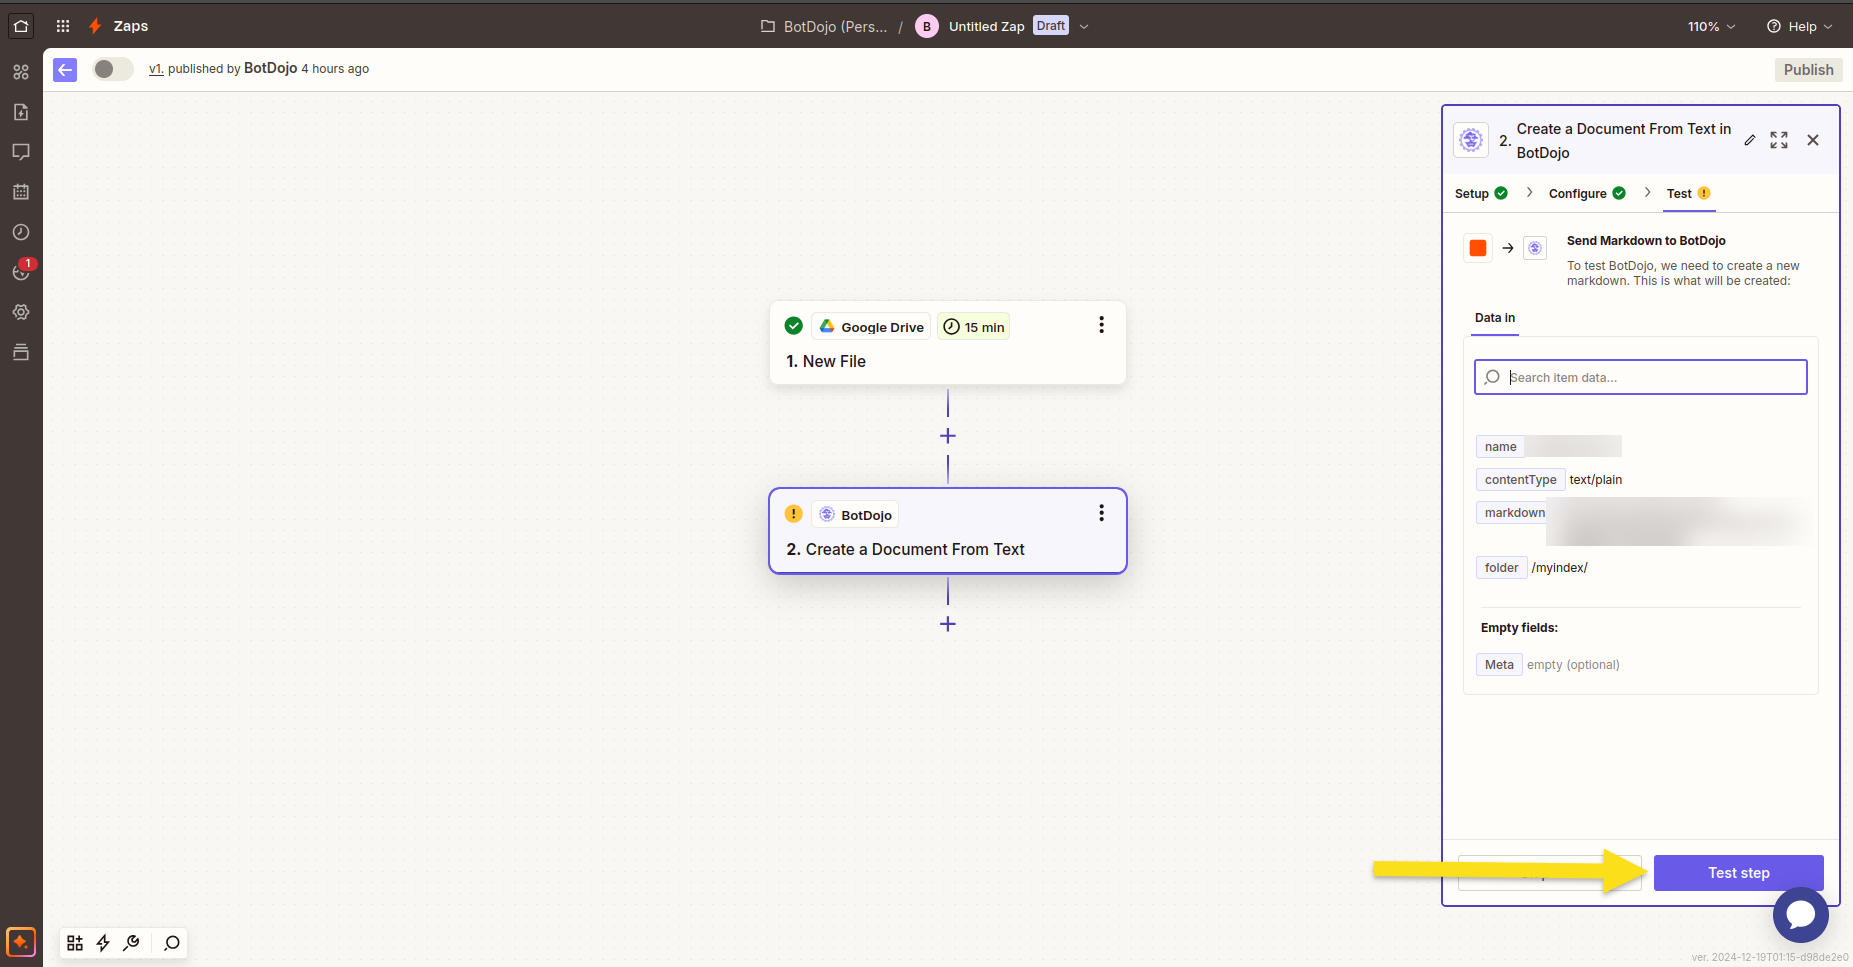
On a successful test, you can publish your zap or add more nodes.
4. Search Retriever
This searches an index on BotDojo.
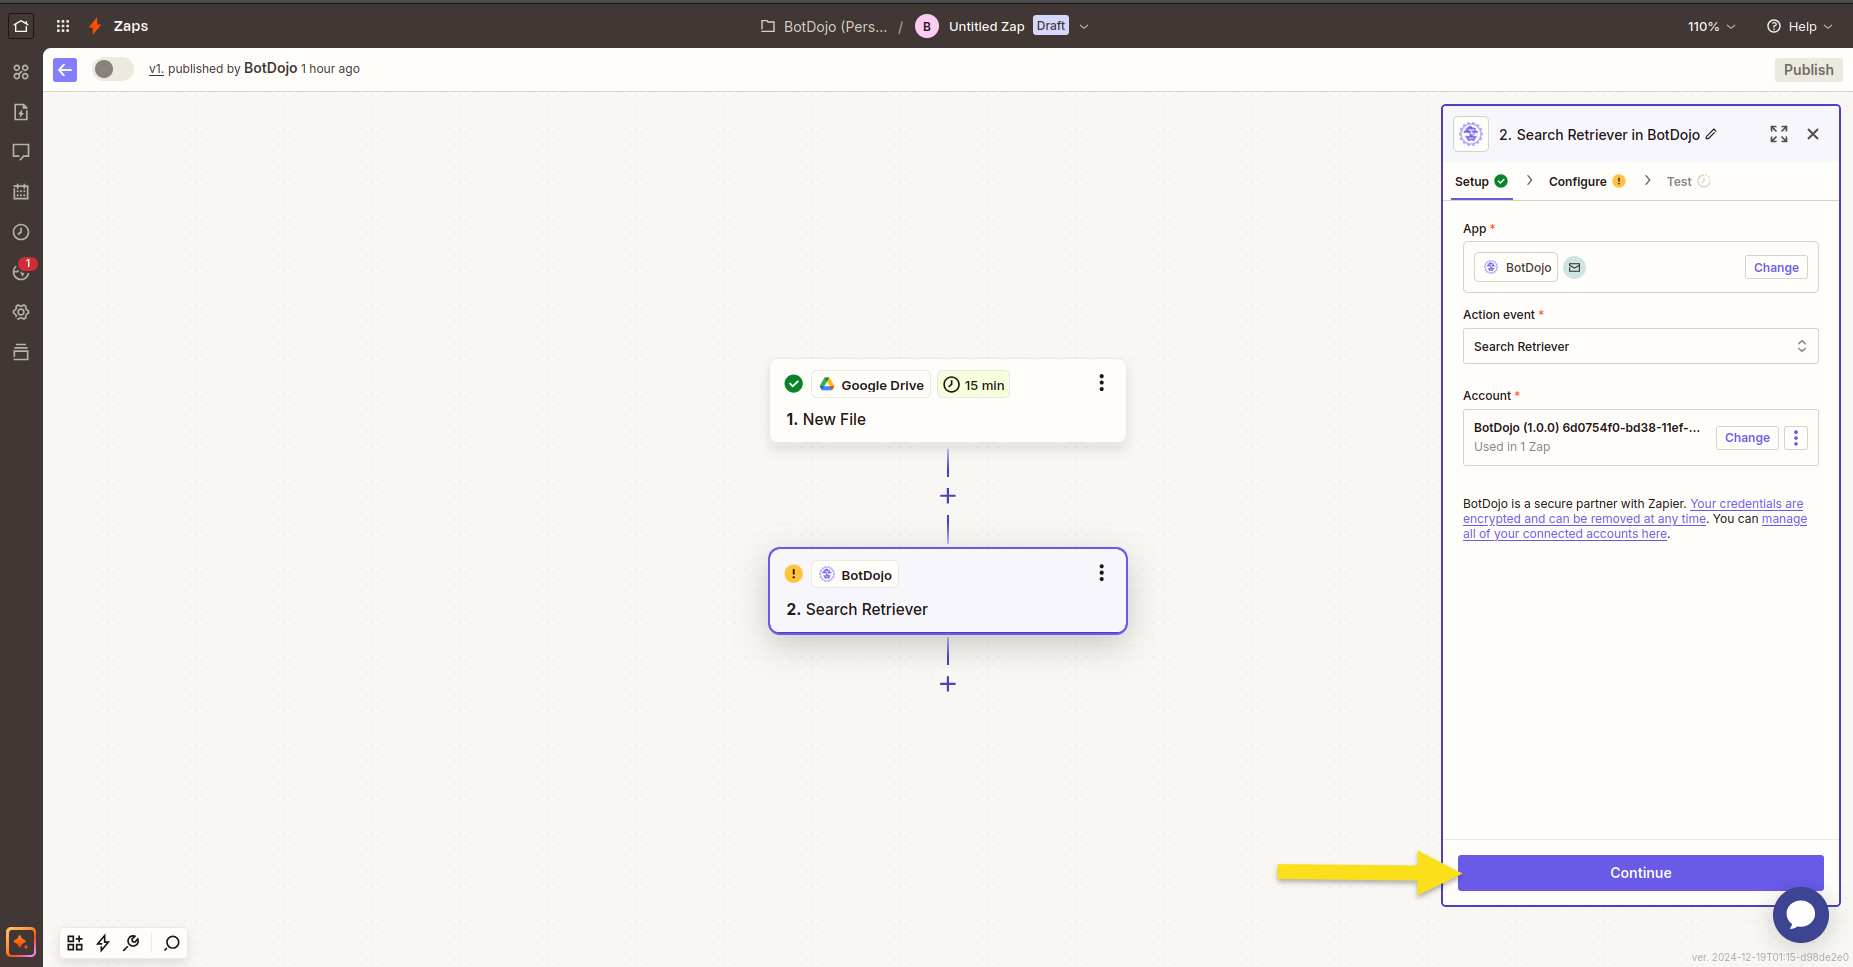
Configure the data on right-side panel for the index searching
Select the index which you want to search from the dropdown menu and click Continue.
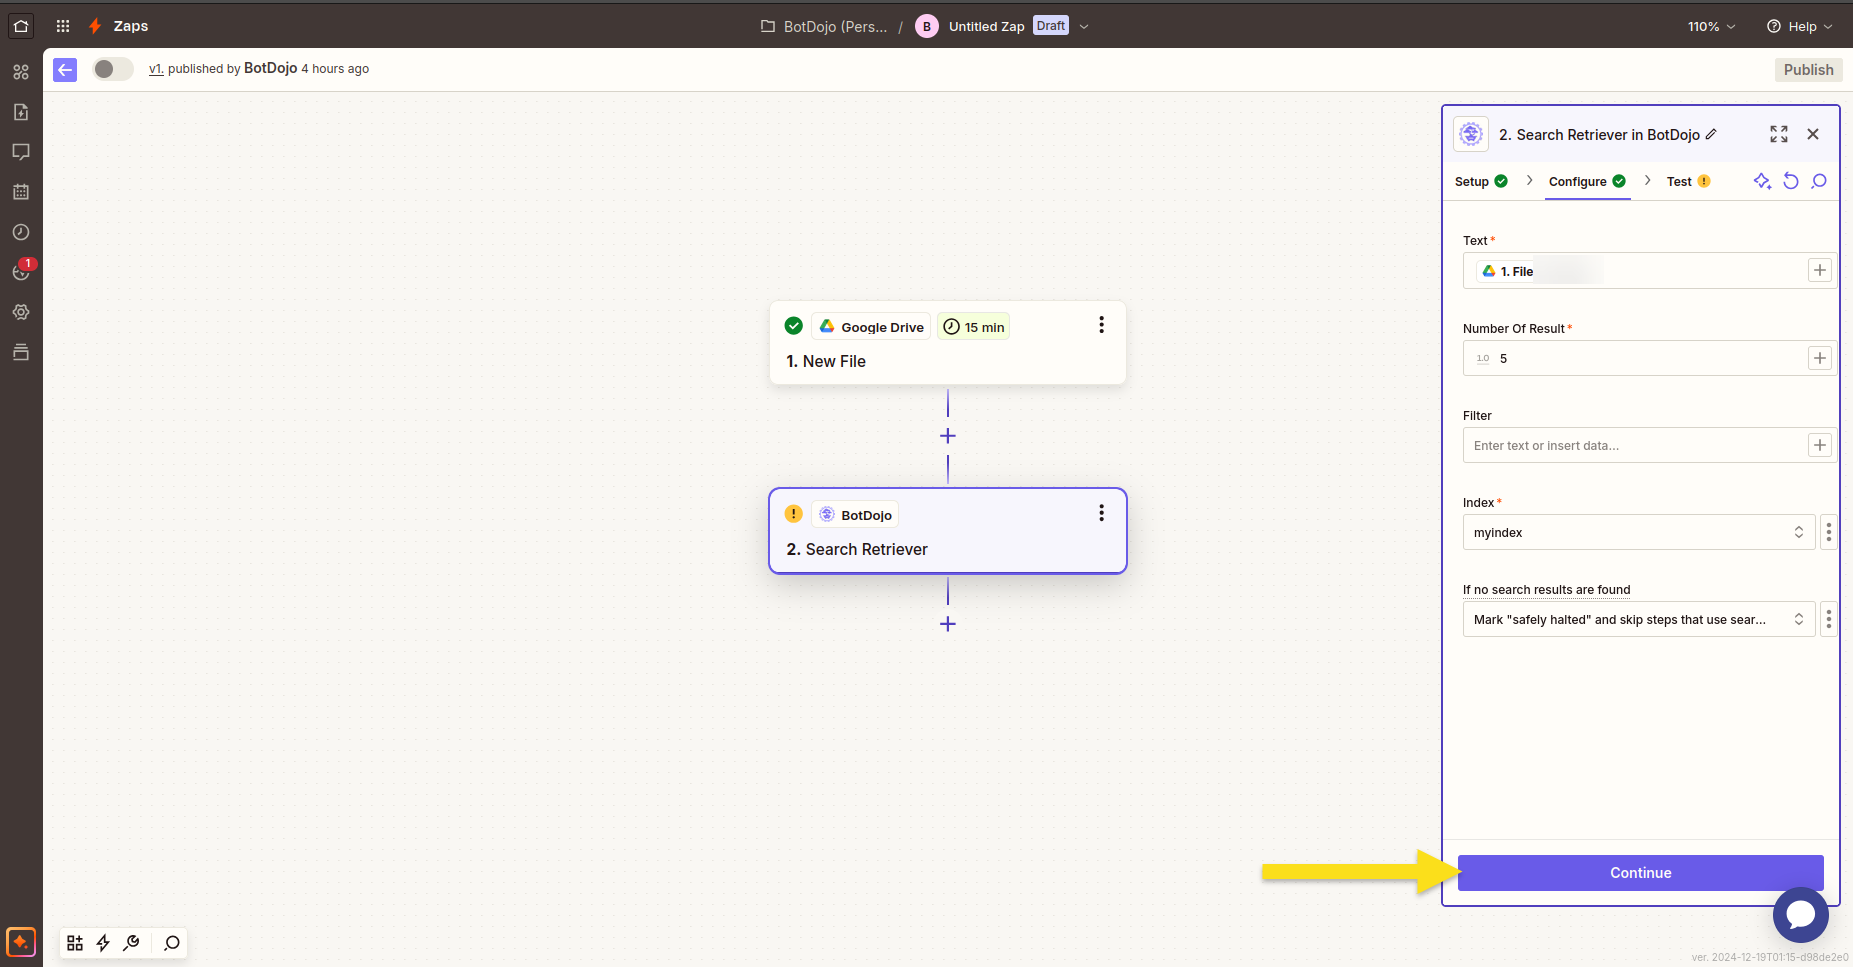
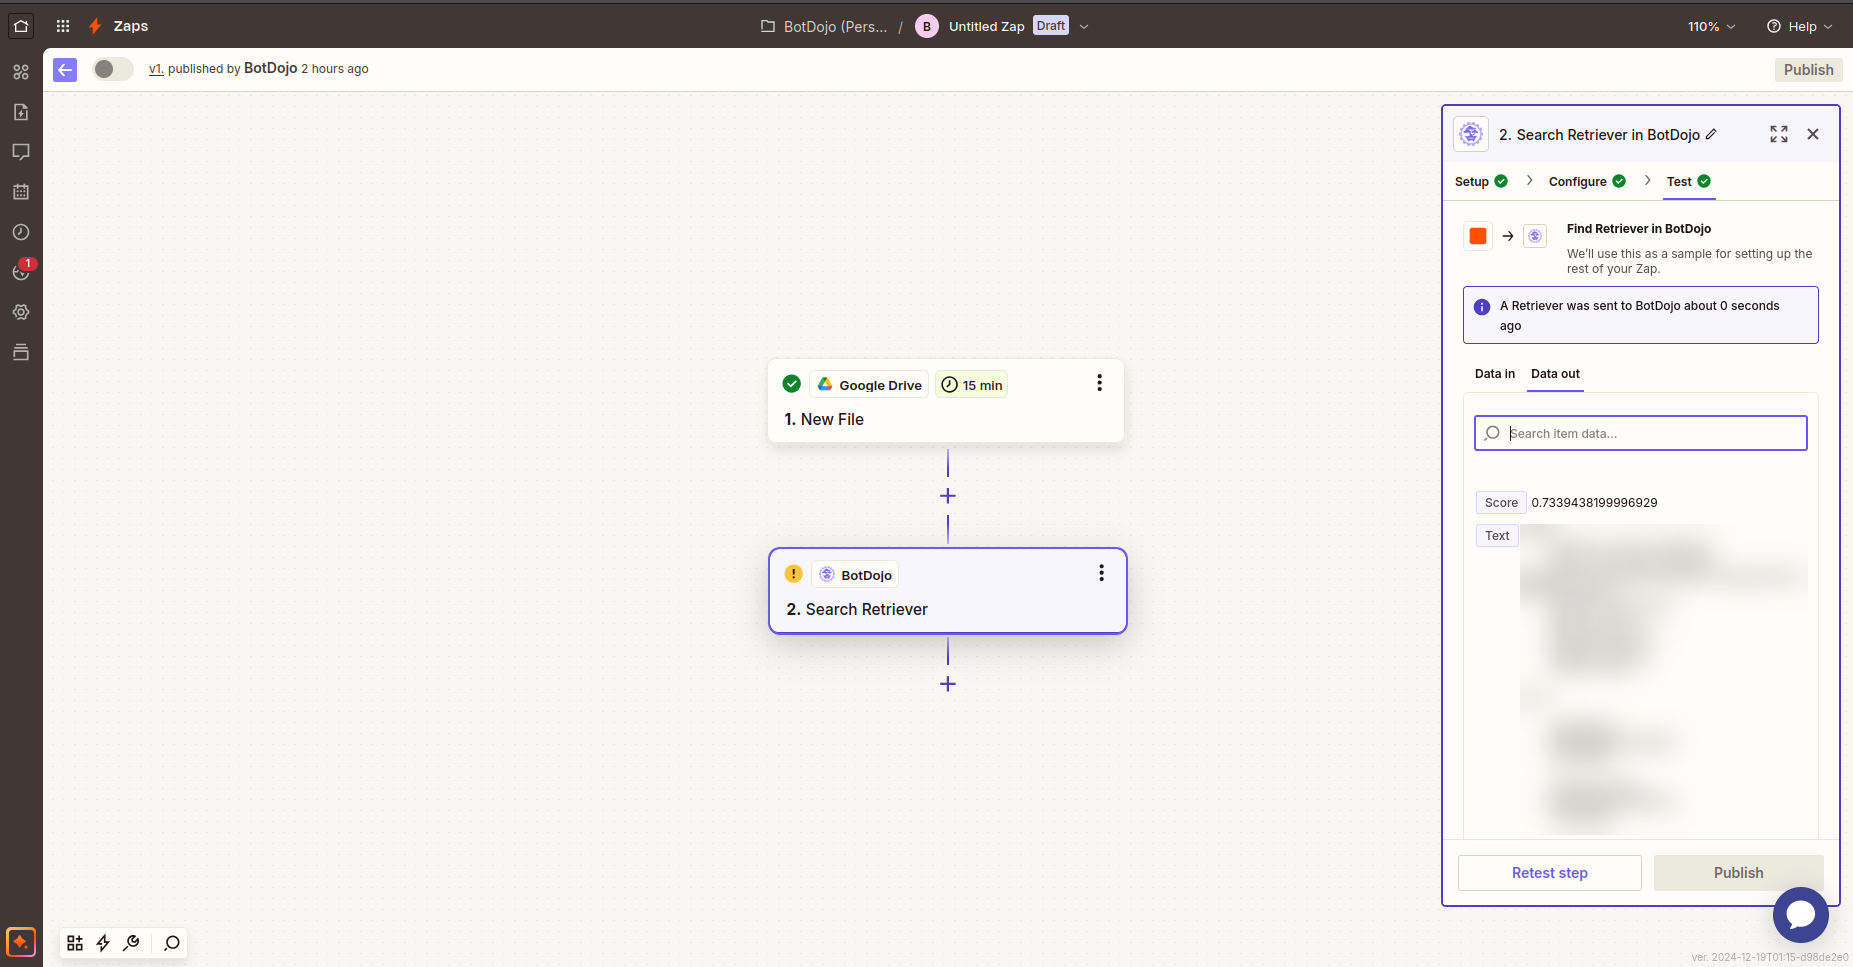
Click Test Step to test it.
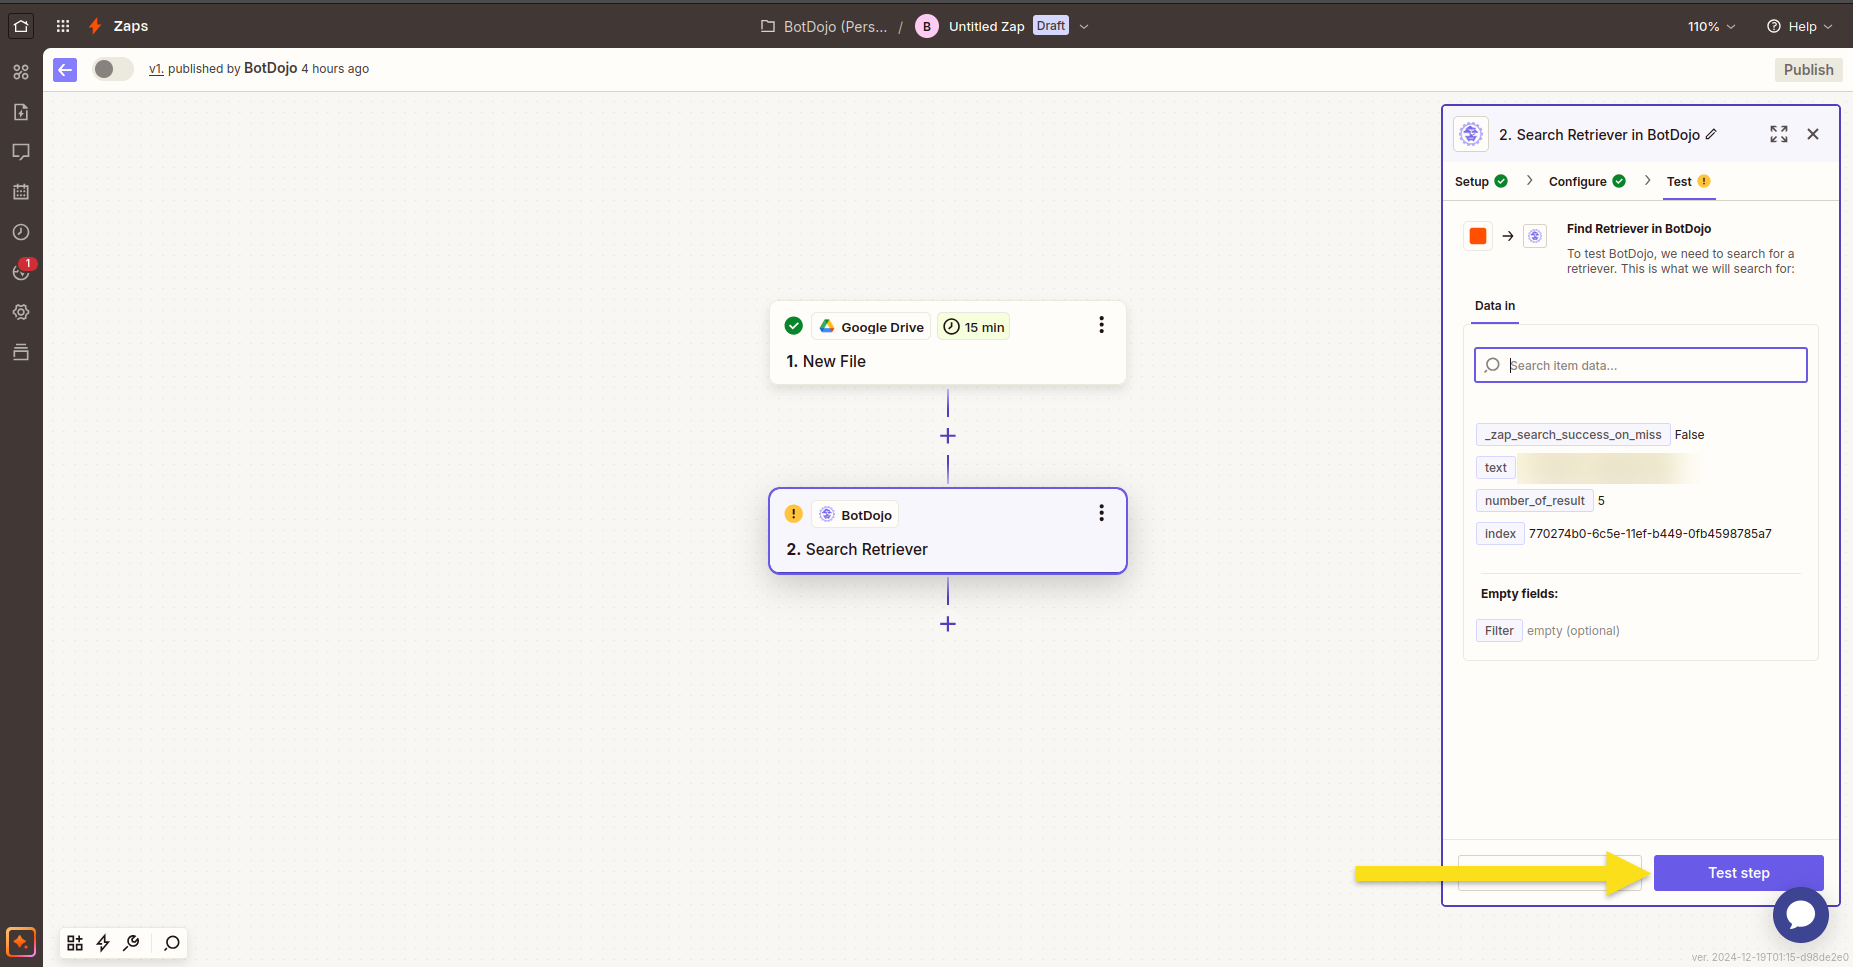
On a successful test, you can publish your zap or add more nodes.
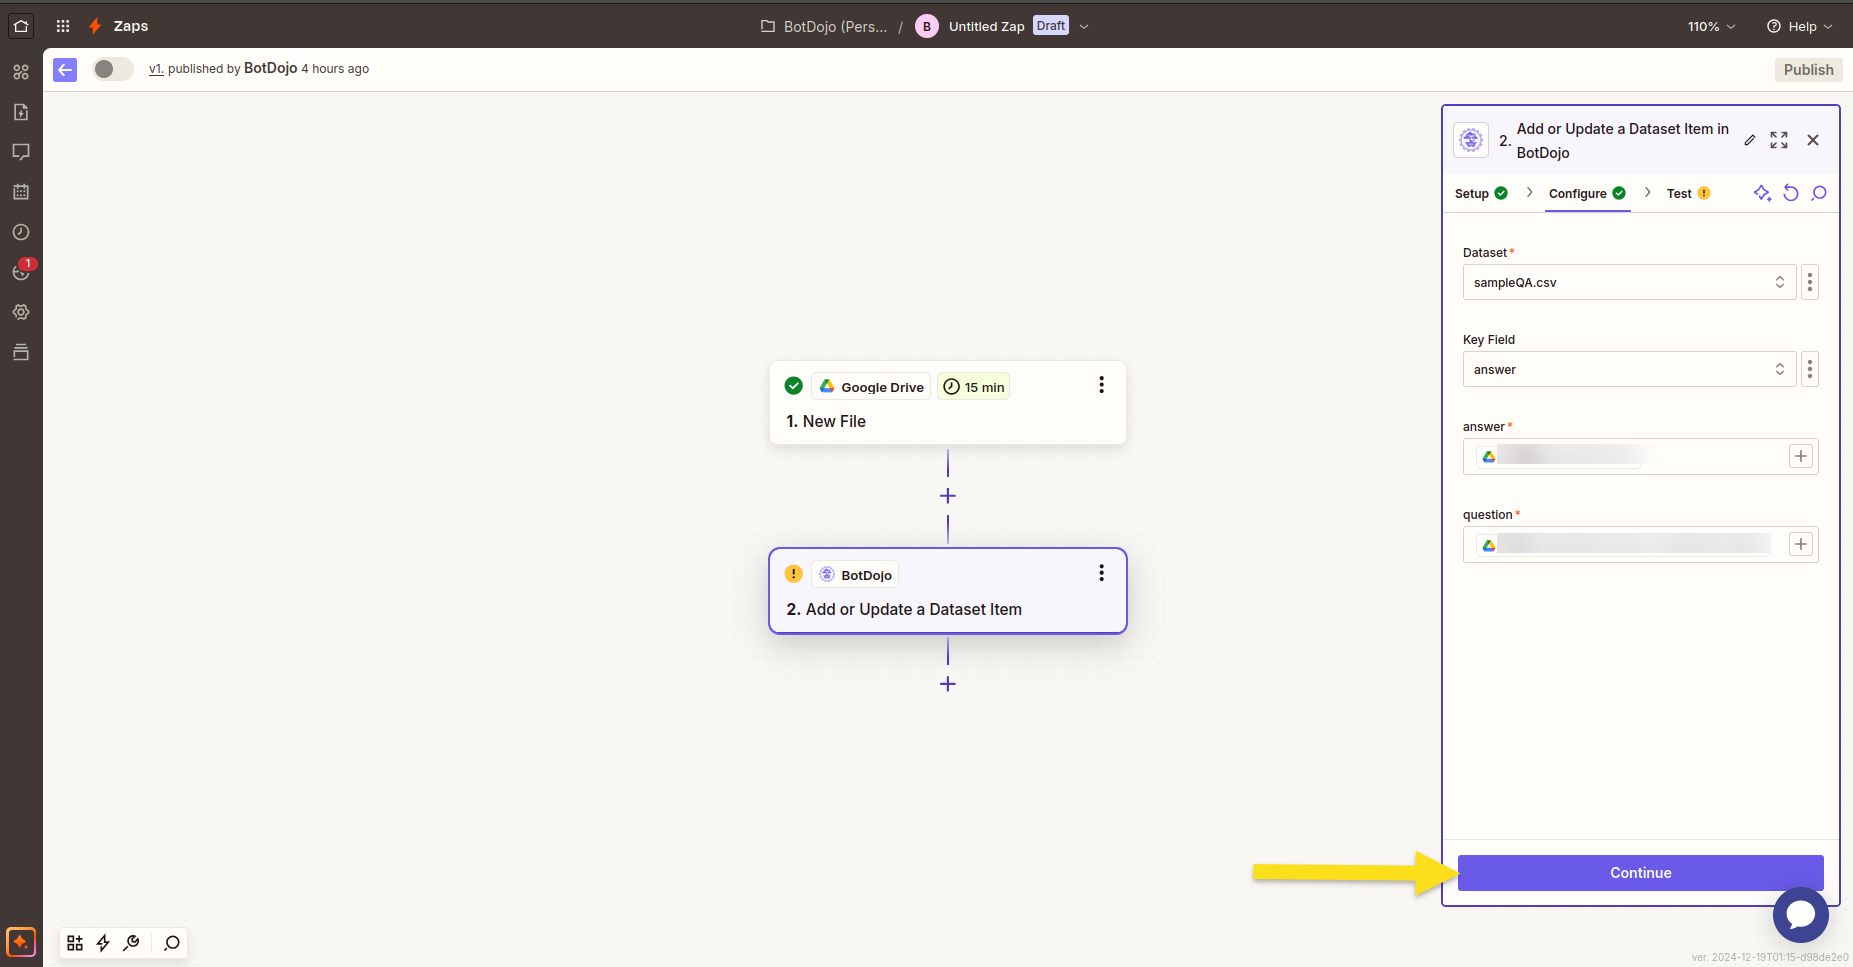
5. Add or Update a Dataset Item
This adds or updates an item in a dataset.
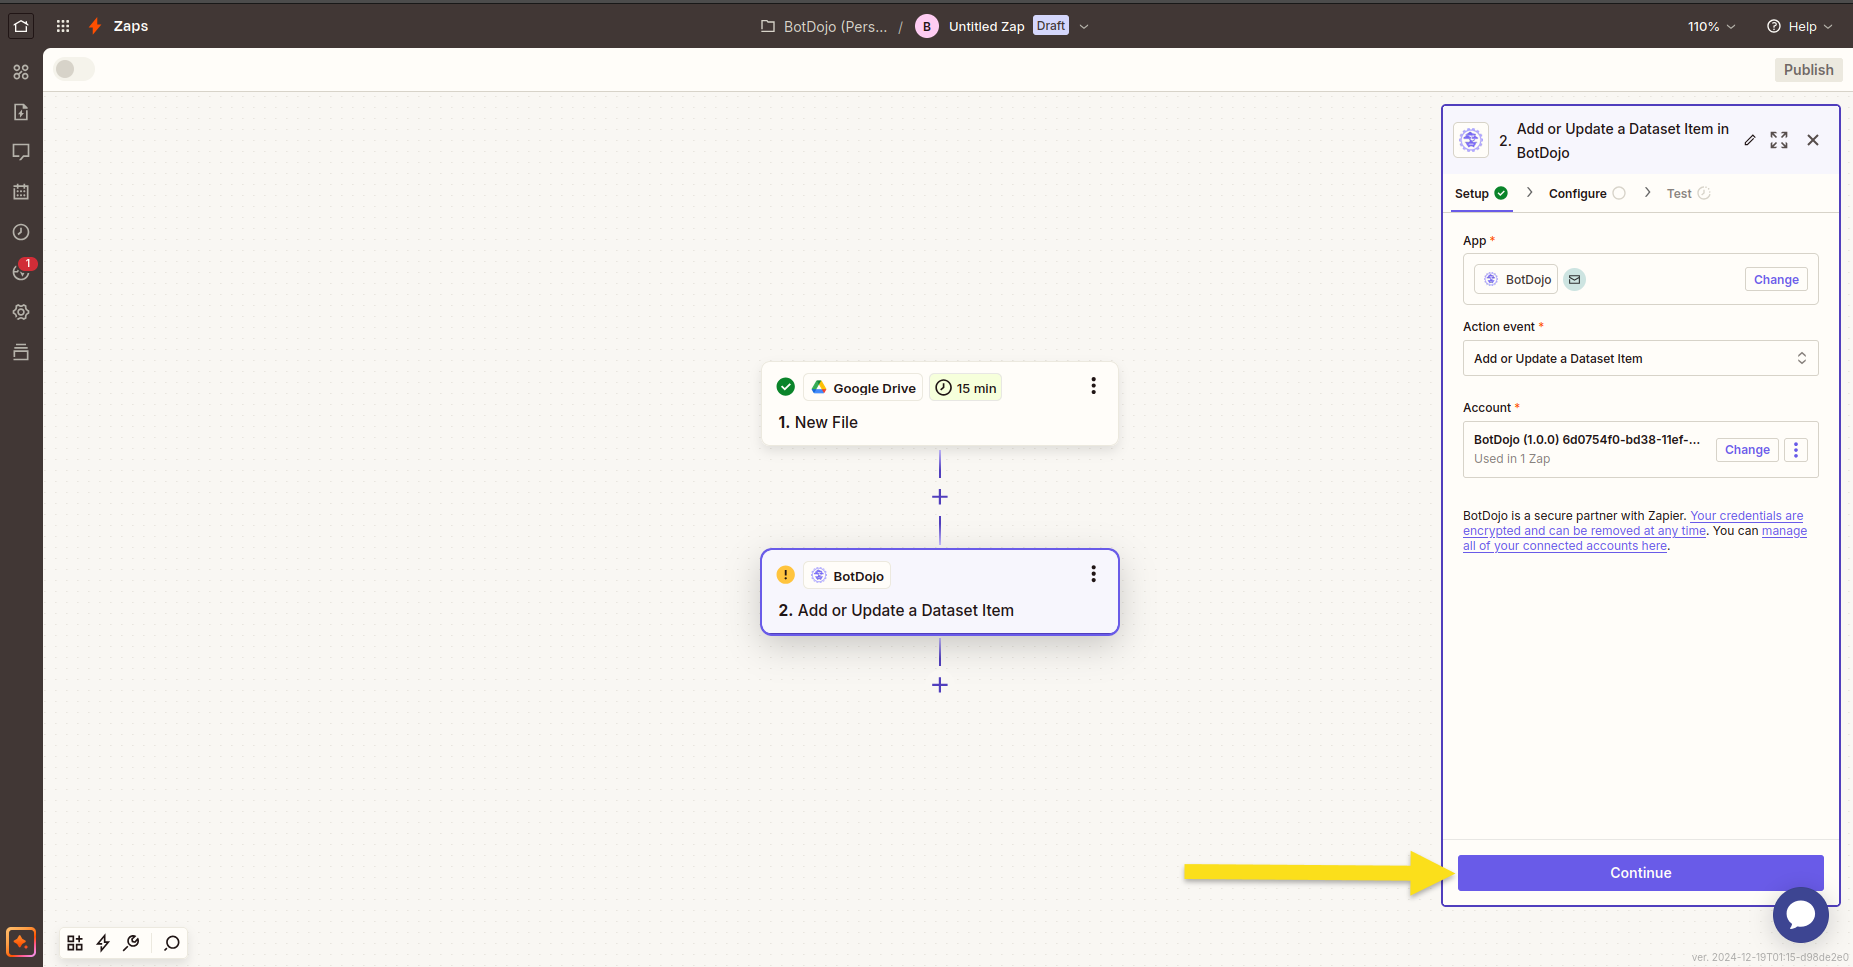
Select a dataset from the dropdown menu.
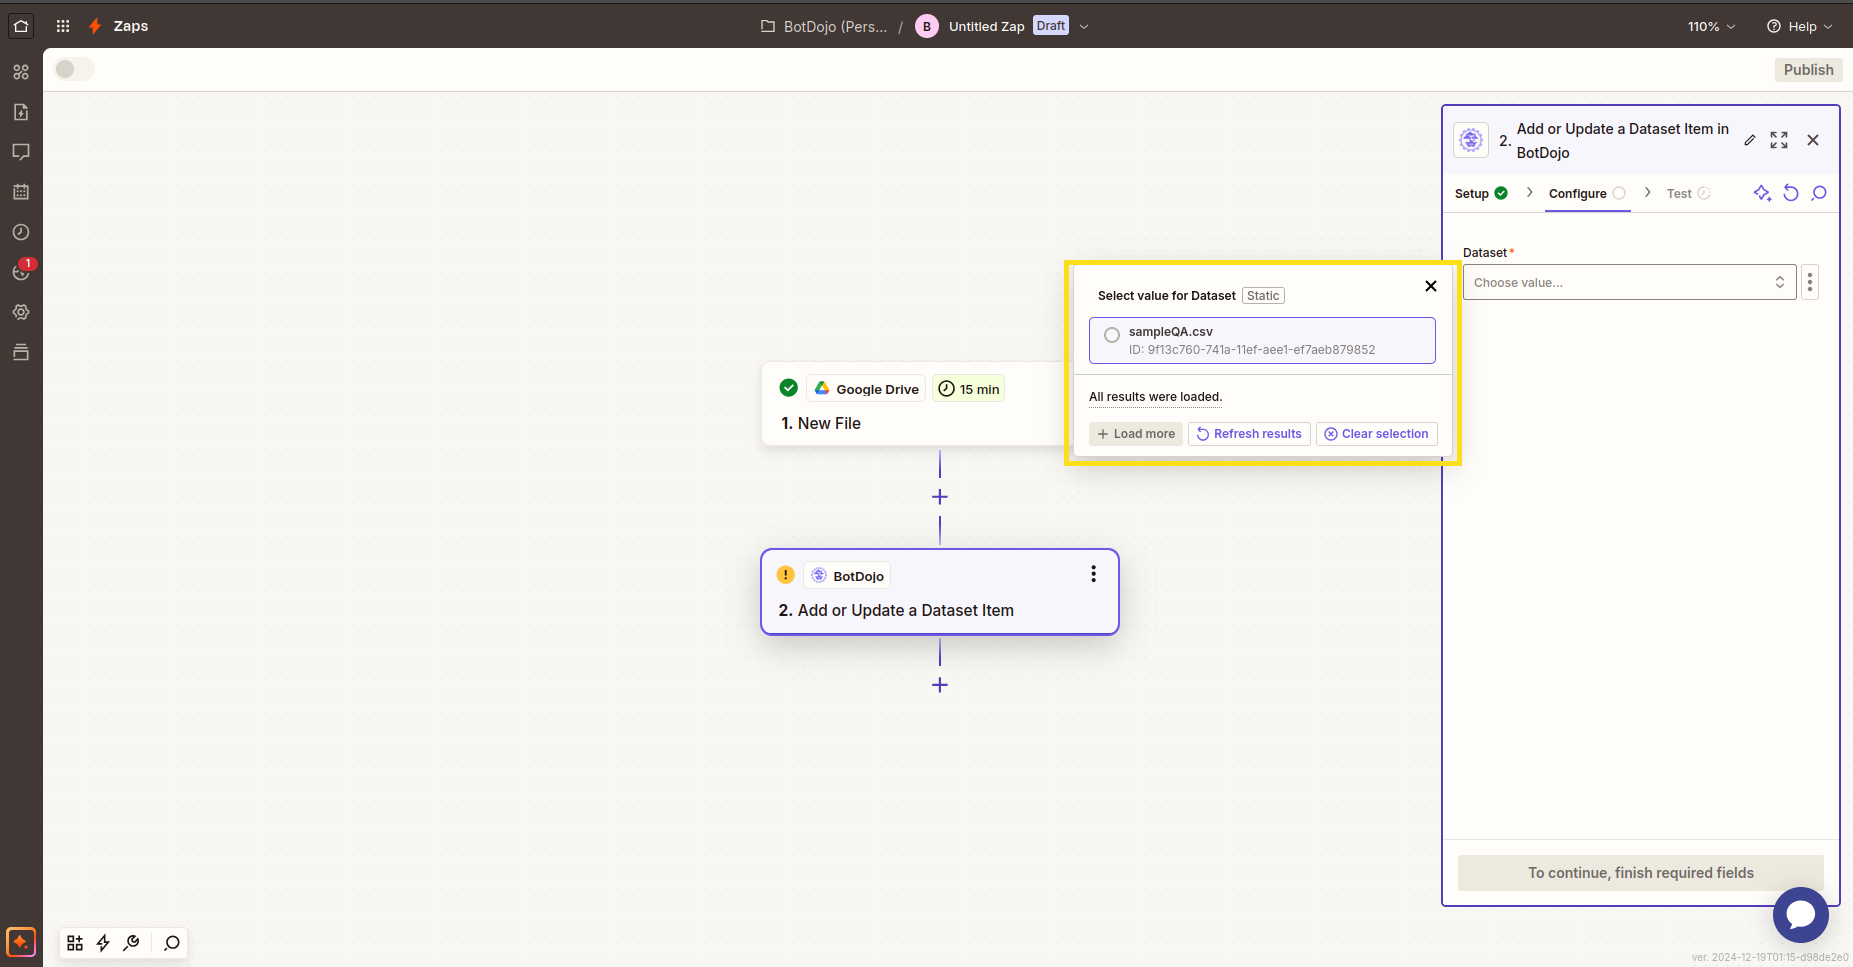
Configure the keys in the dataset to place the values and press Continue.
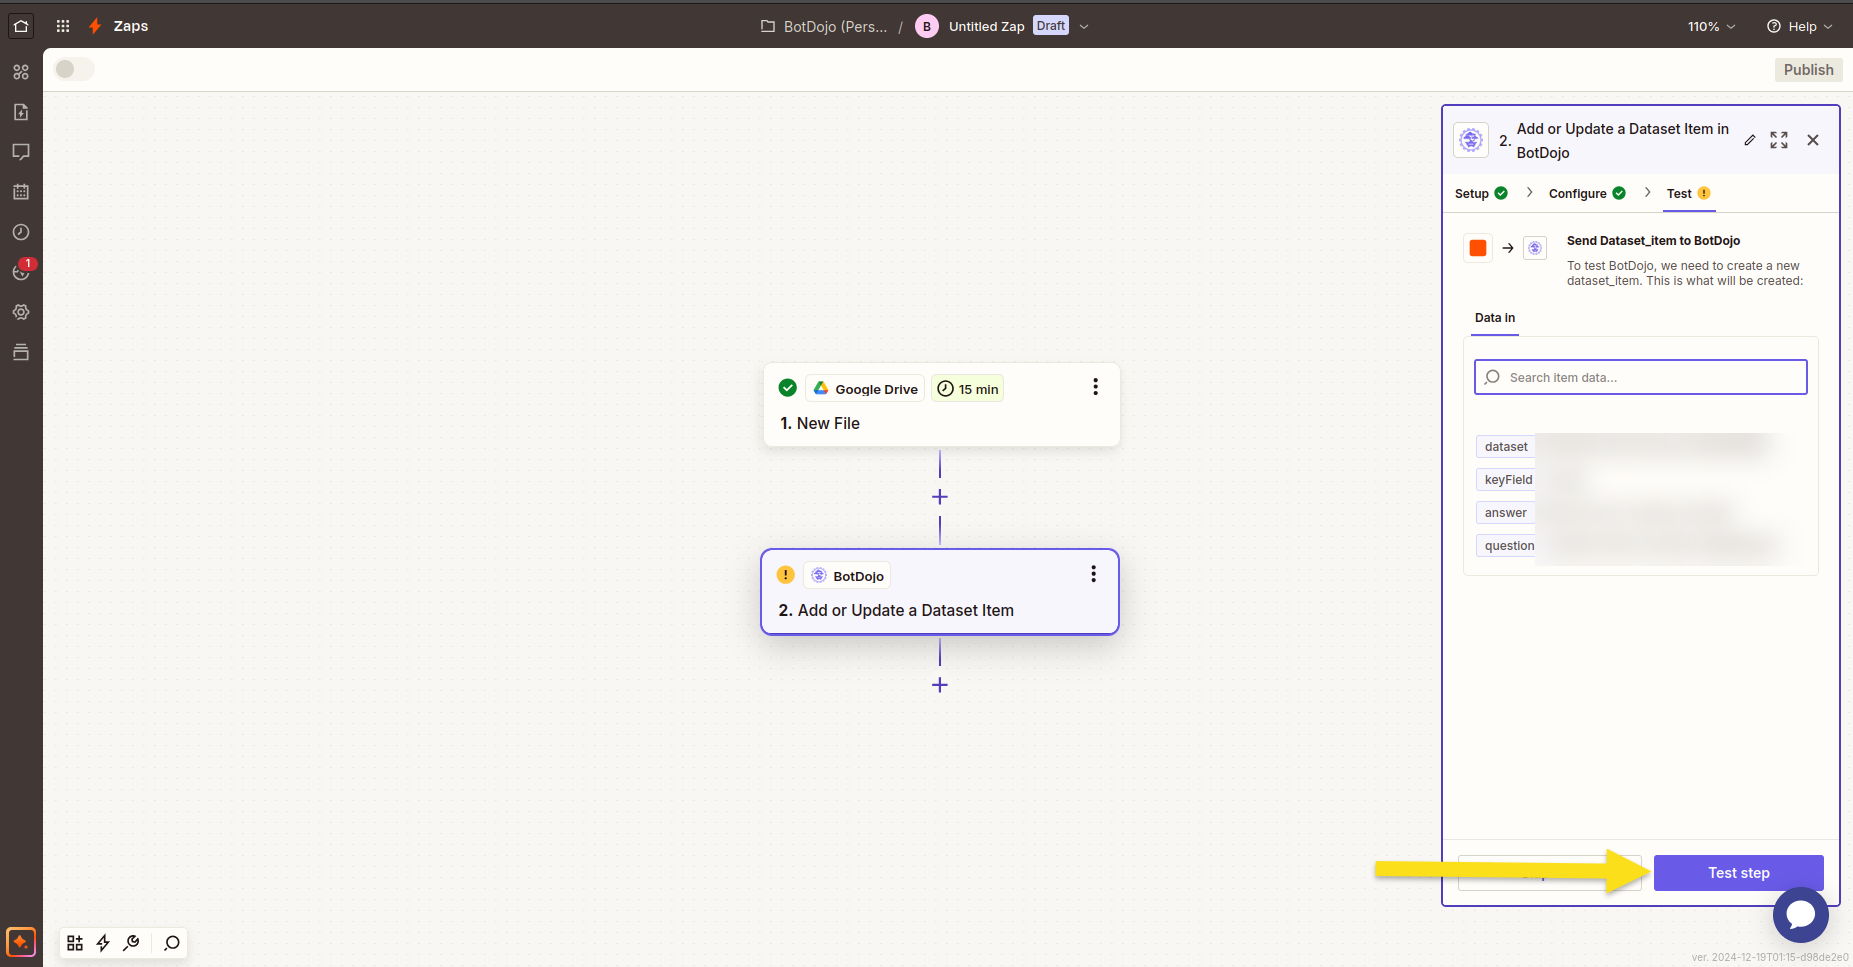
Click Test Step to test it.
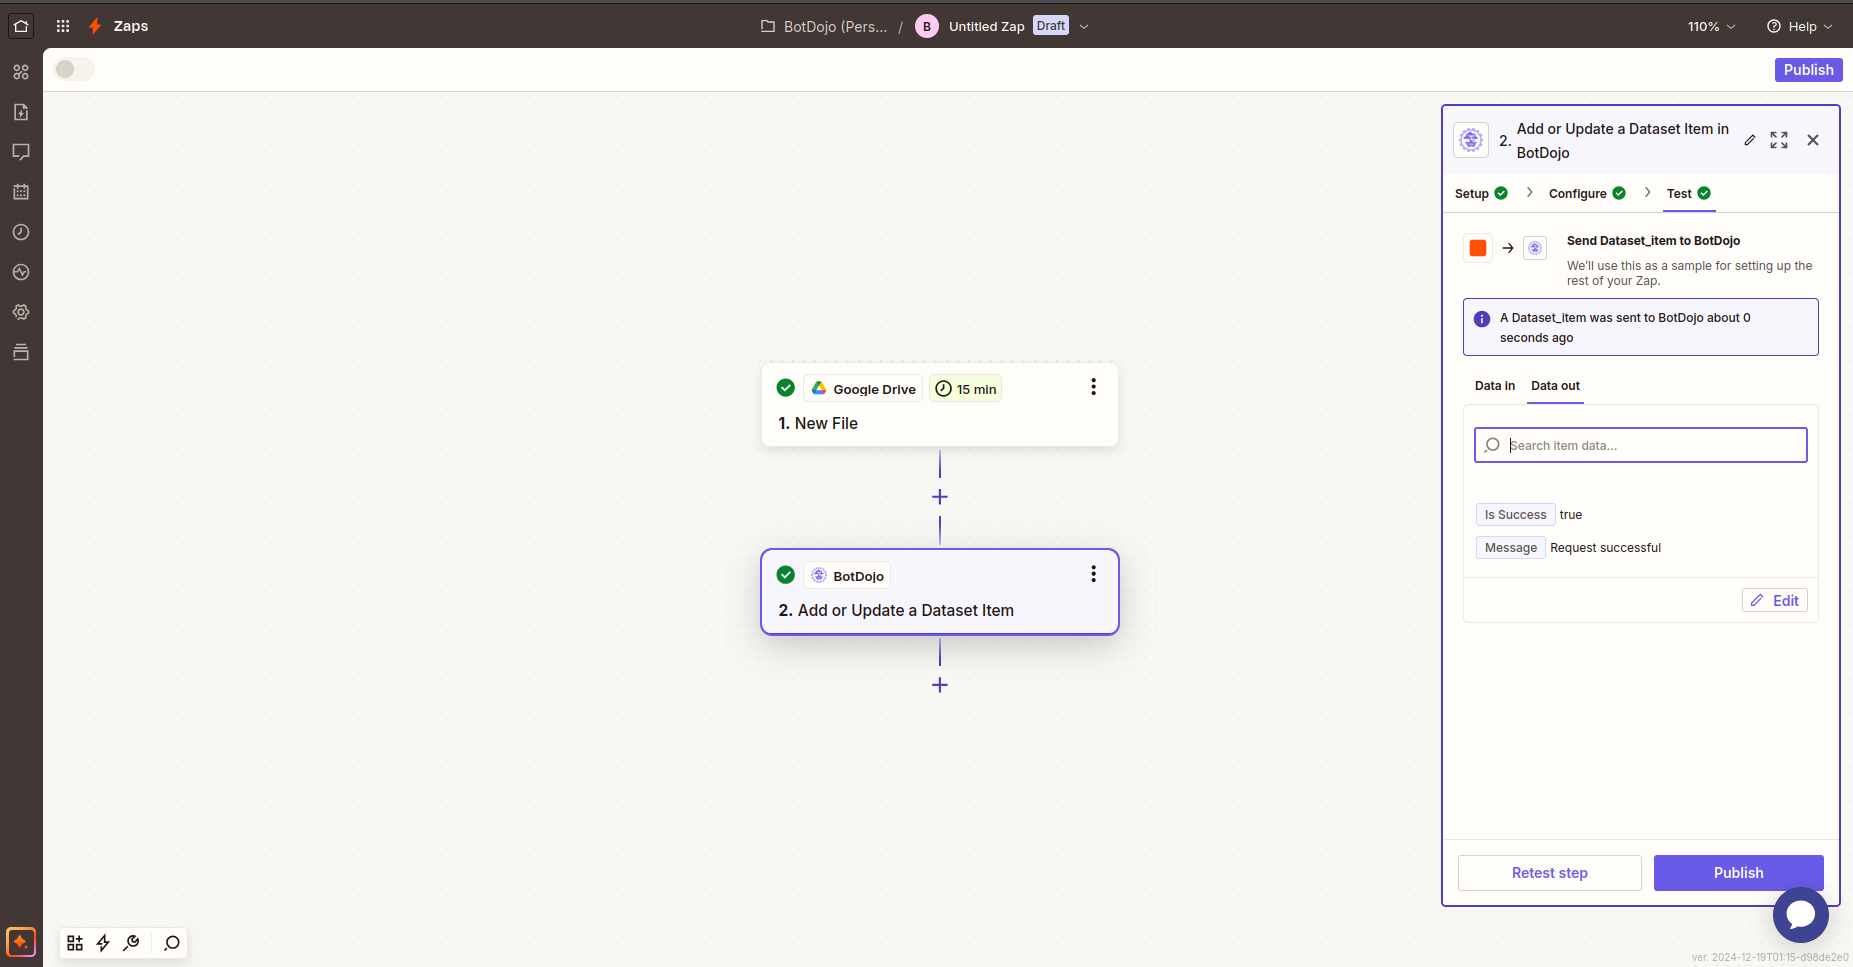
On a successful test, you can publish your zap or add more nodes.
Zapier Triggers
Here you can select a wide range of triggers from BotDojo:
Below, we'll walk you through the different actions you can configure. Feel free to mix and match actions based on your needs!
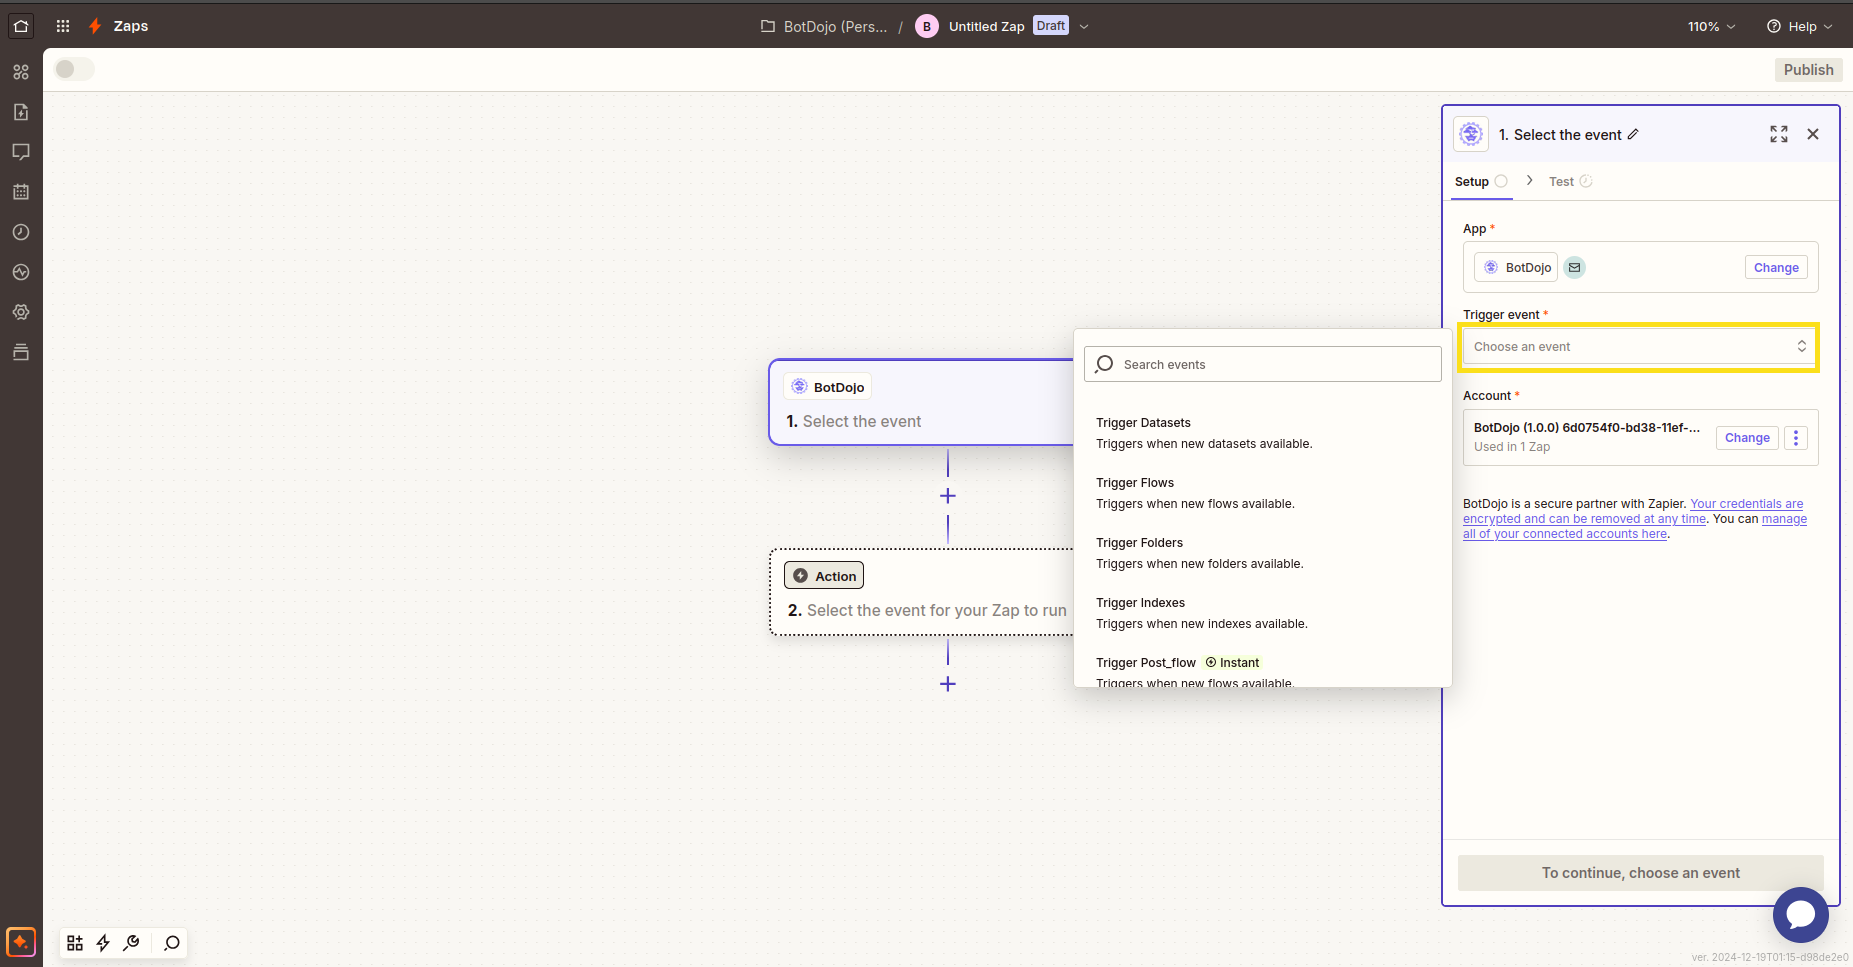
1. Trigger Post_flow
This triggers when a flow runs.
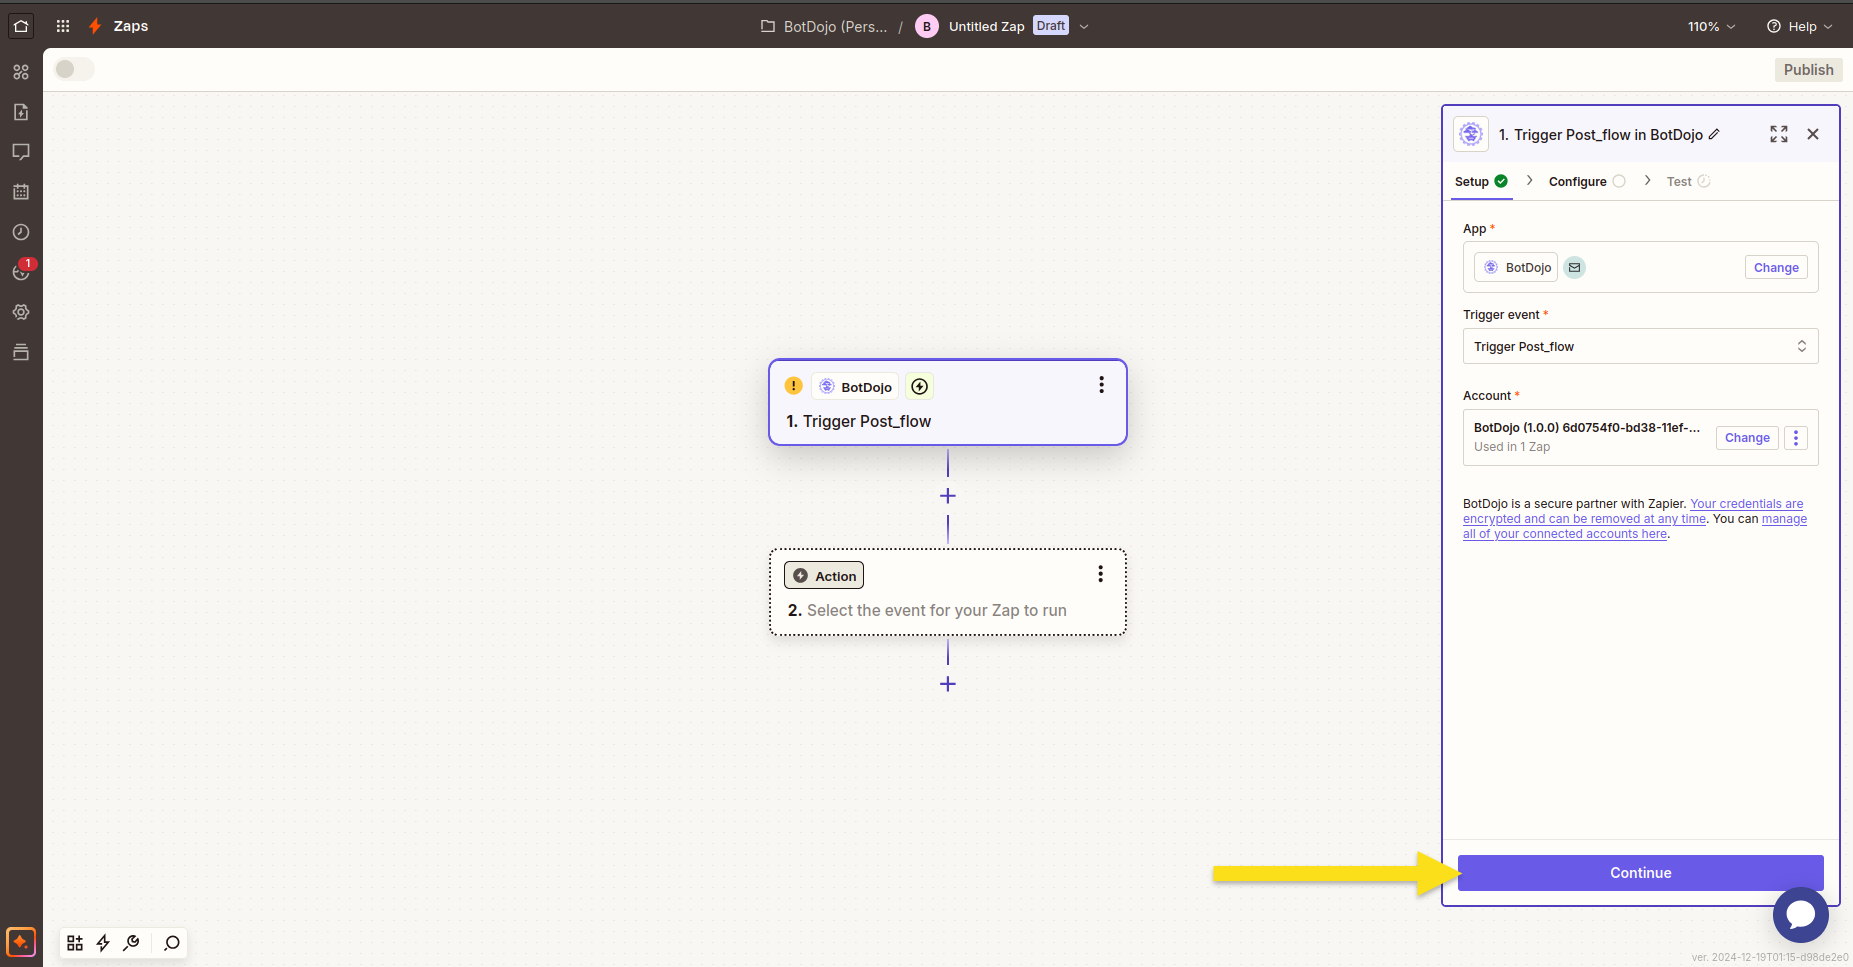
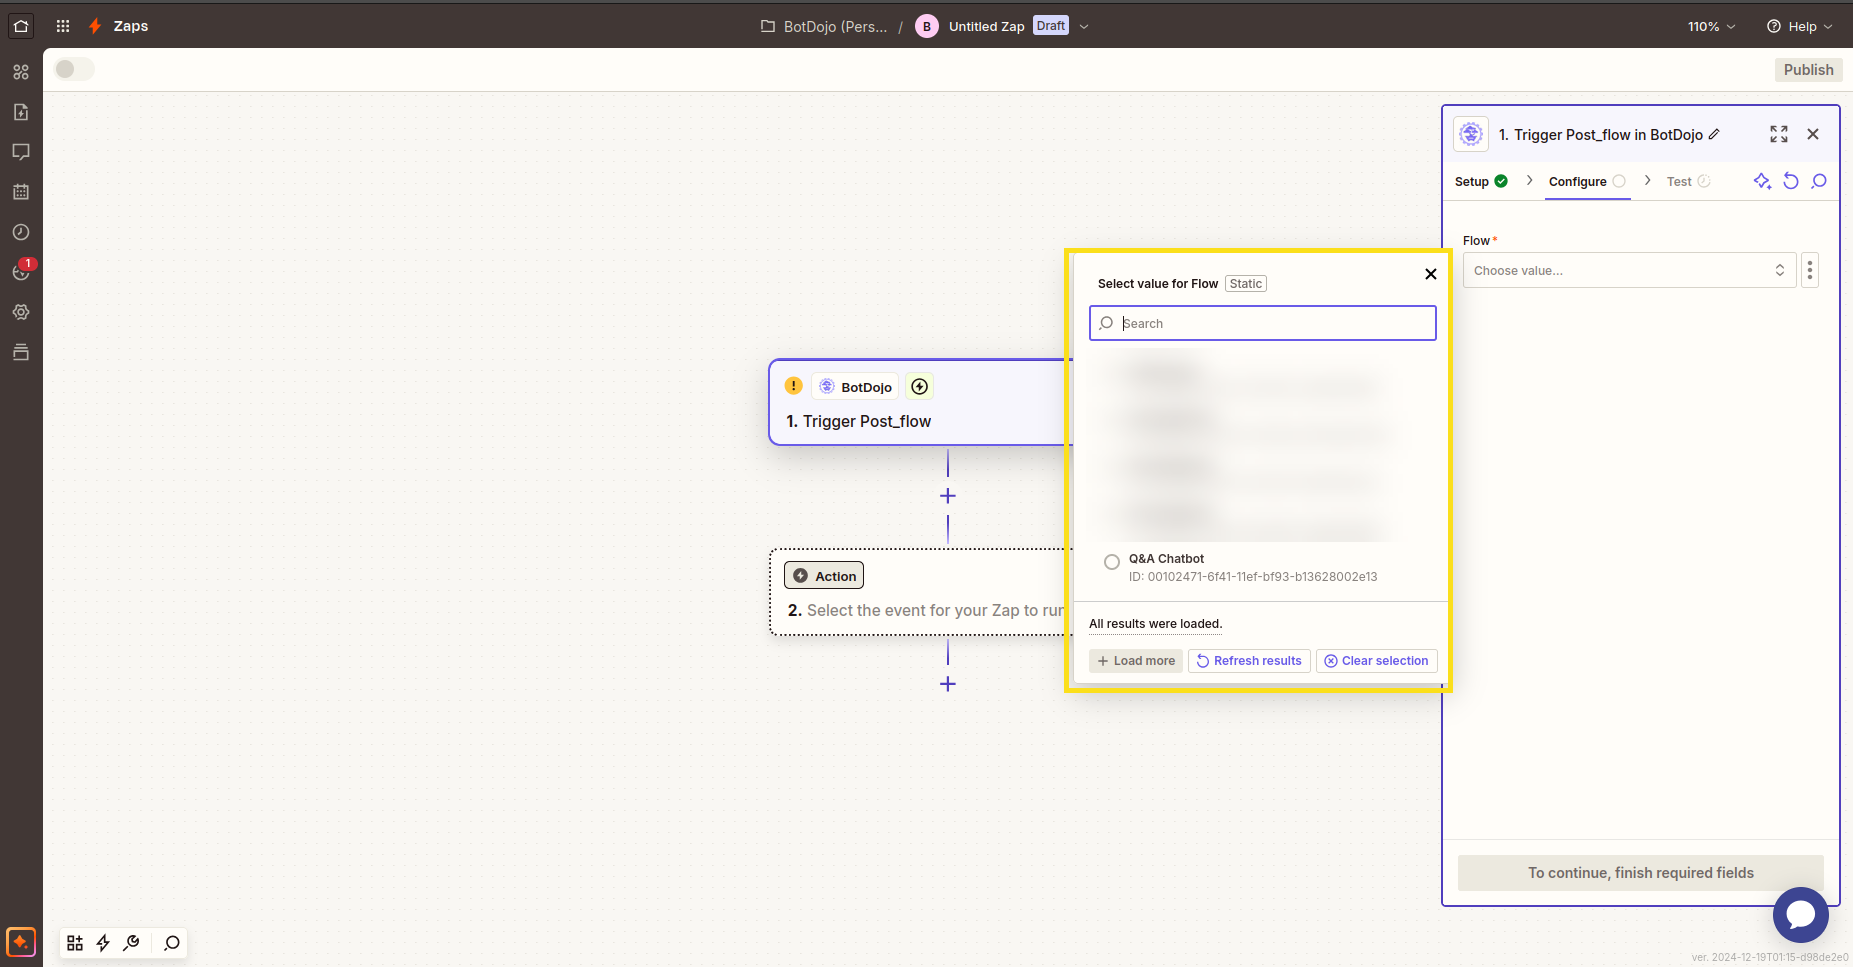
Select a flow from the dropdown menu and press Continue.
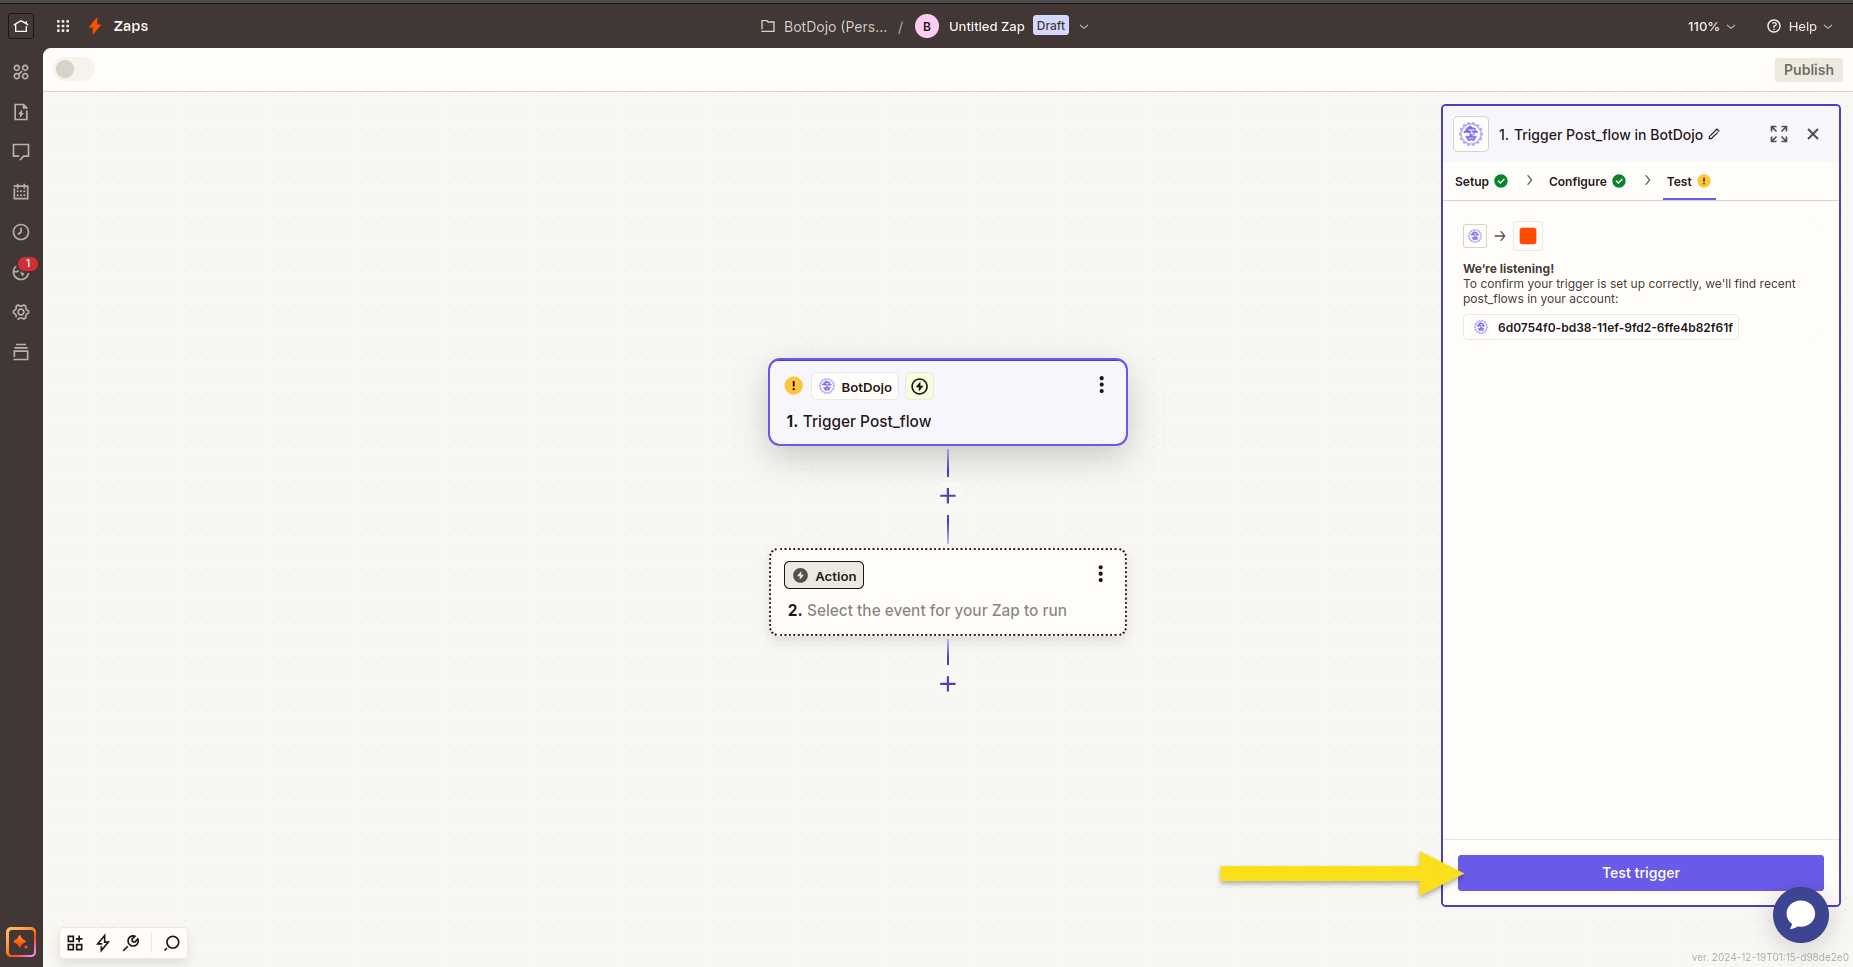
Click Test Trigger to test it.
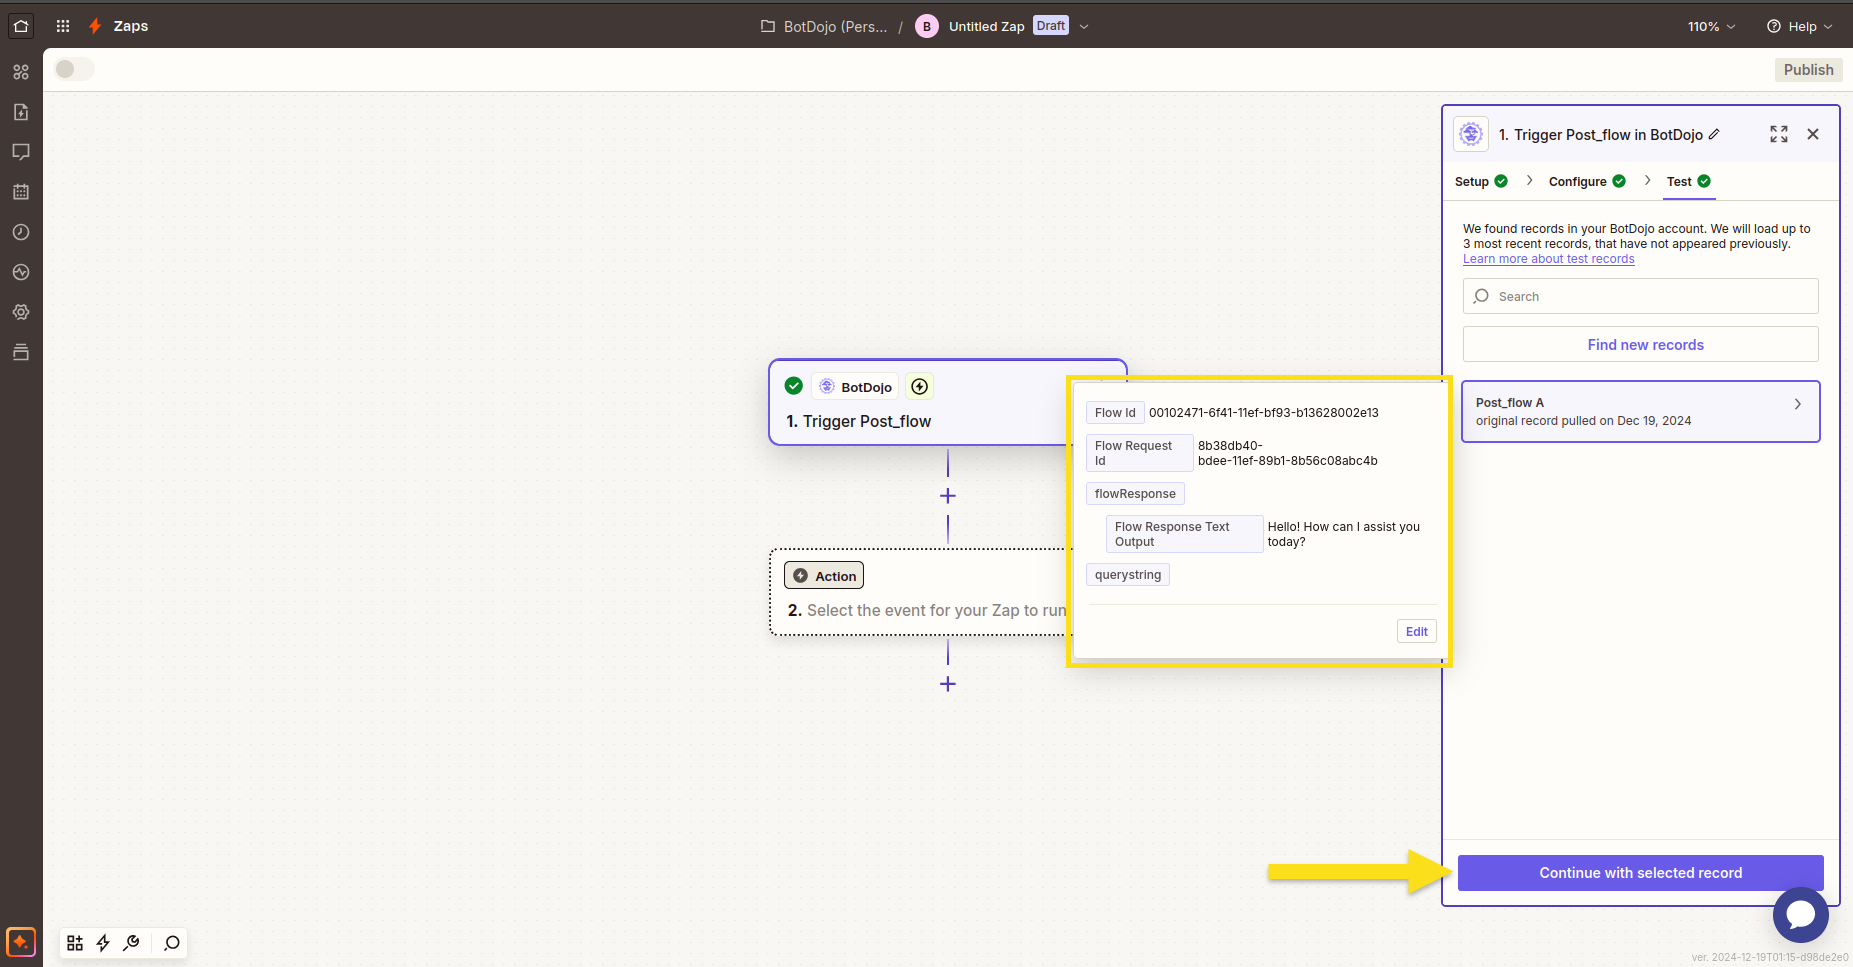
You will see a trigger when the flow runs. Click Continue with Selected Record.
2. Trigger Datasets
This triggers when a new dataset is available.
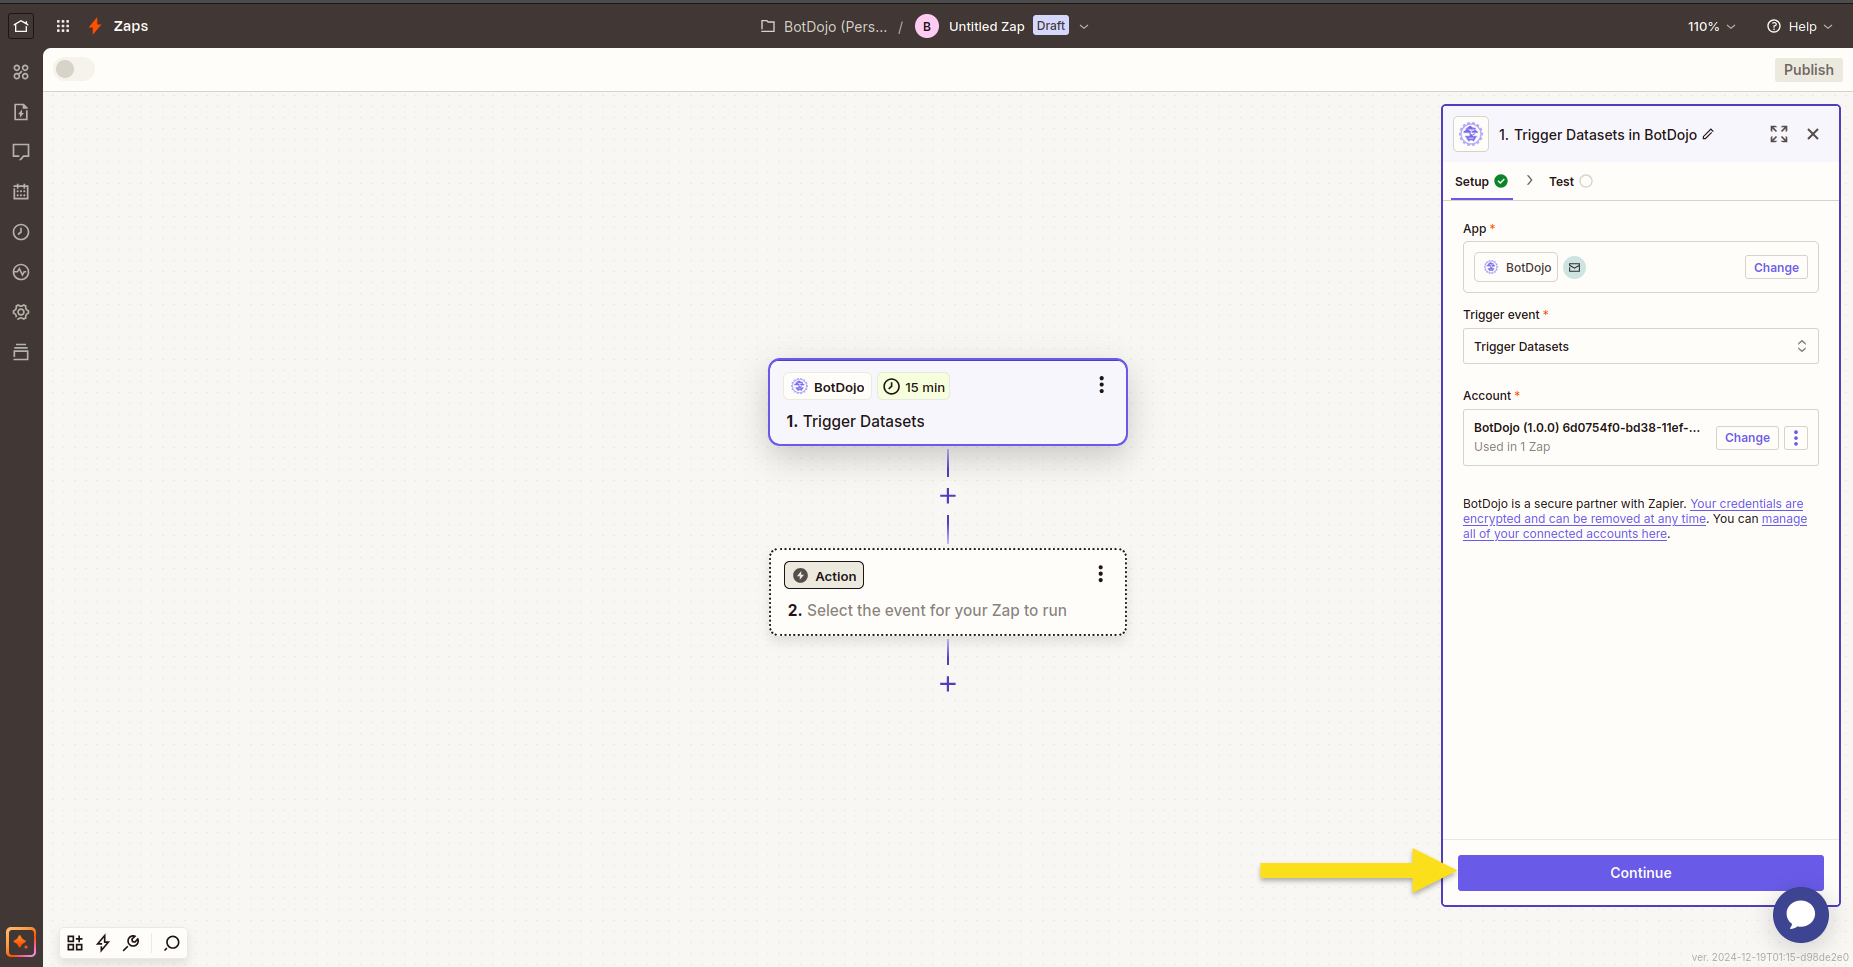
Click Test Trigger to test it.
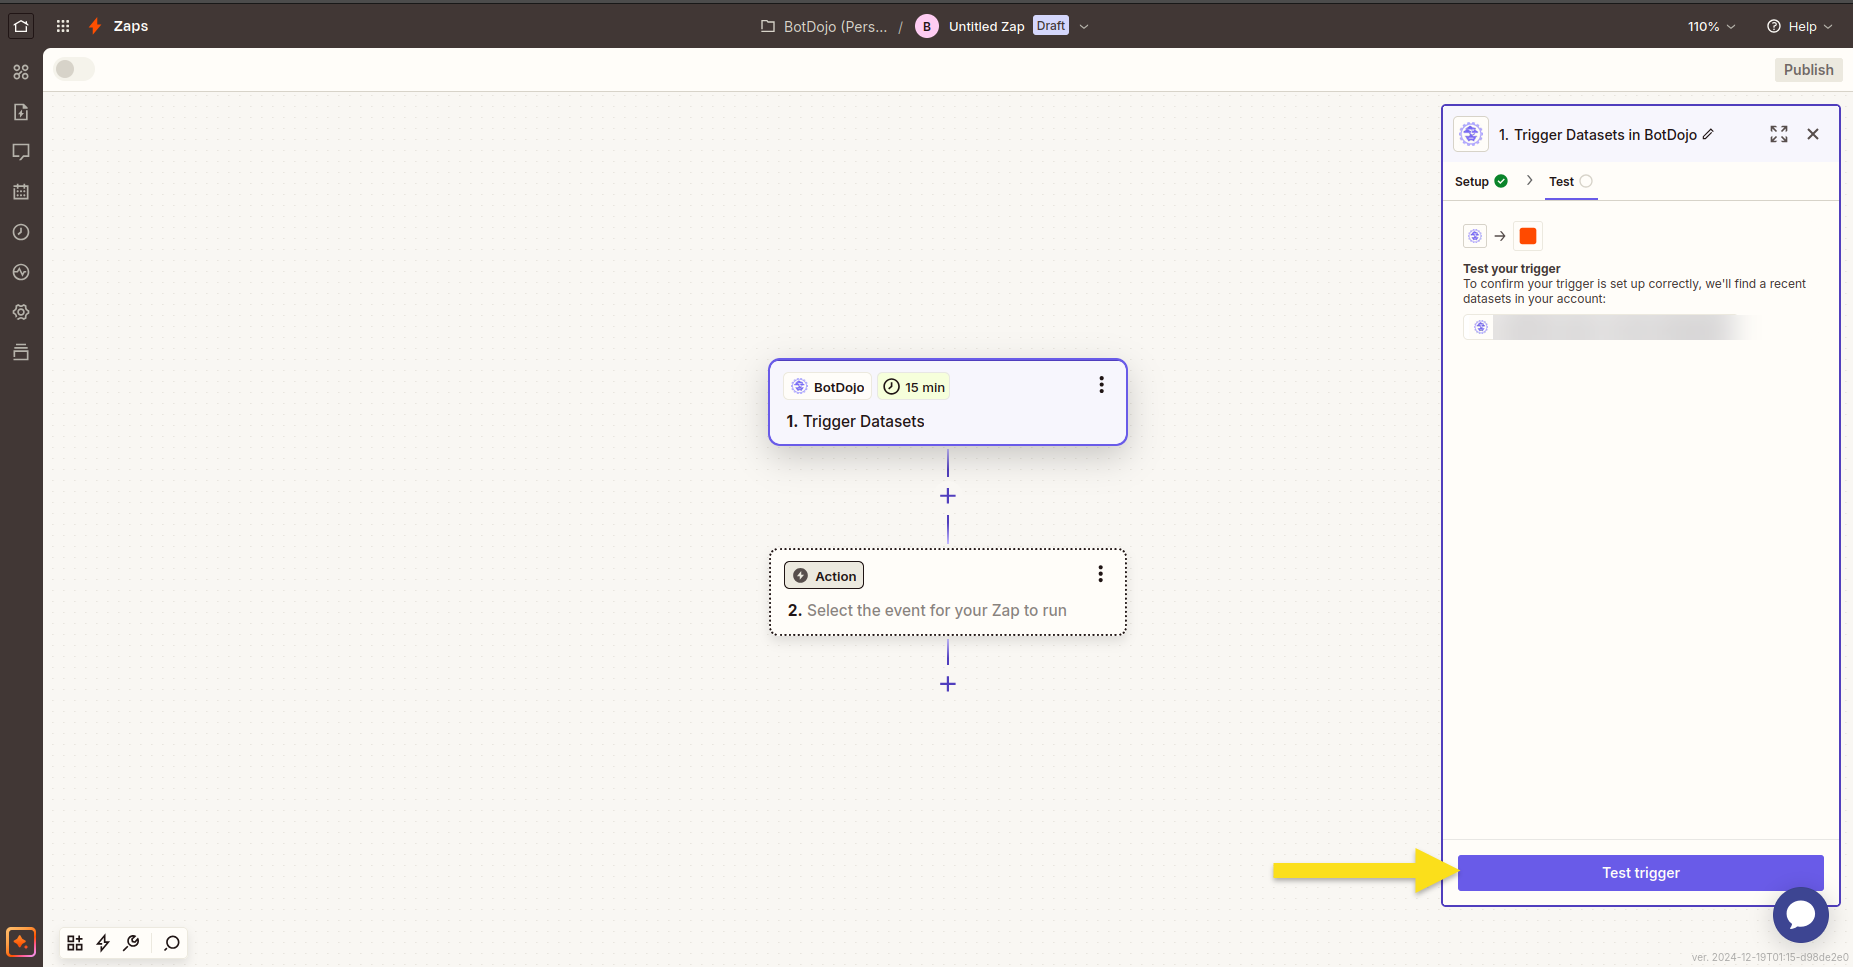
You will see the dataset uploaded on BotDojo. Click Continue with Selected Record.
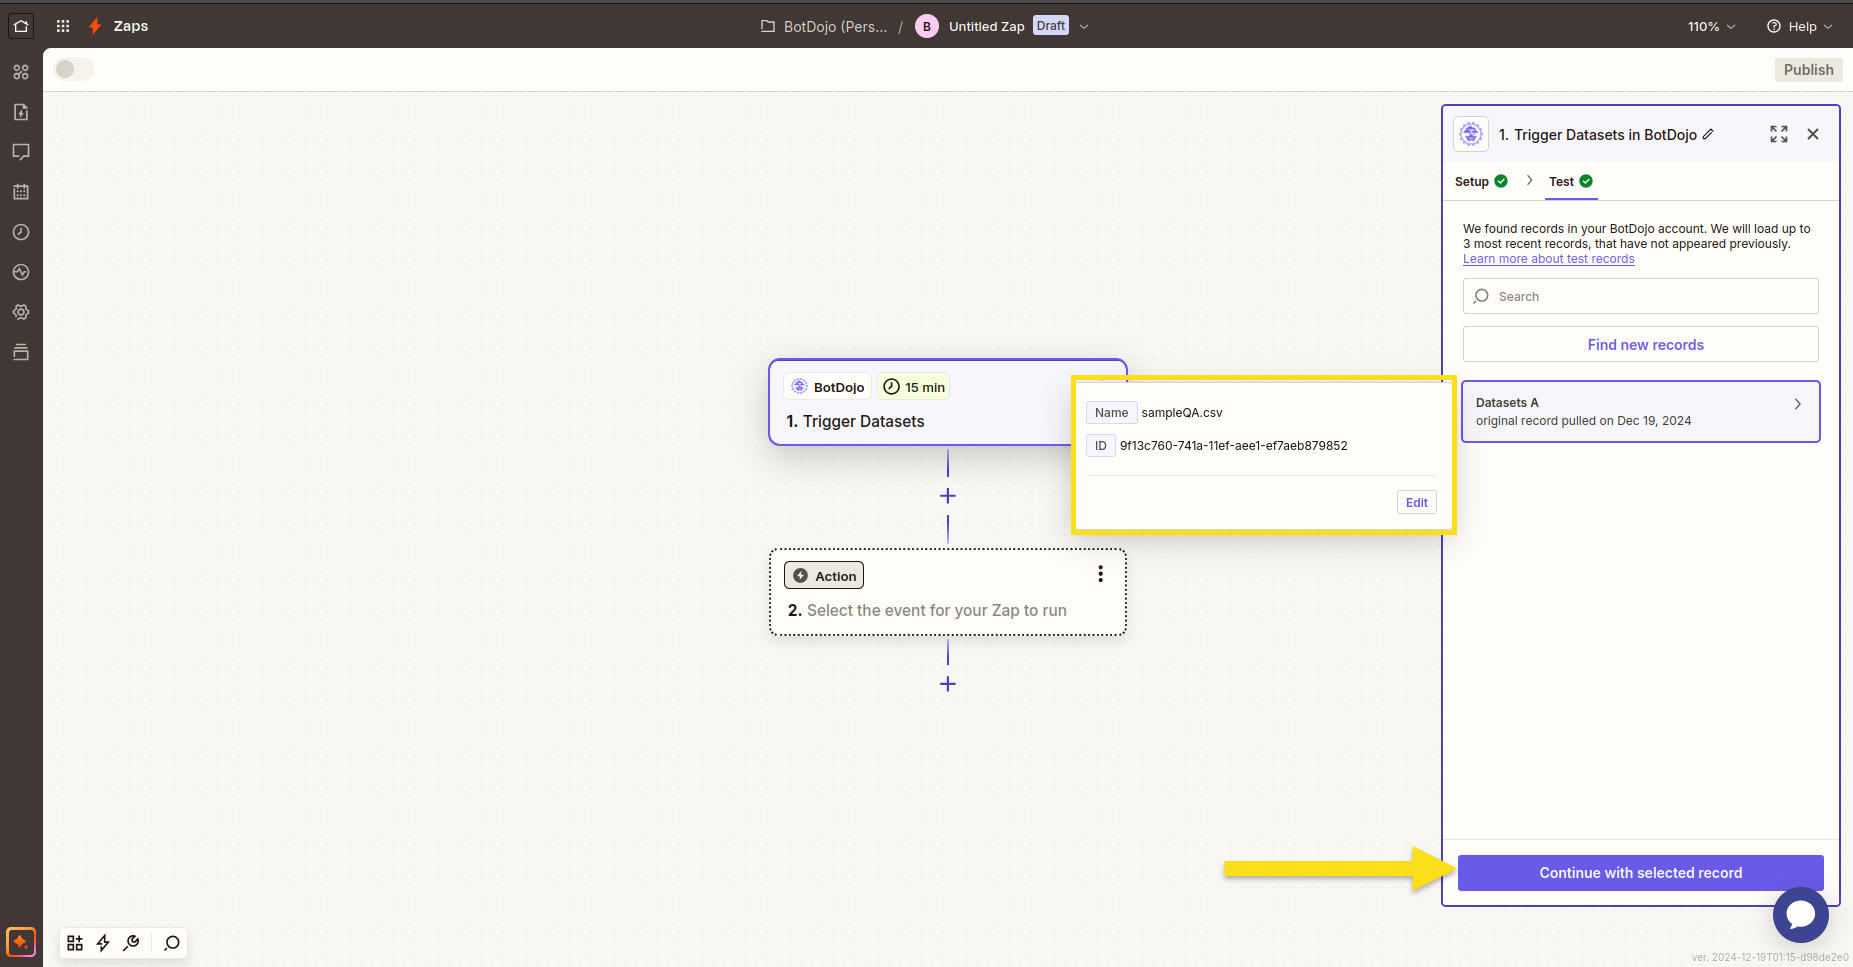
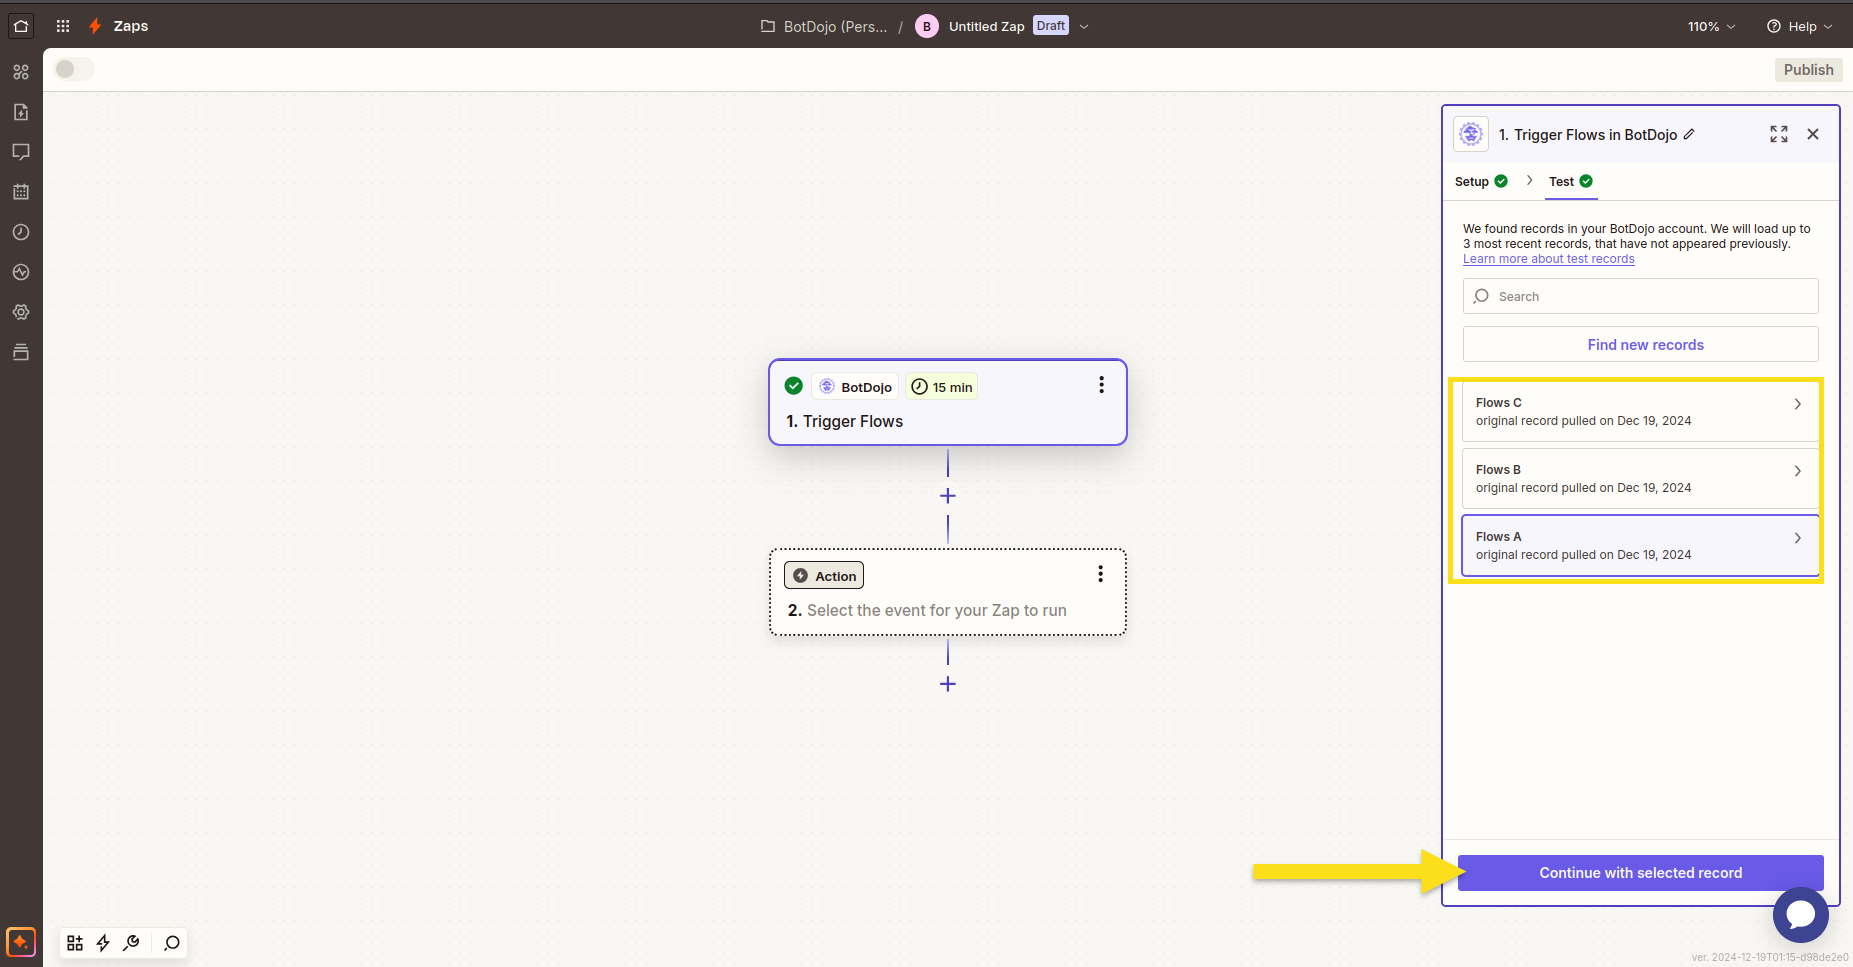
3. Trigger Flows
This triggers when new flows are available.
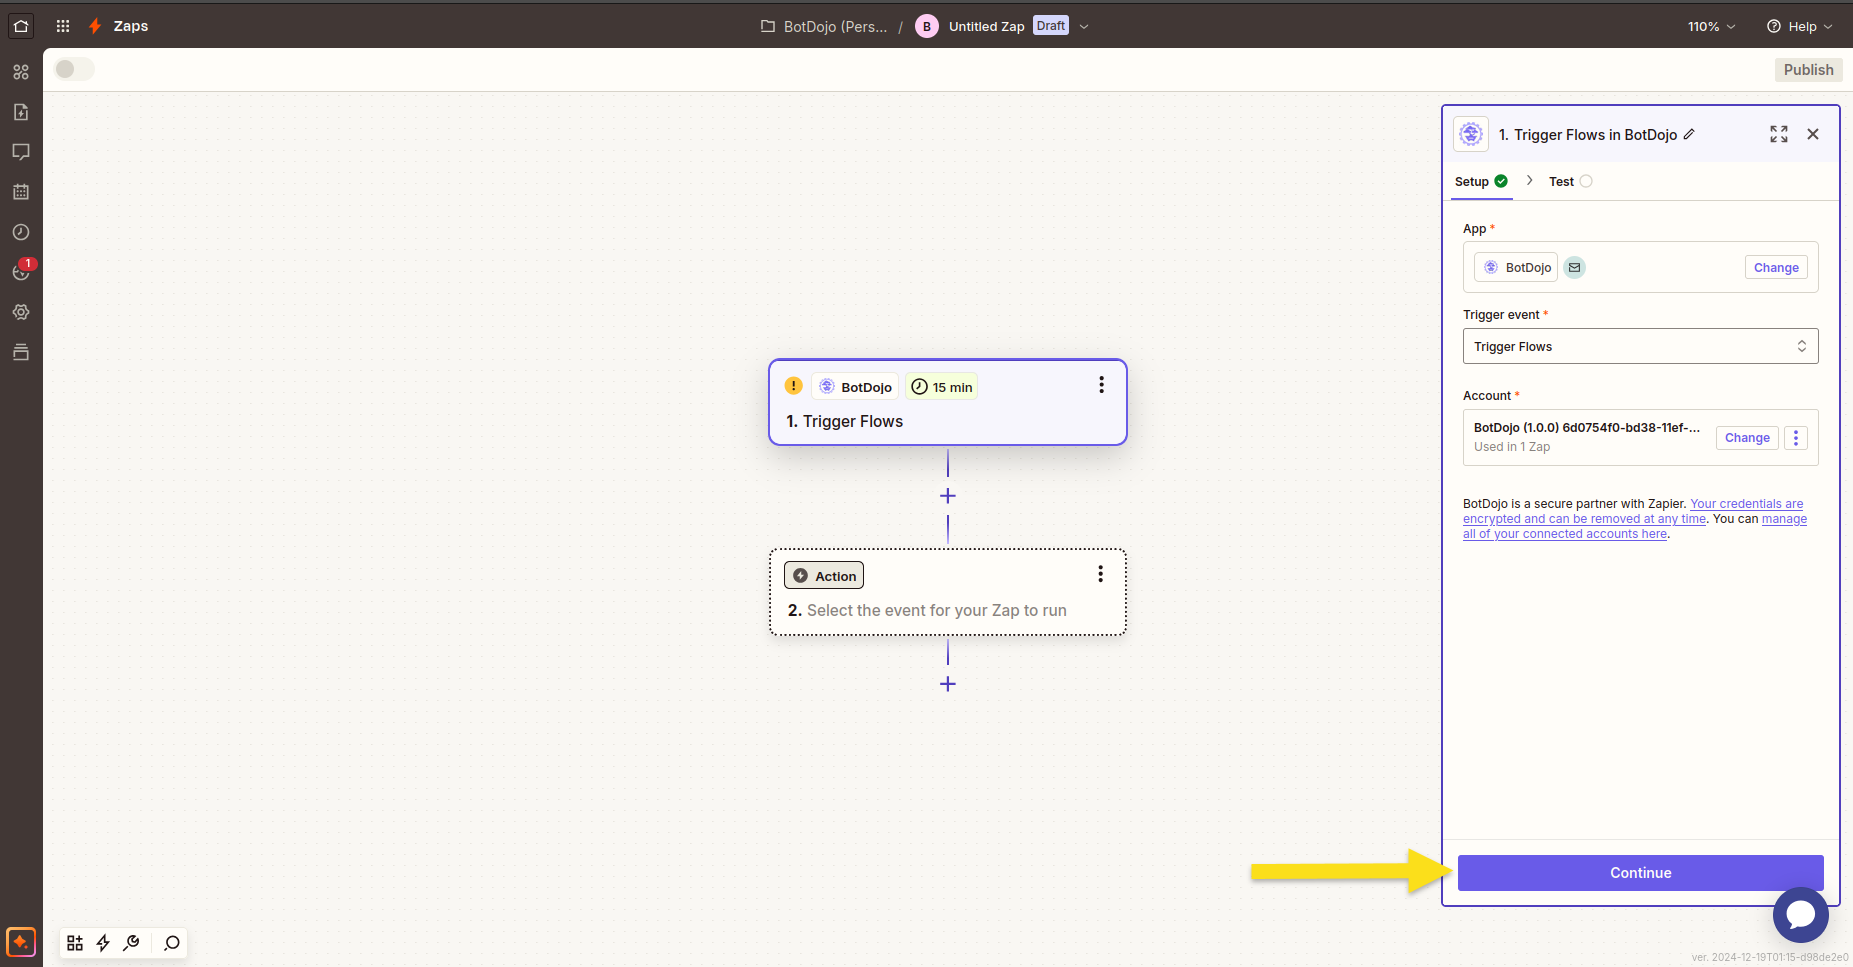
You will see the updated flow on BotDojo. Click Continue with Selected Record.
4. Trigger Folders
This triggers when new folders are available.
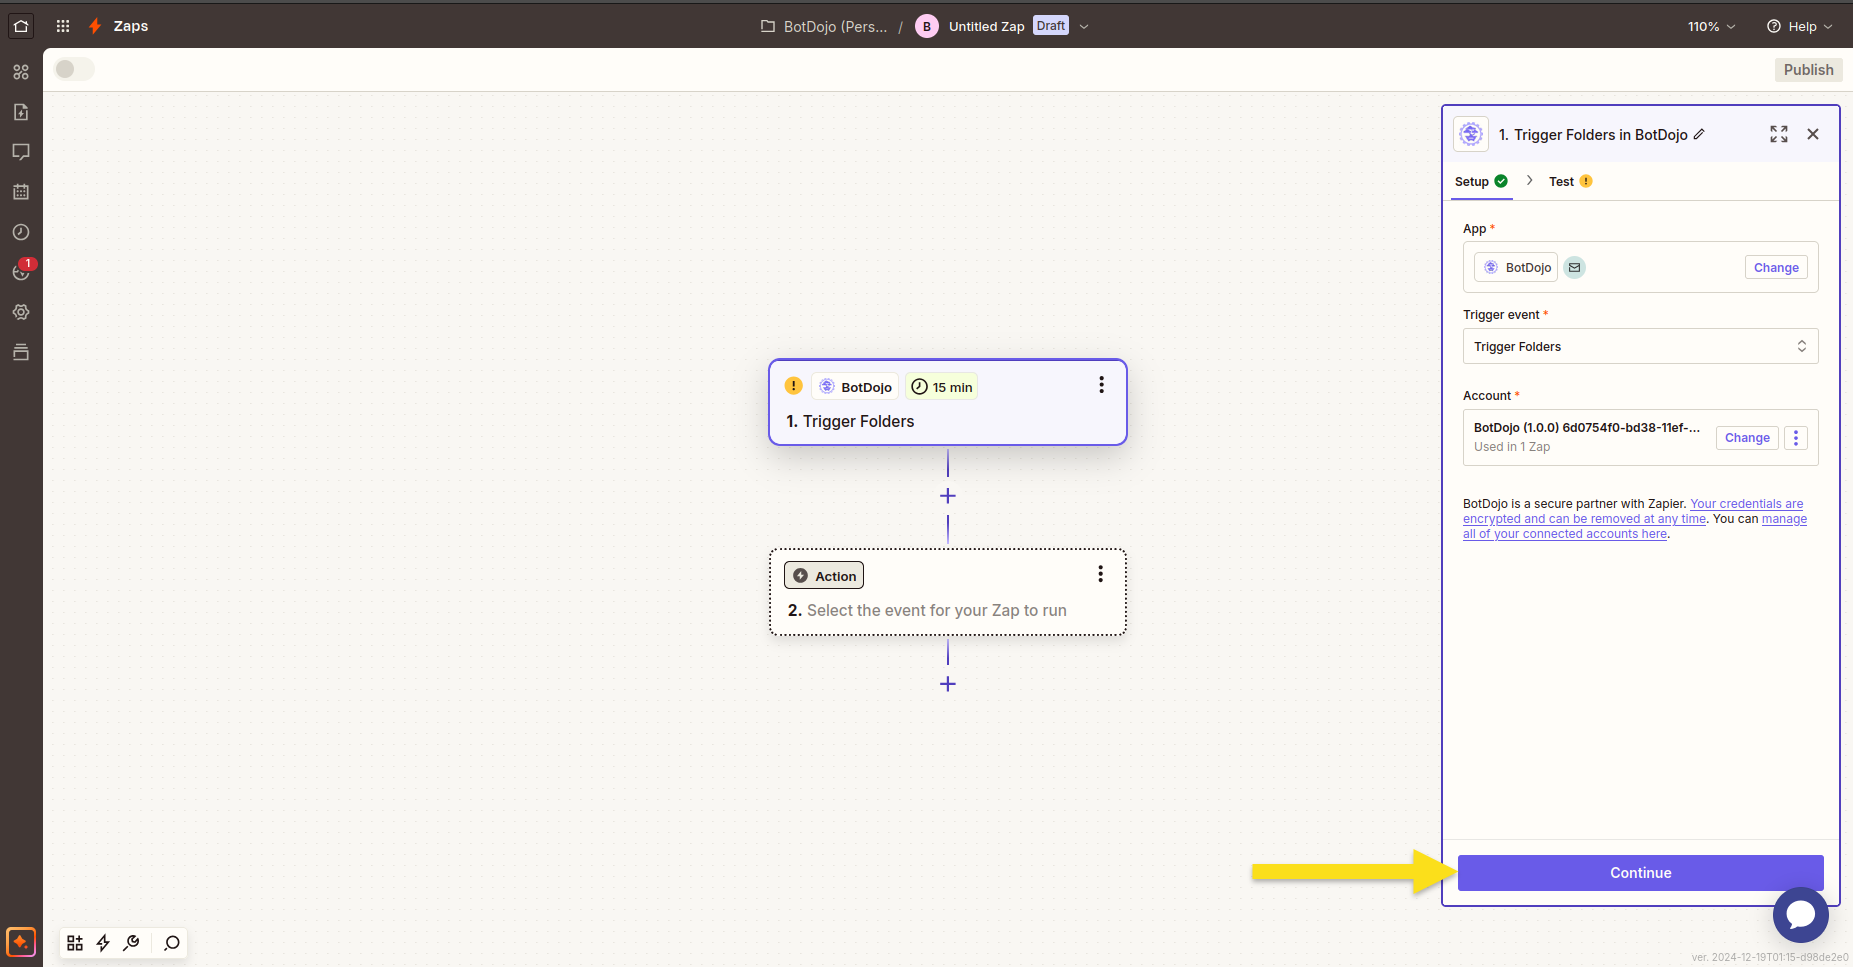
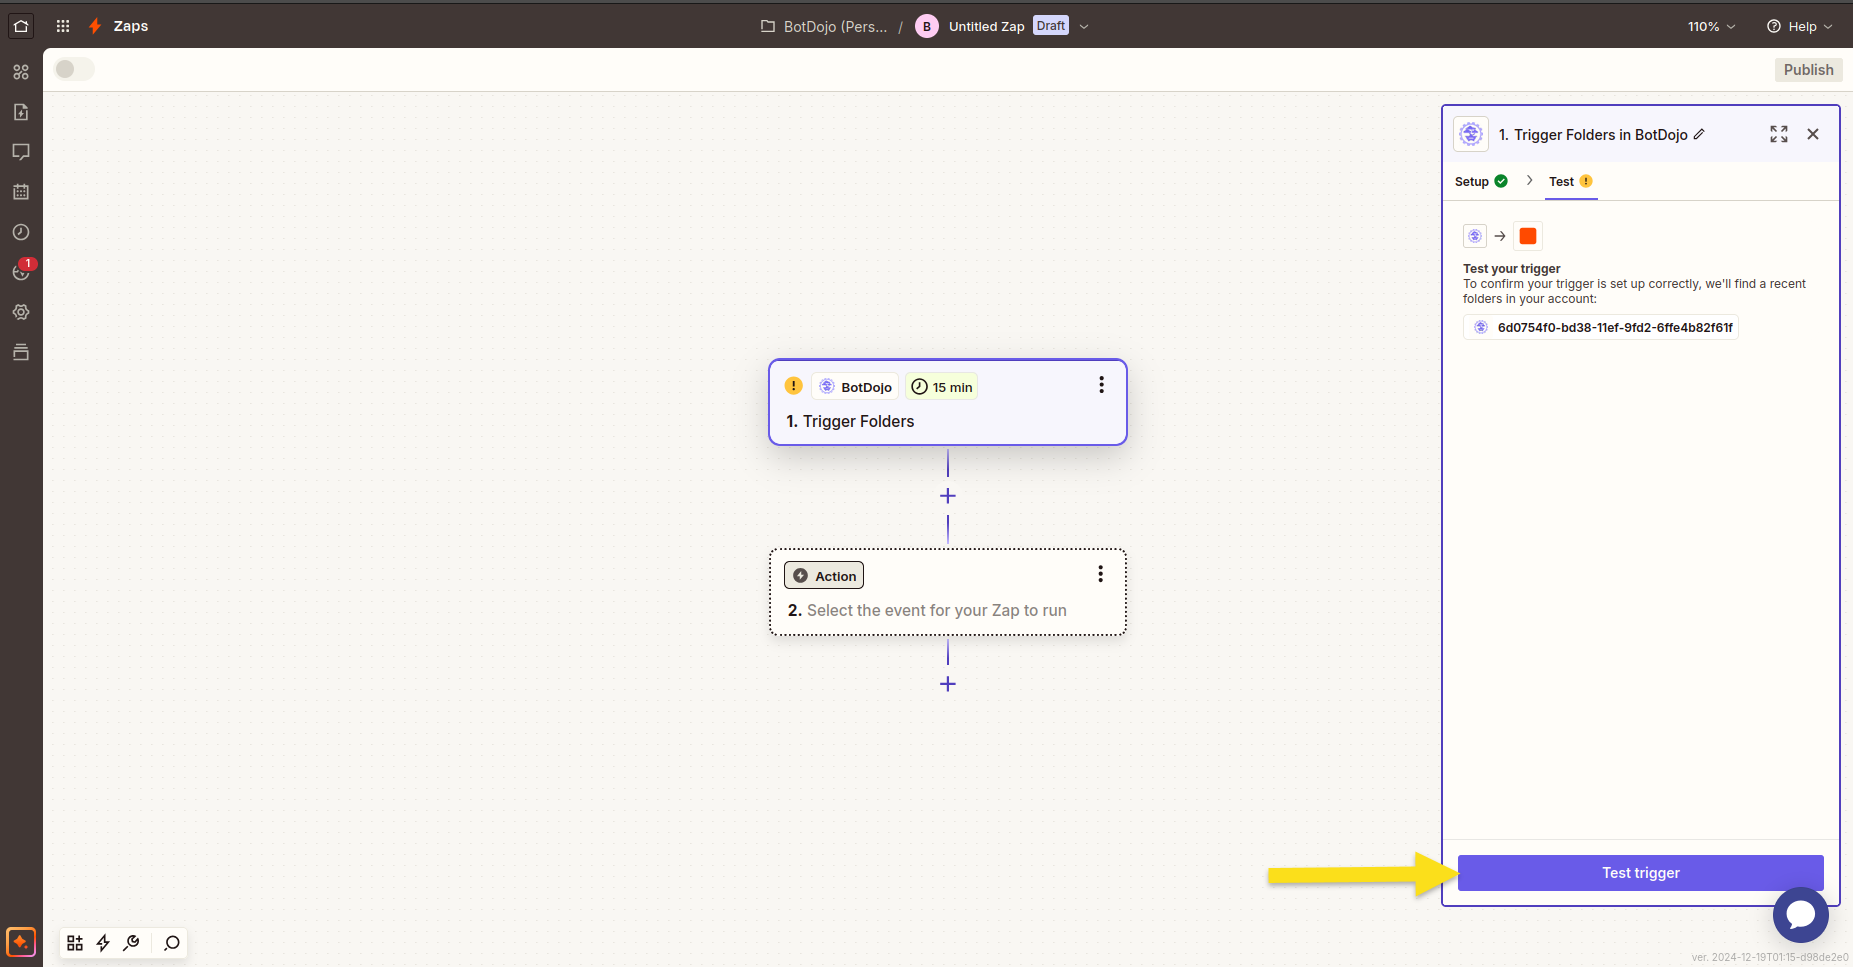
Click Test Trigger to test it.
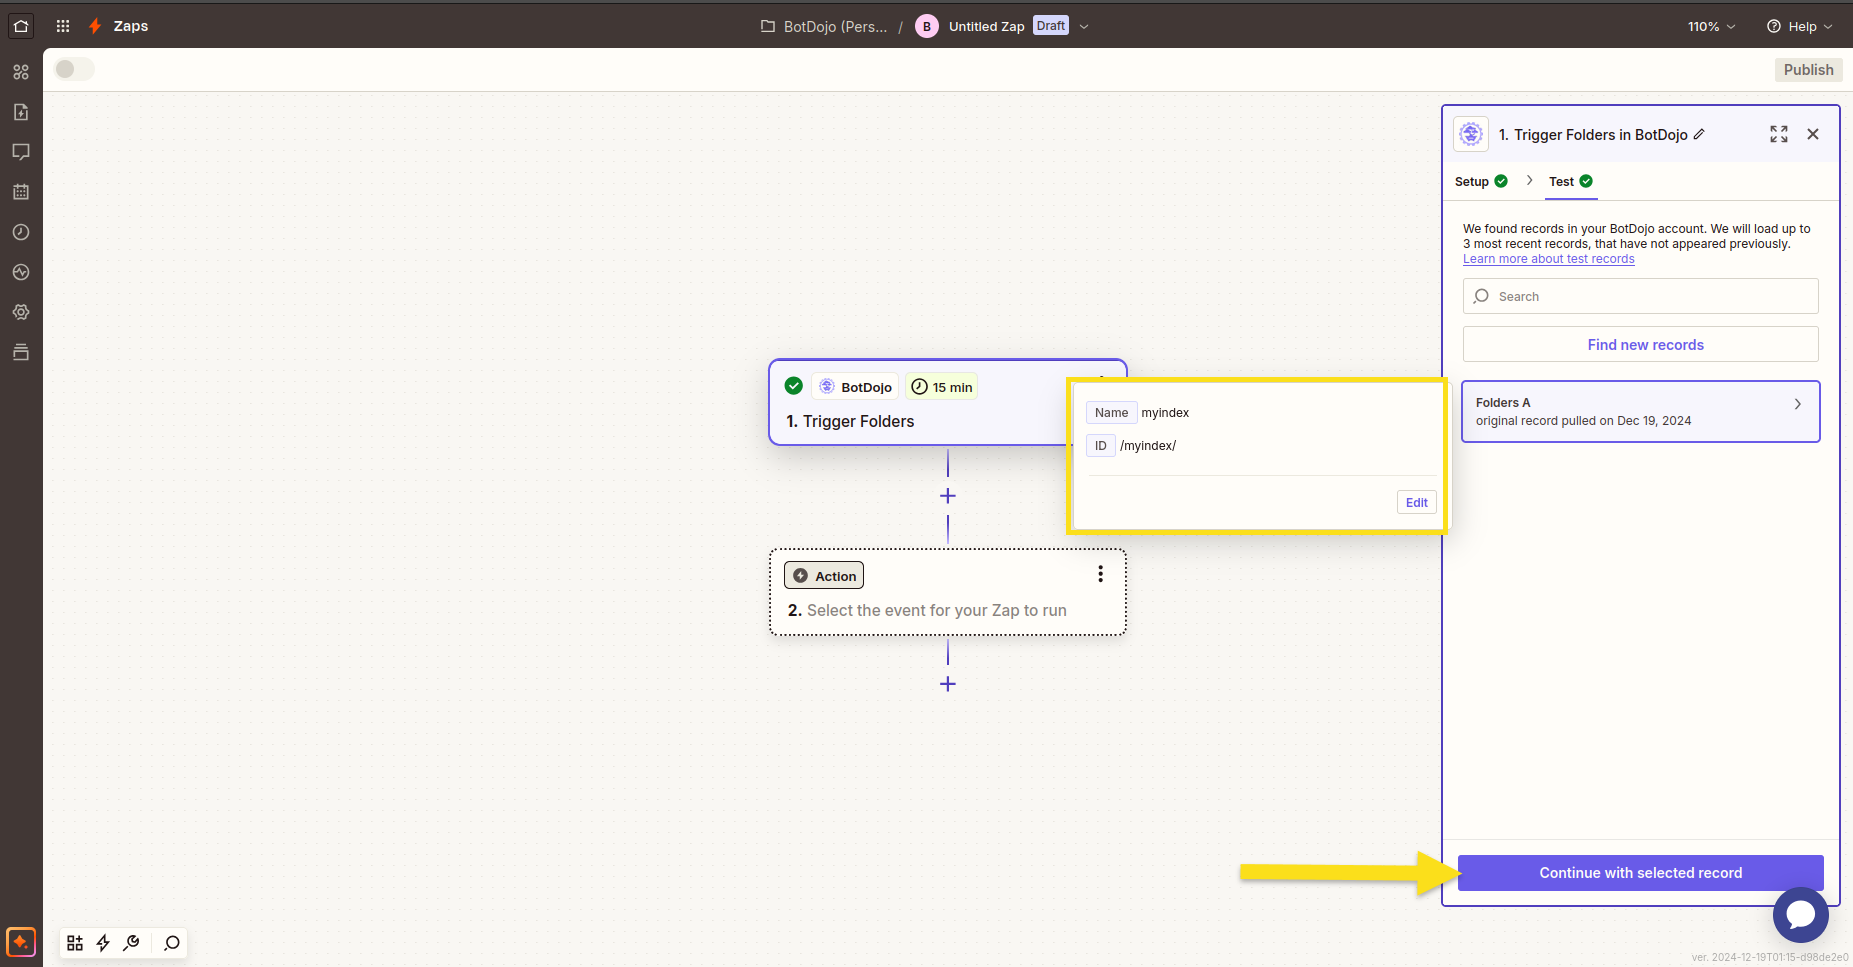
You will see the new folders available on BotDojo. Click Continue with Selected Record.
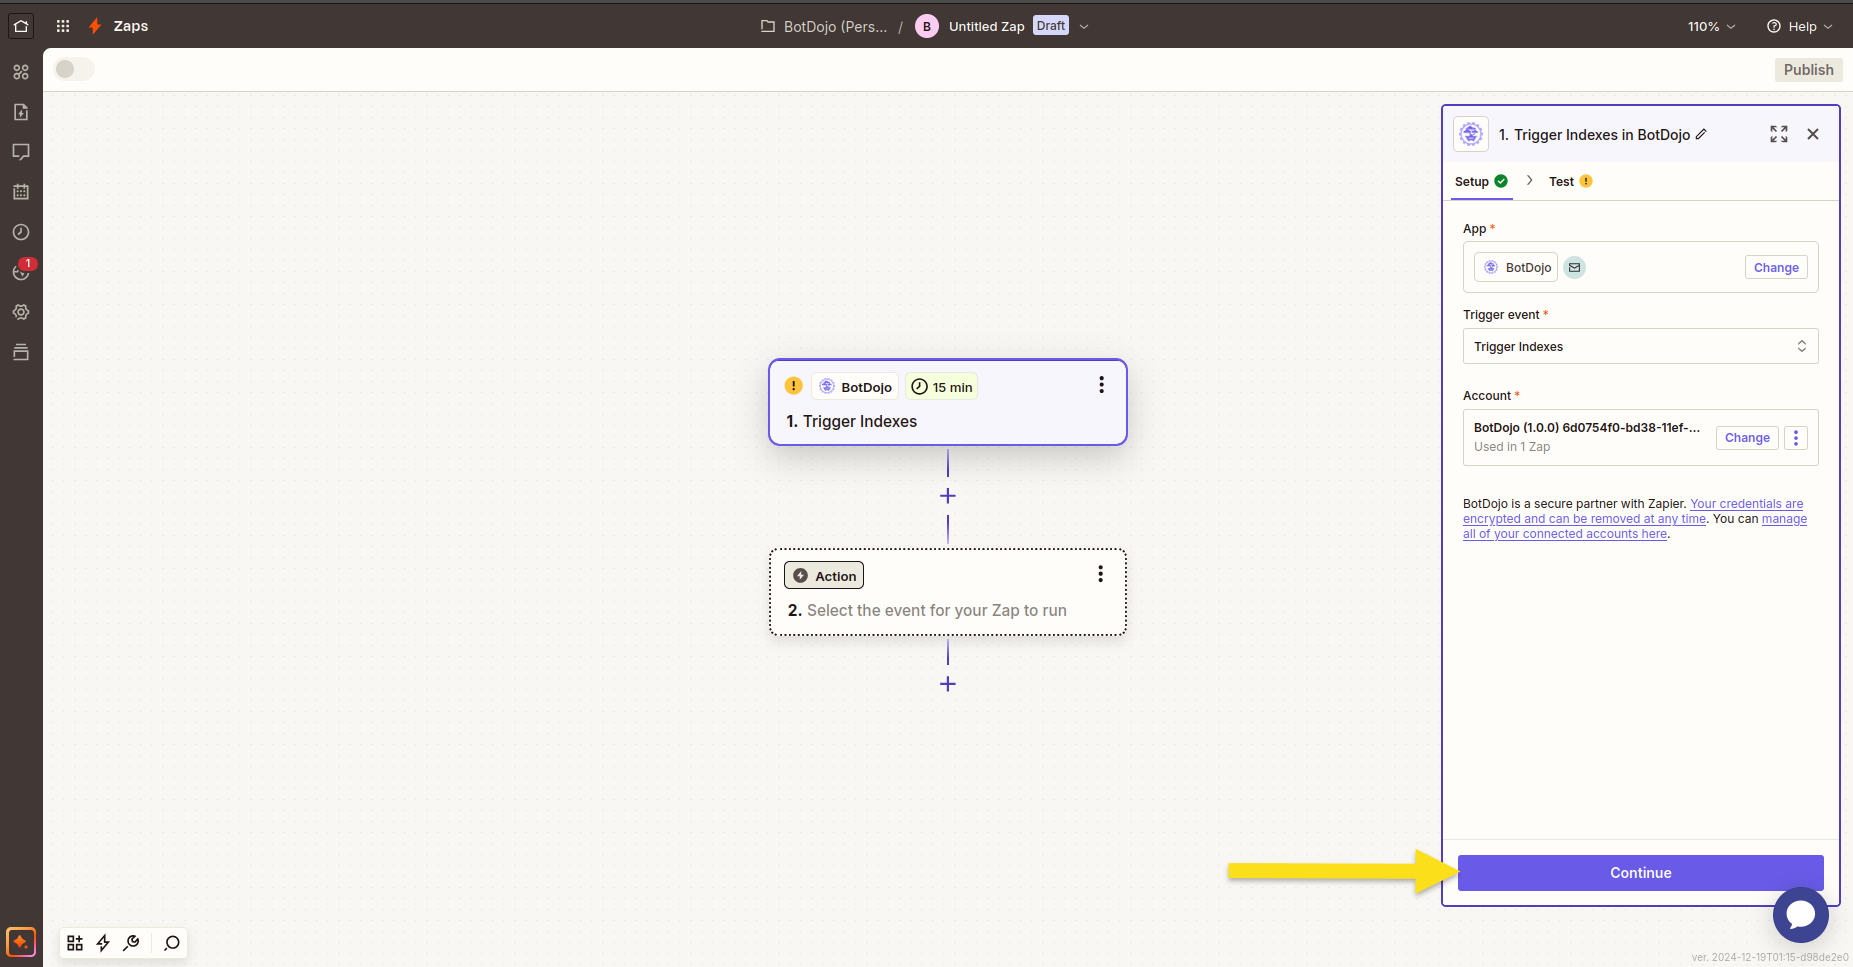
5. Trigger Indexes
This triggers when new indexes are available.
Click Test Trigger to test it.
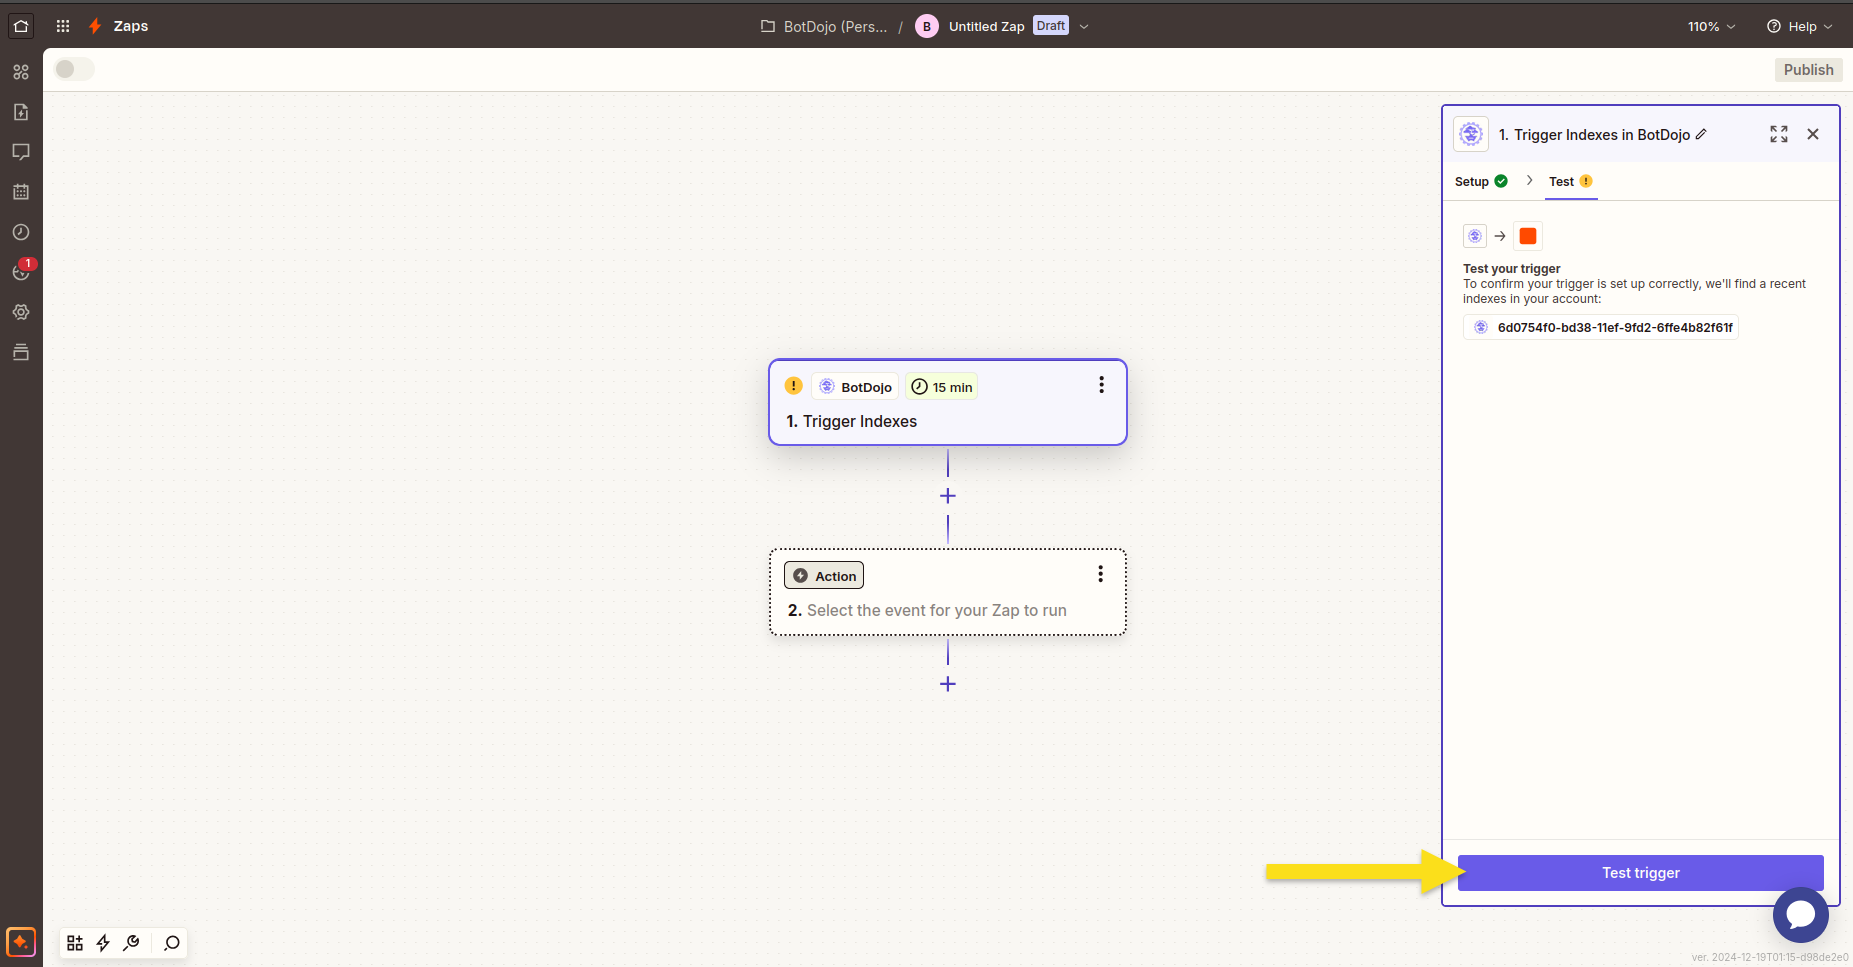
You will see the new indexes available on BotDojo. Click Continue with Selected Record.
