Zendesk
BotDojo can integrate with Zendesk to sync ticket data. Following are the steps to set up Zendesk:
-
Go to your Zendesk account https://your-subdomain.zendesk.com
-
Navigate to Settings > Admin Center
-
Navigate to Apps and integrations > Zendesk API > OAuth Clients.
-
Click Add OAuth client and fill in the required details.
-
Set the Unique Identifier to any unique value. This will act as the client ID for the OAuth process.
-
Set the Client Type to Confidential.
-
Set the Redirect URI to: https://app.botdojo.com/integrations/zendesk/oauth_redirect
-
Click Save, then copy the generated Client Secret.
-
In a new tab, log in to your BotDojo Account and go to Integrations.
-
Click on the Zendesk Integration and paste:
- Input the Unique Identifier specified during OAuth client creation into the Client ID field.
- Input the generated Client Secret into the Client Secret field.
- Put the value in https://your-subdomain.zendesk.com into the Subdomain field
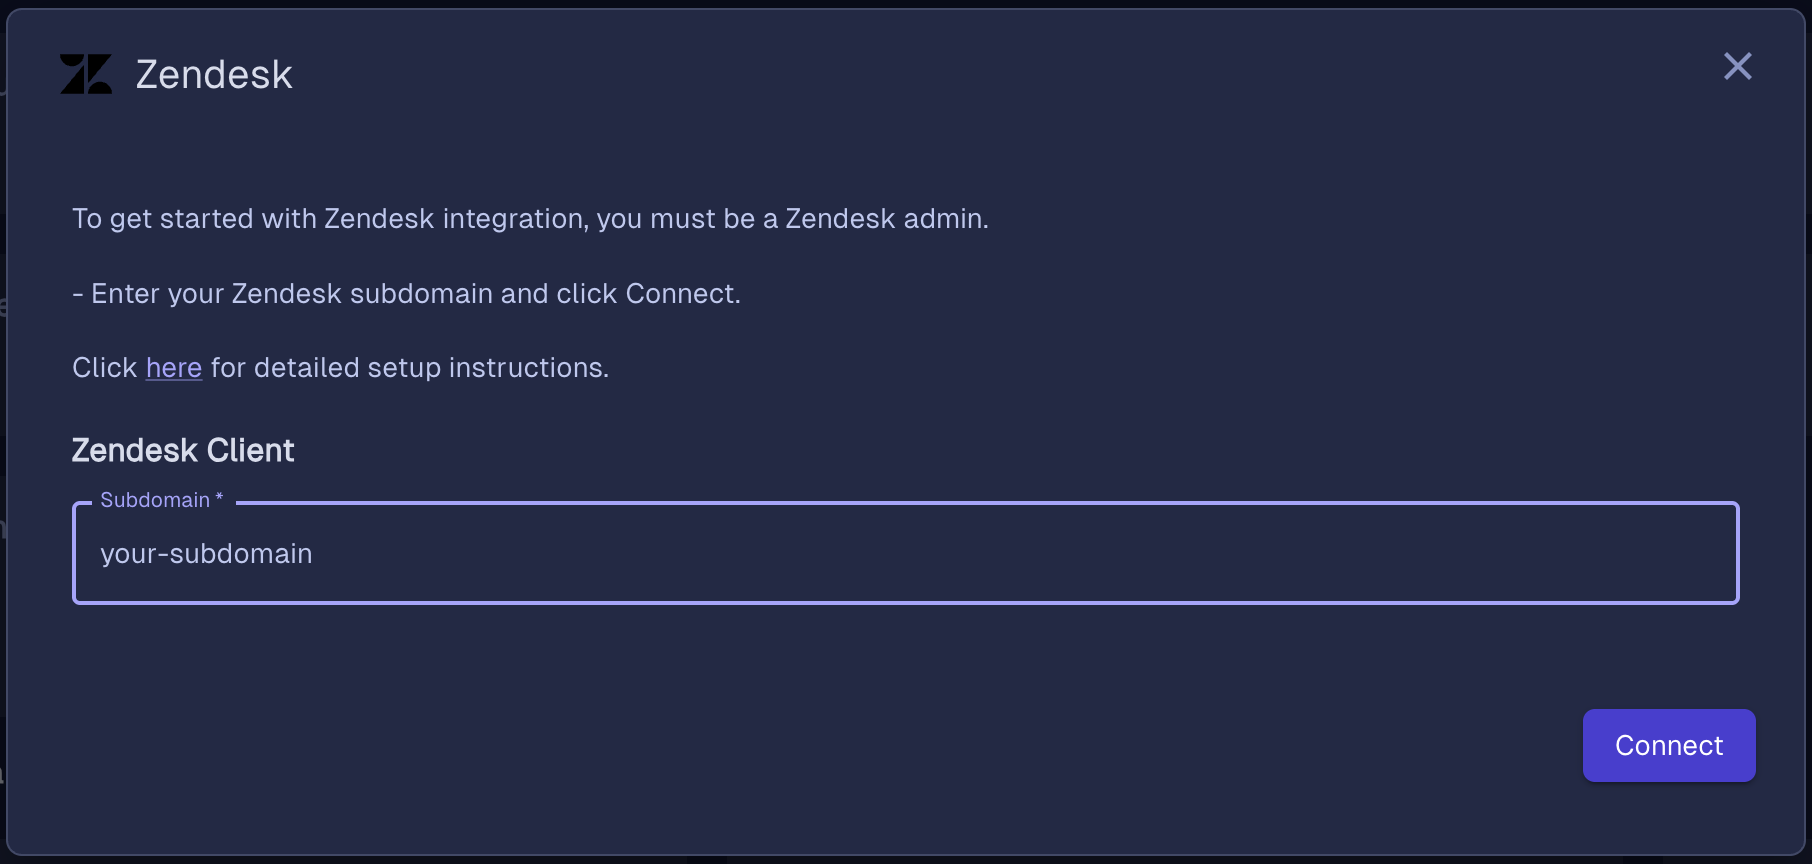
-
Click Update. You will be redirected to the authorization page.
-
Click Allow to grant the necessary permissions.
-
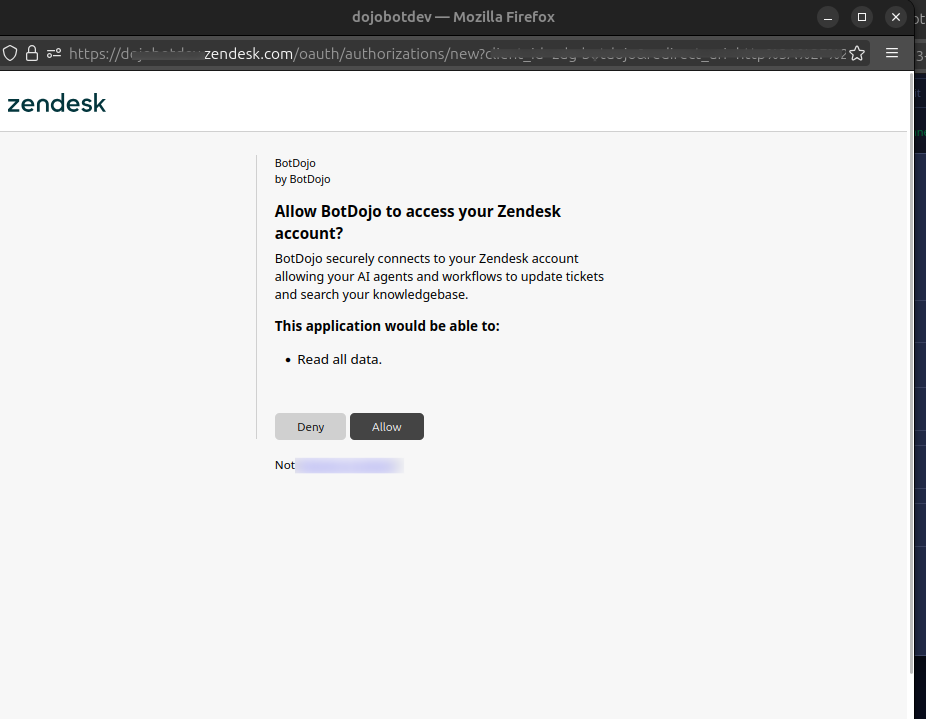
Your Zendesk integration is now successfully connected.